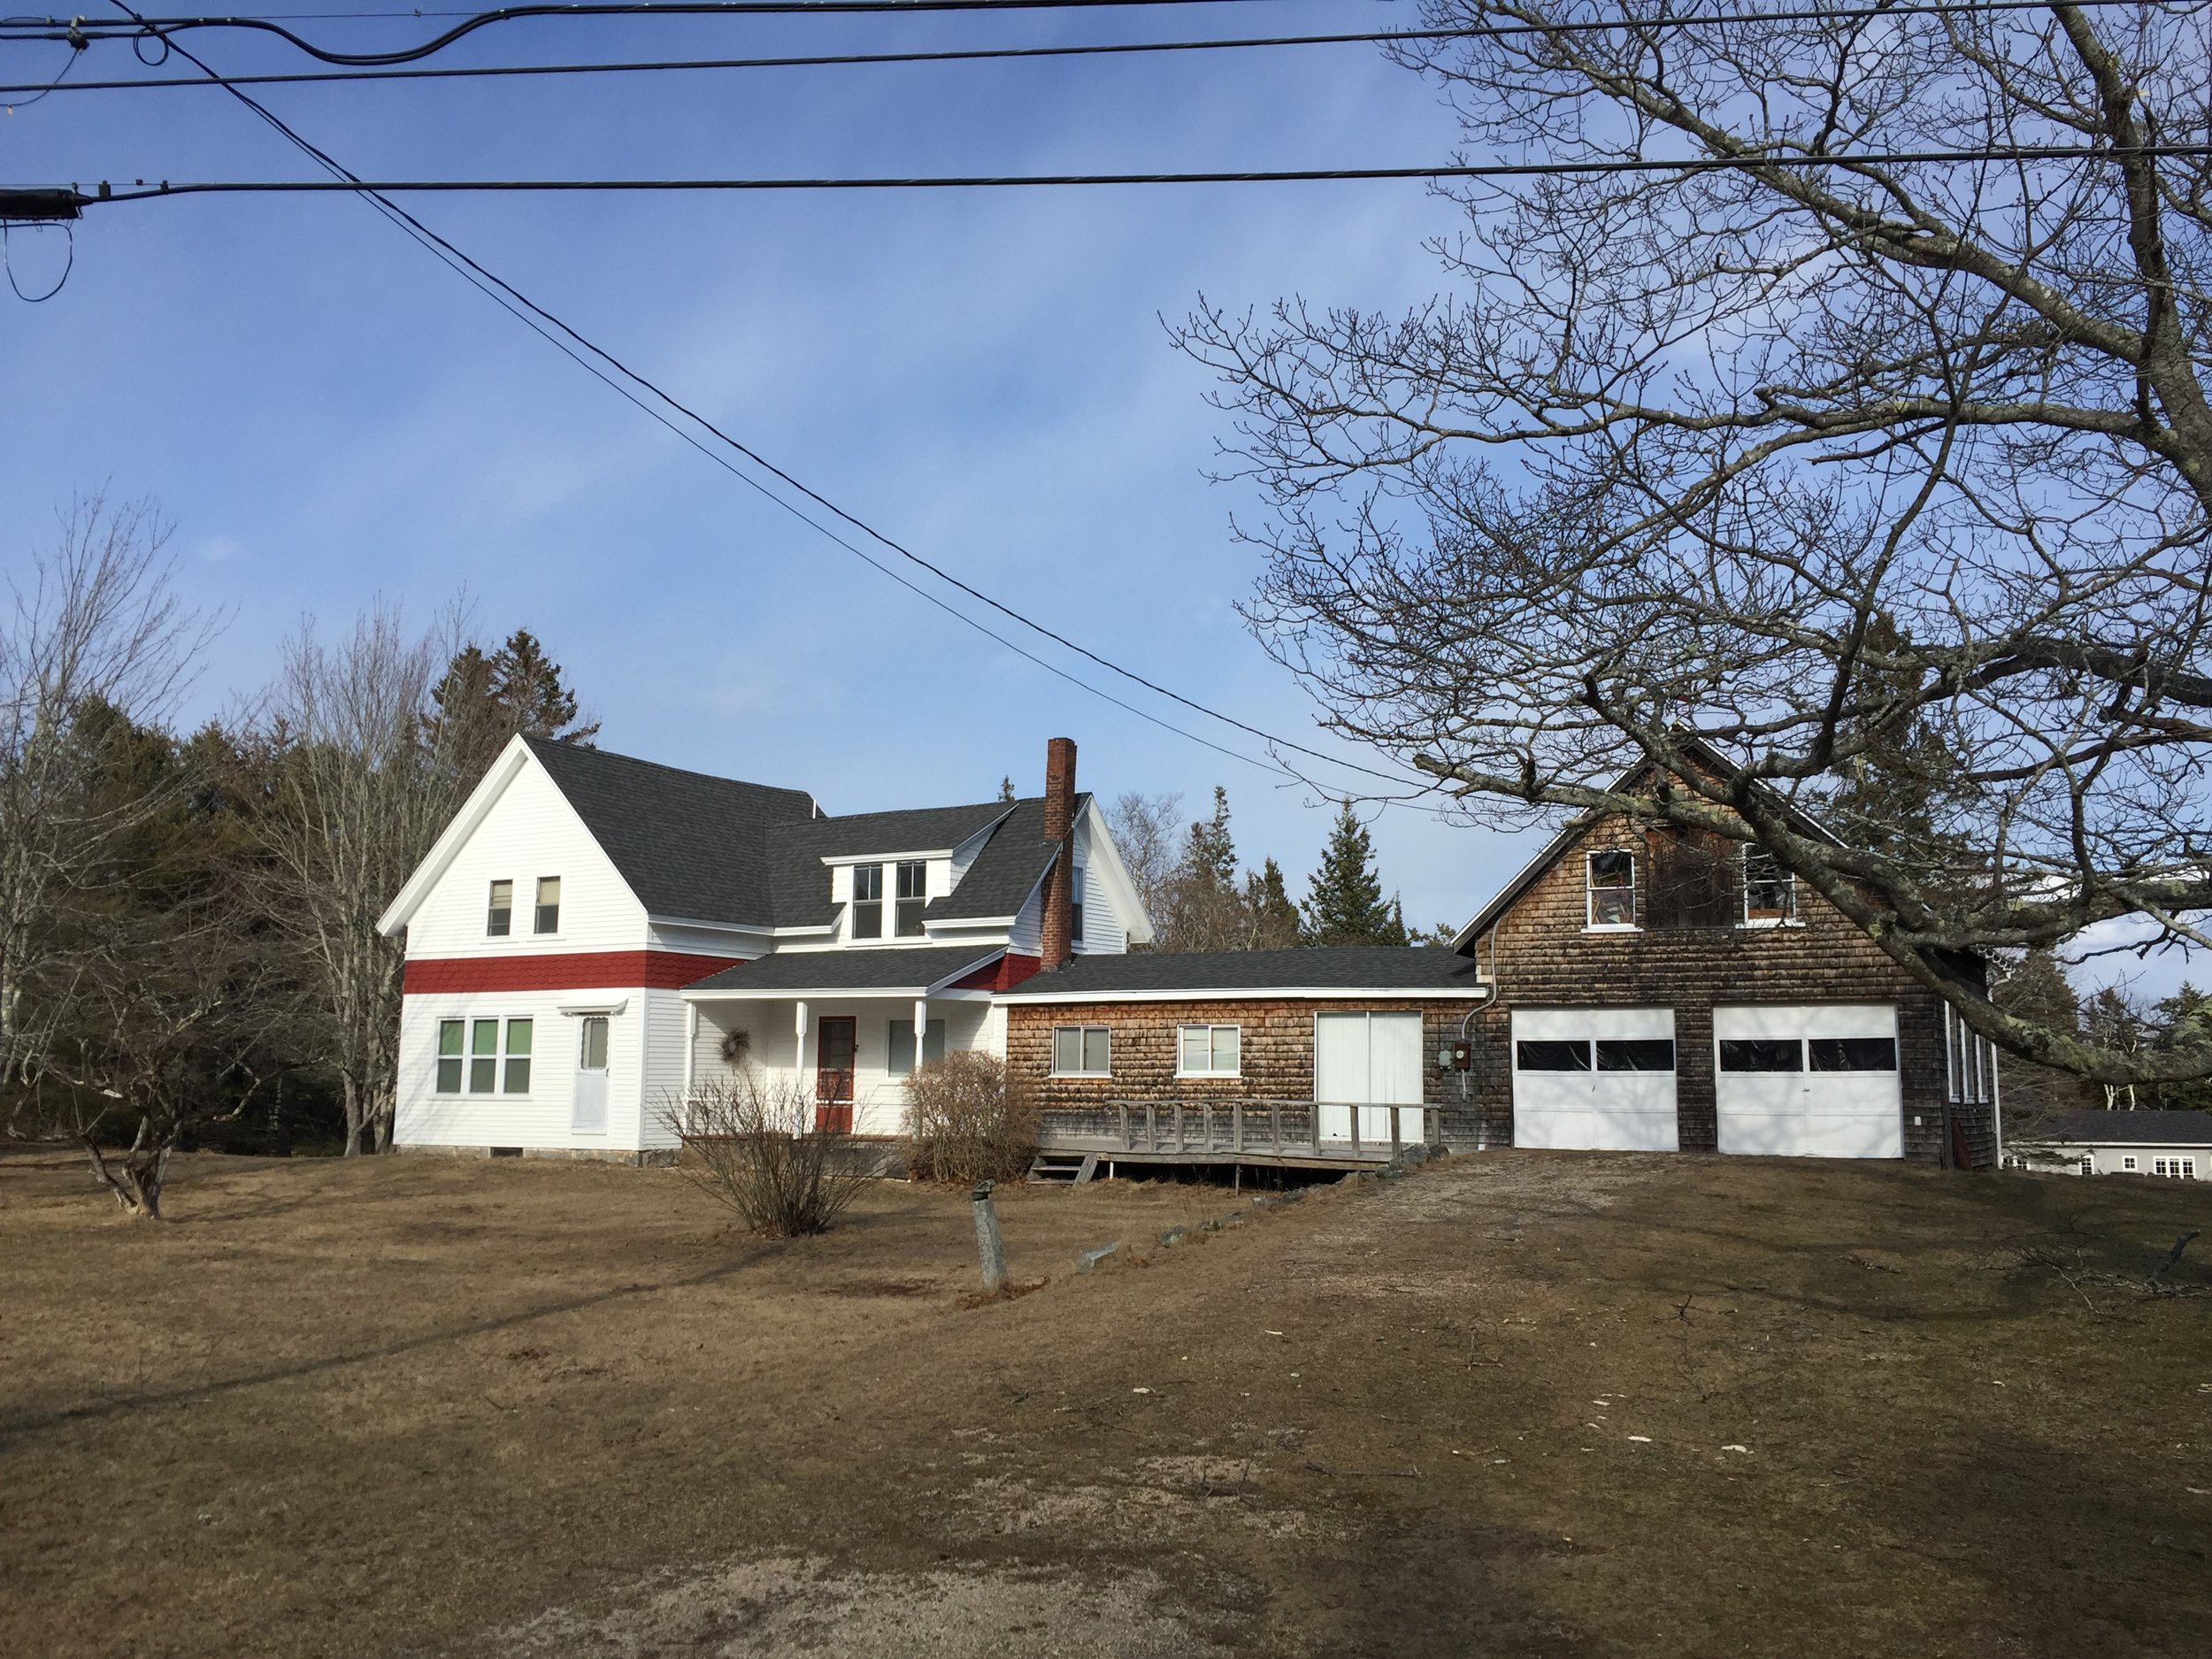
It's finally Maine house season! Last month, my Dad drove up from where he lives in Florida to get his house up and running again. Heat & water on, time to party. Our family, on both sides, had the inability to throw anything away, including their houses and we are so lucky for it. This house is where my Dad grew up, on Little Deer Isle. Our house is about ten minutes away across the bridge on the main land. My parents met in high school, which is why both sides of my family have homes so close together. Having access to this house allows us to keep our little home a complete gutted mess because we have somewhere else to shower and lay our heads. And hang out with family, friends, etc. Isn't she cute?
Last month I had the ability to stay up for a week which allowed for me to get a LOT done -- mainly saving the plaster in the downstairs bedroom. While the plaster ceilings were too damaged from moisture to save, the walls were in semi-good shape. There was lots of cracks and places where it had separated from the lathe but I was determined to patch it up rather than take it down. It's original to the house, and I want to save as much as I can.
Last summer I peeled the wallpaper in this room, which took about four hours. Some spots came right off, and some I really had to dig. This time it took about three hours and an entire tub of joint compound to smooth out the major cracks and fill all the nail holes. I wanted to sincerely apologize to every landlord I ignored when they asked me not to put holes in their horse hair plaster. Karma!
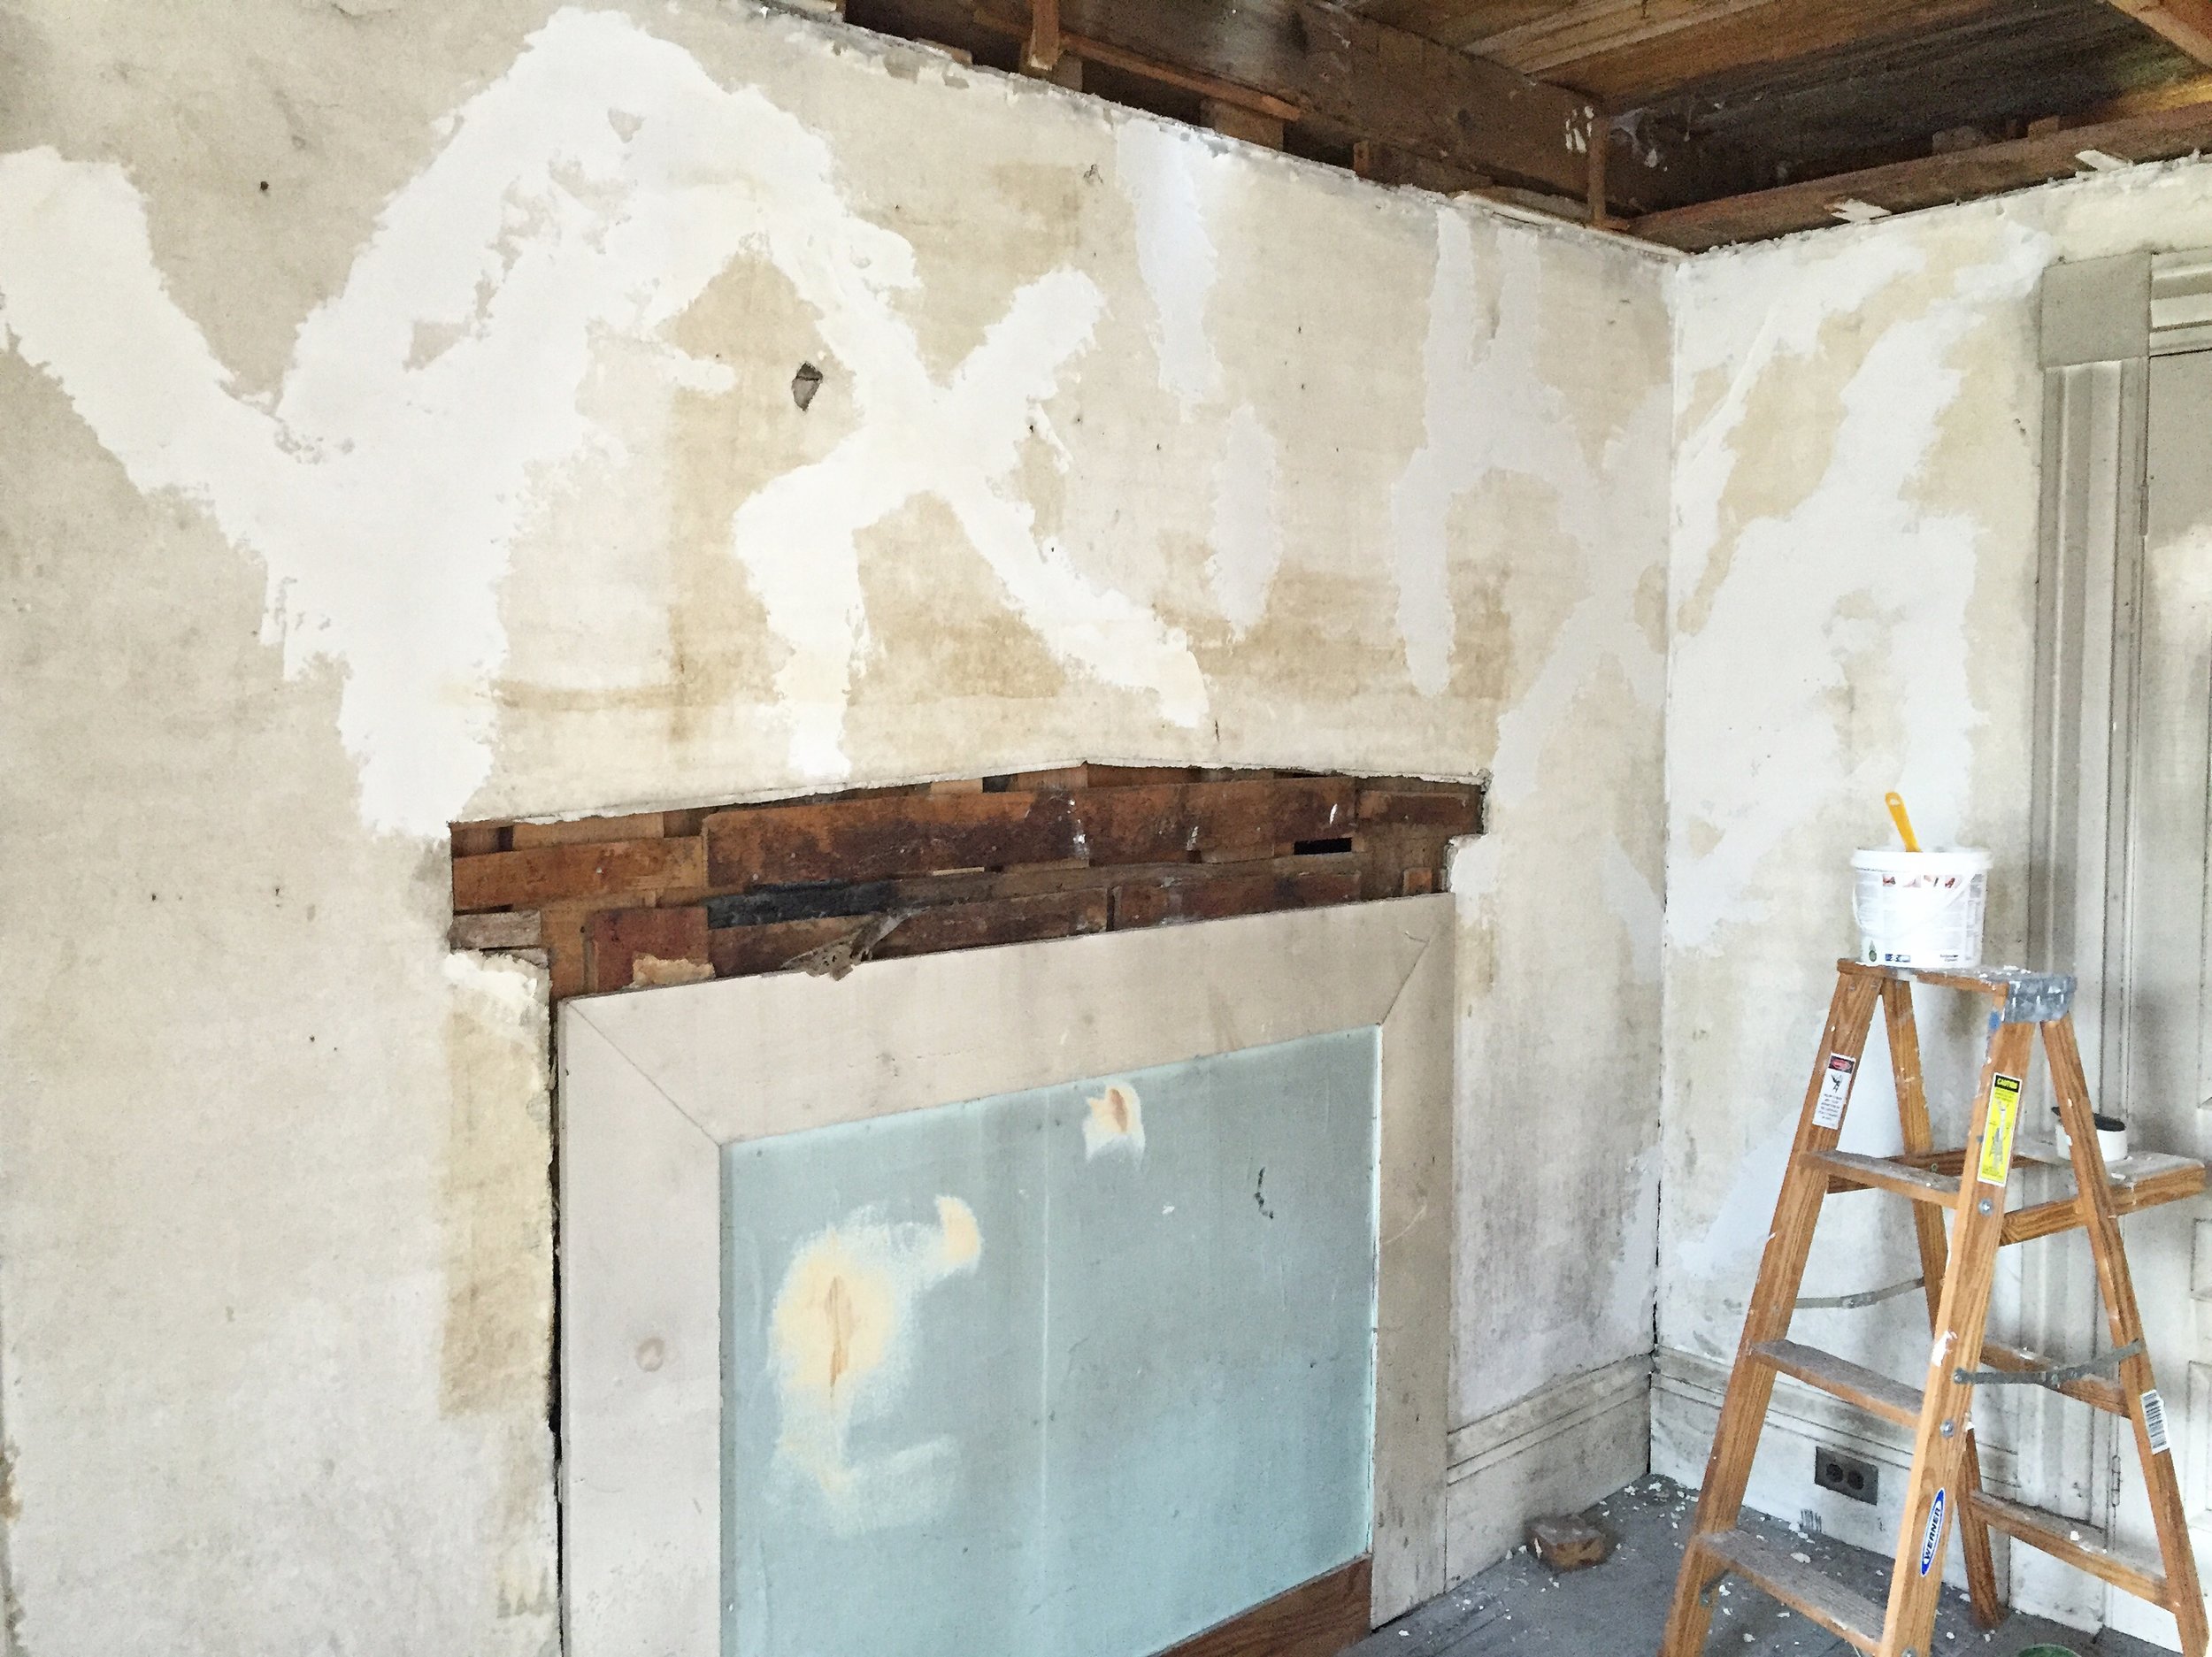
This is what it looked like while I was in progress:
The space above the old fireplace was the worst -- probably because this is where they always had photos hanging and over the years the wear and tear took a toll. I let my first layer of joint compound dry for 24 hours, and then added approximately 1,000,000 plaster buttons, added another layer of joint compound, and then let that dry for 24 hours. I sanded it all down and then painted two layers of Kilz on every surface in the room -- including the trim. The trim had already been painted, but was stained from years of smoke from the fireplaces and kitchen wood stove. I started to clean it, but realized we'd probably prime it anyway so I saved my arm strength and just whipped right over it.
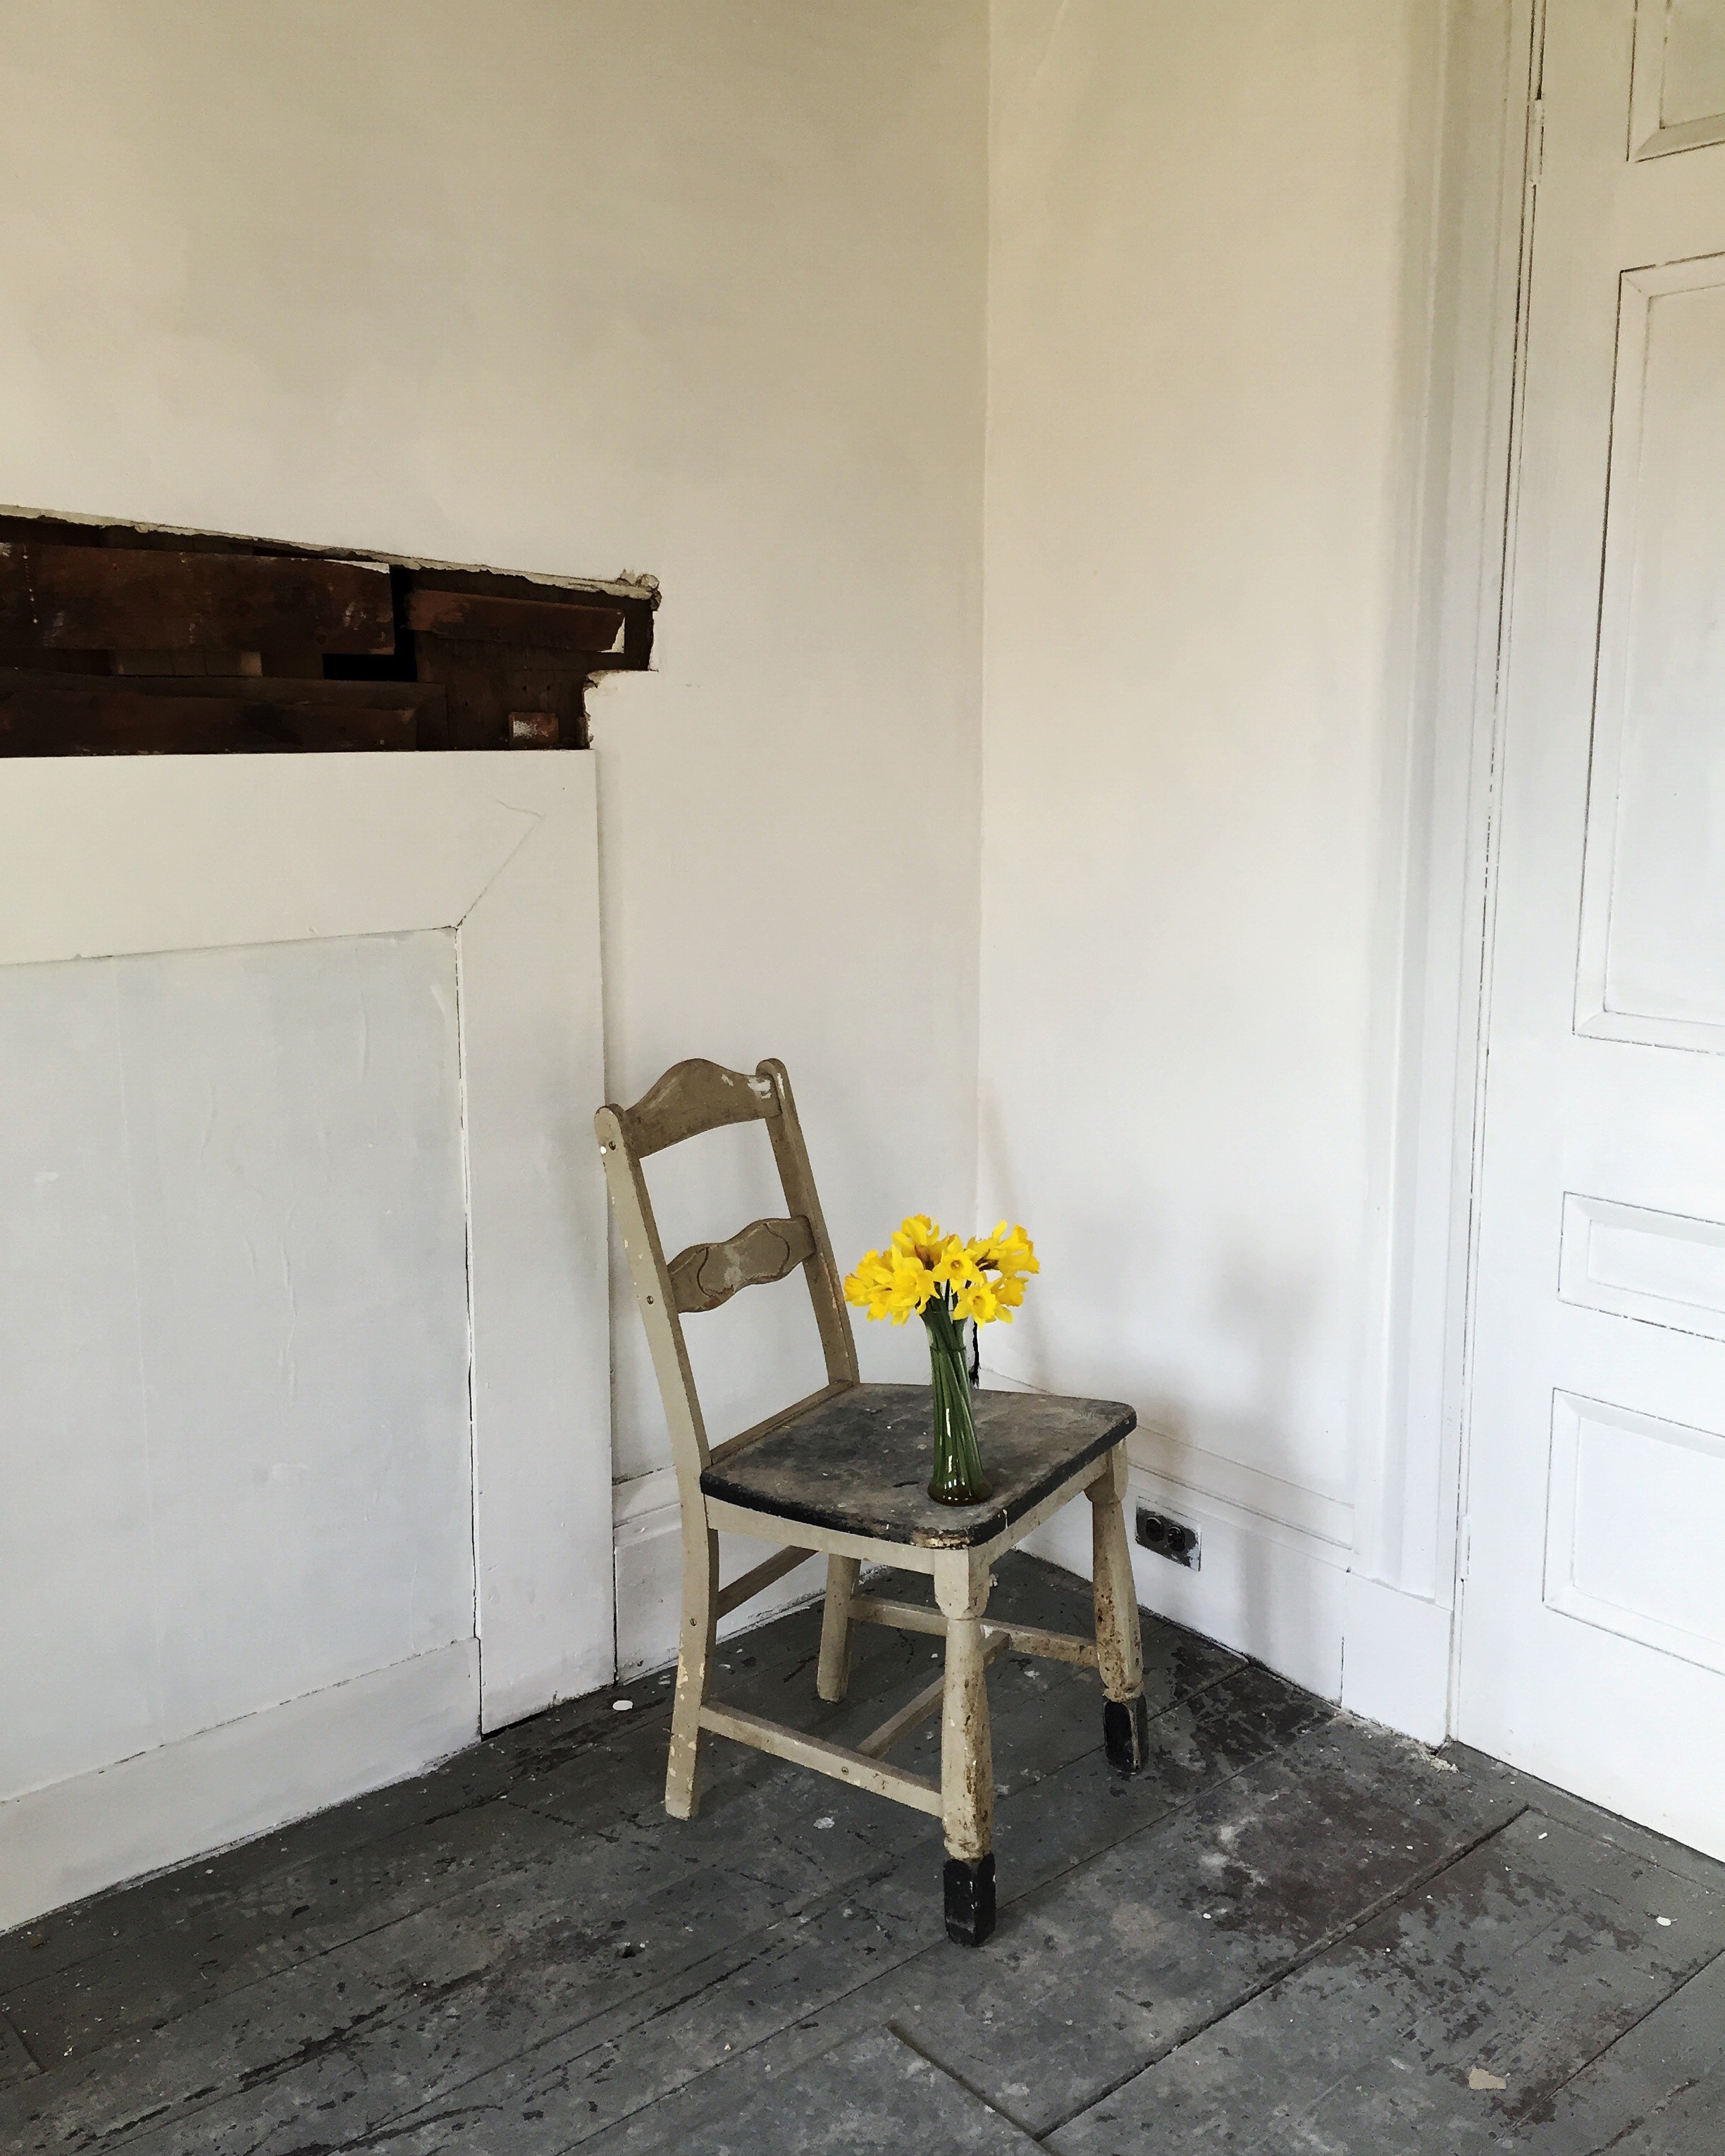
This is the result:
Oh, and those daffodils are wild from the back yard.
Words and photos cannot express what a difference this makes to the room. It looks so fresh and clean and SAVED! When we started this project this room was FULL of furniture and tools with an enormous hole in the ceiling and peeling wallpaper. It now looks like a space you wouldn't mind sleeping in -- besides the fact that it still needs a ceiling... but we'll get to that!
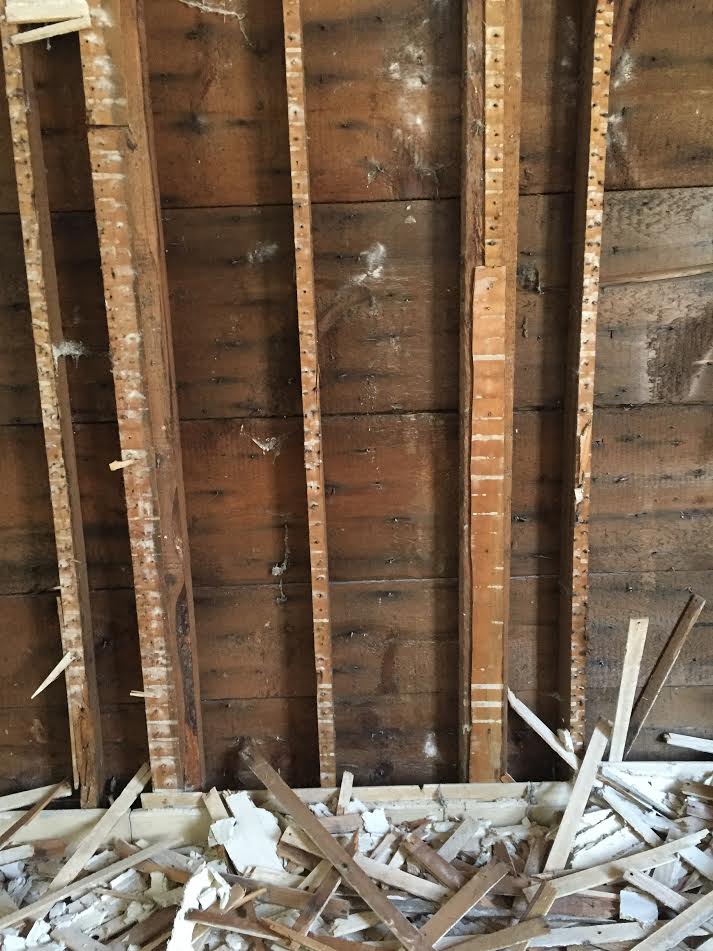
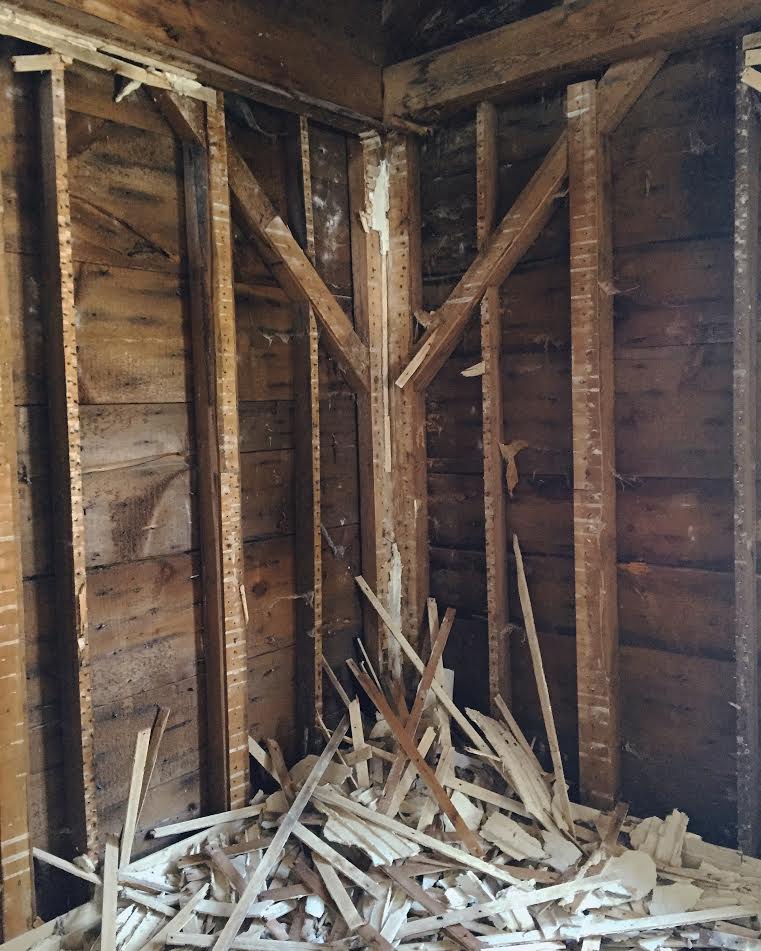
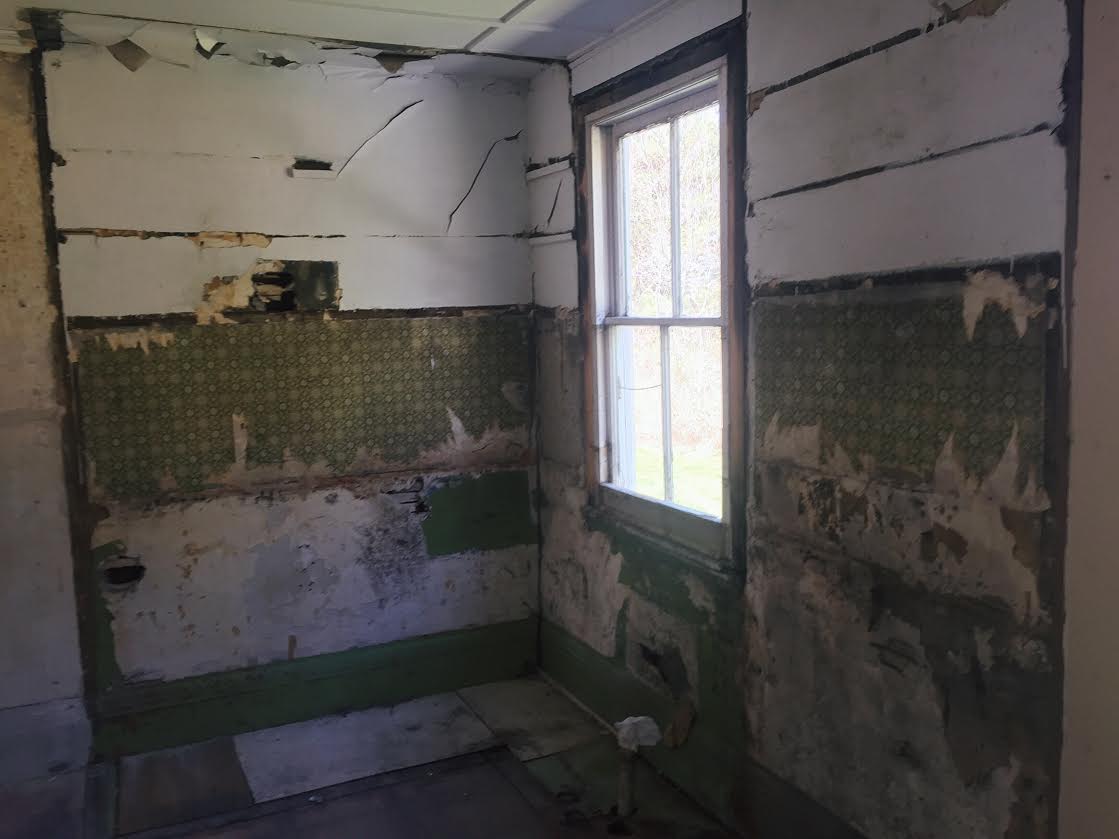
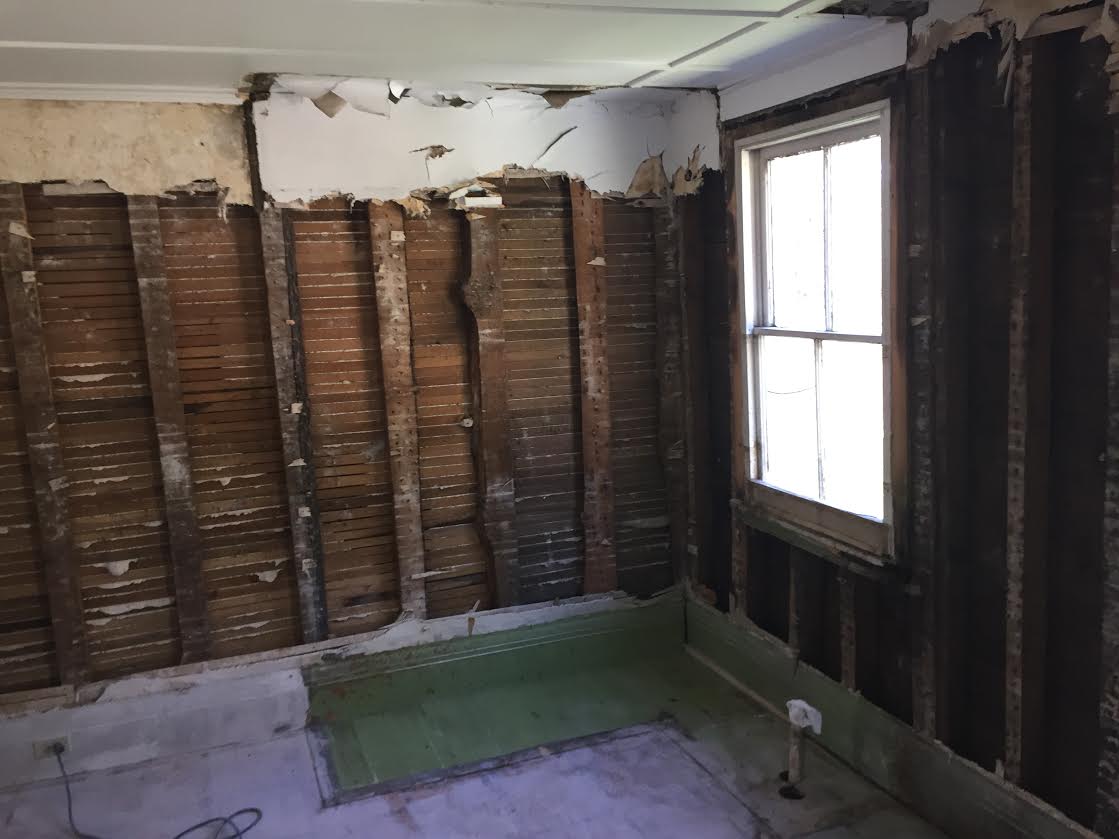
The other major project we did was demo in the dining room and kitchen. The plaster in the dining room could not be saved -- it was moldy and wet and crumbling off the walls. We took this down easily and it was neat to see the real bones of the house. Look how wide those planks are!
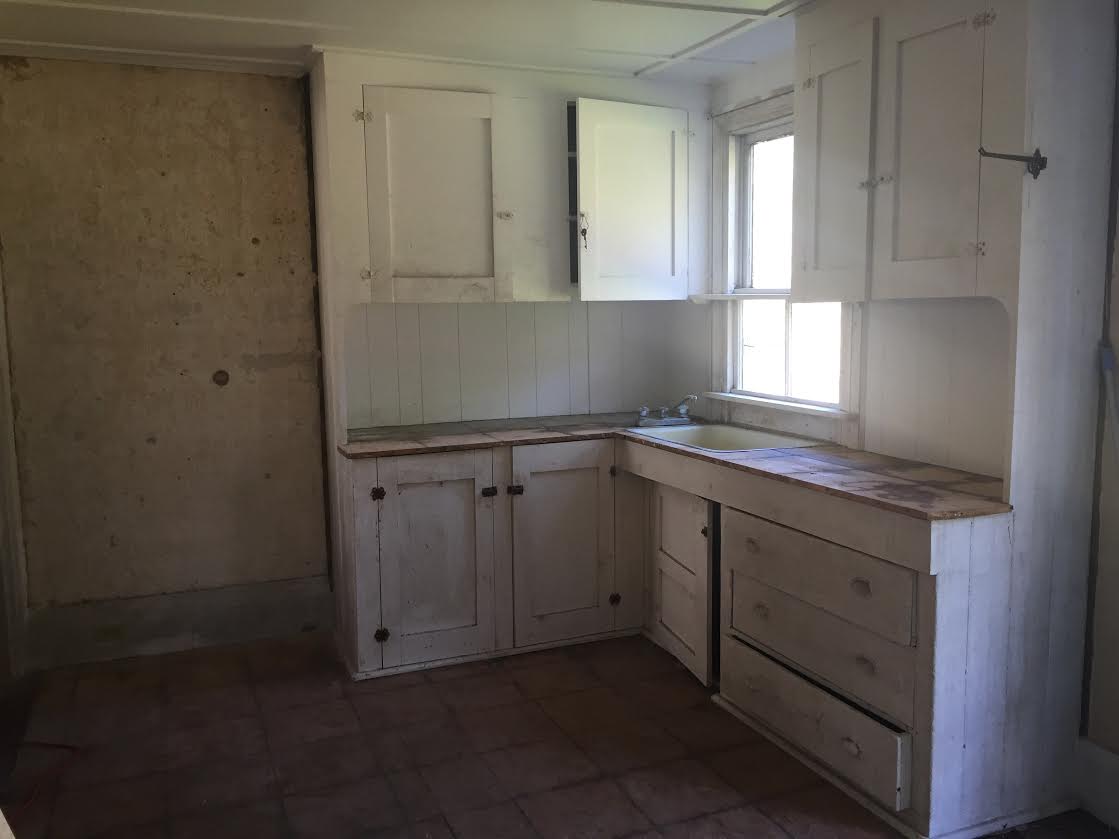
Then we started working on removing the old cabinets. This was a chore -- I'm not sure when they were put in, but there was wallpaper behind them when we took them down so I am going to guess they were put in sometime in the 60's. And they were really in there. It took my dad and husband three hours to get it all out because they were connected in the most intricate way. We could have gone to town slicing and smashing them out, but we wanted to (and succeeded in) saving them to use for storage in the basement.
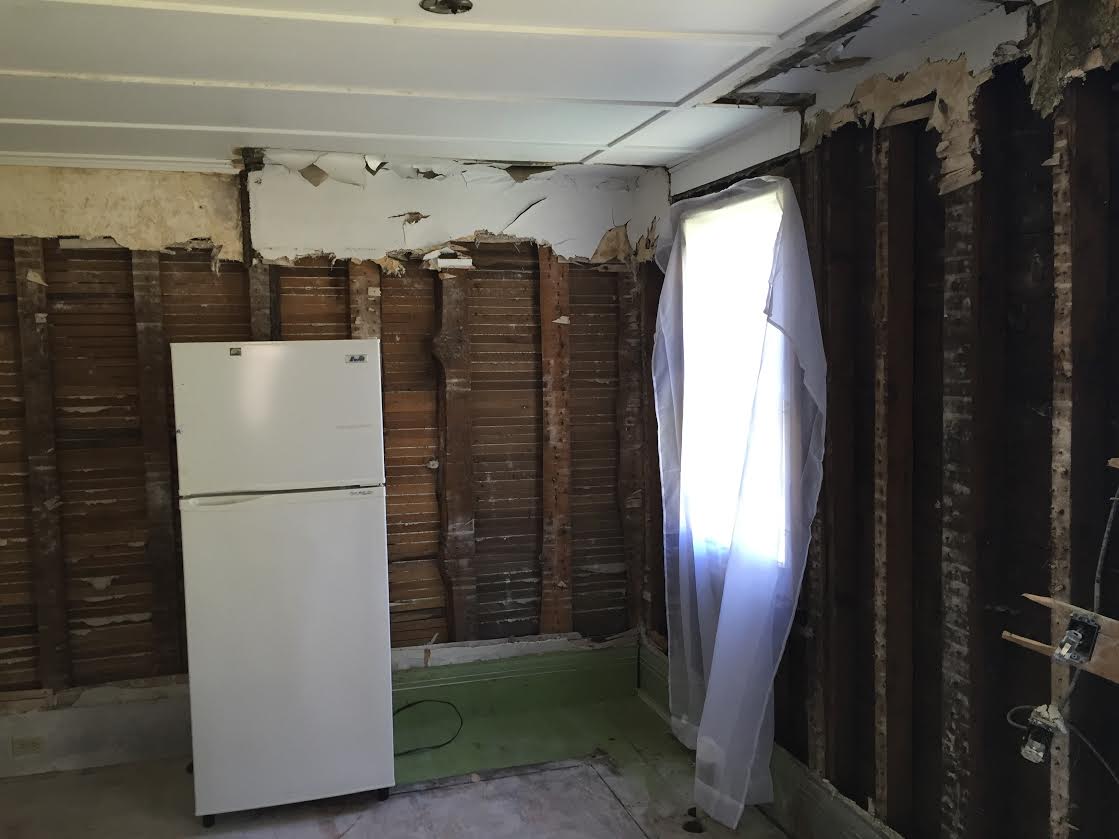
Once we had the cabinets out, we realized the plaster was pretty nasty. So we thought, what the heck, let's just take that down too. And now it looks like this! With the bonus of a free refrigerator we found on the side of the road that just so happens to be the perfect petite size we were going to purchase.
You would think getting to the house this point would be encouraging, but seeing the whole back half essentially gutted has been giving me extreme anxiety. There is so much to do before we can start to build it back up... but it will happen.
Here's what's next: - Replace the single door to sliding patio doors - Move the window over a bit so it will be centered over the new sink - Evaluate the electric, add in outlets where necessary - Put in supports for open shelving - Insulate walls that are currently open - Put up drywall - Address the ceilings, make them match across the two spaces - Think about flooring - Get the space ready for cabinet install
.... I'm tired just thinking about it. We'll be up this weekend tackling small and fun projects, like painting the bathroom something like this moody shade, Benjamin Moore Washington Blue.
Stay tuned for more!

