It's Really Bad Before It's Good

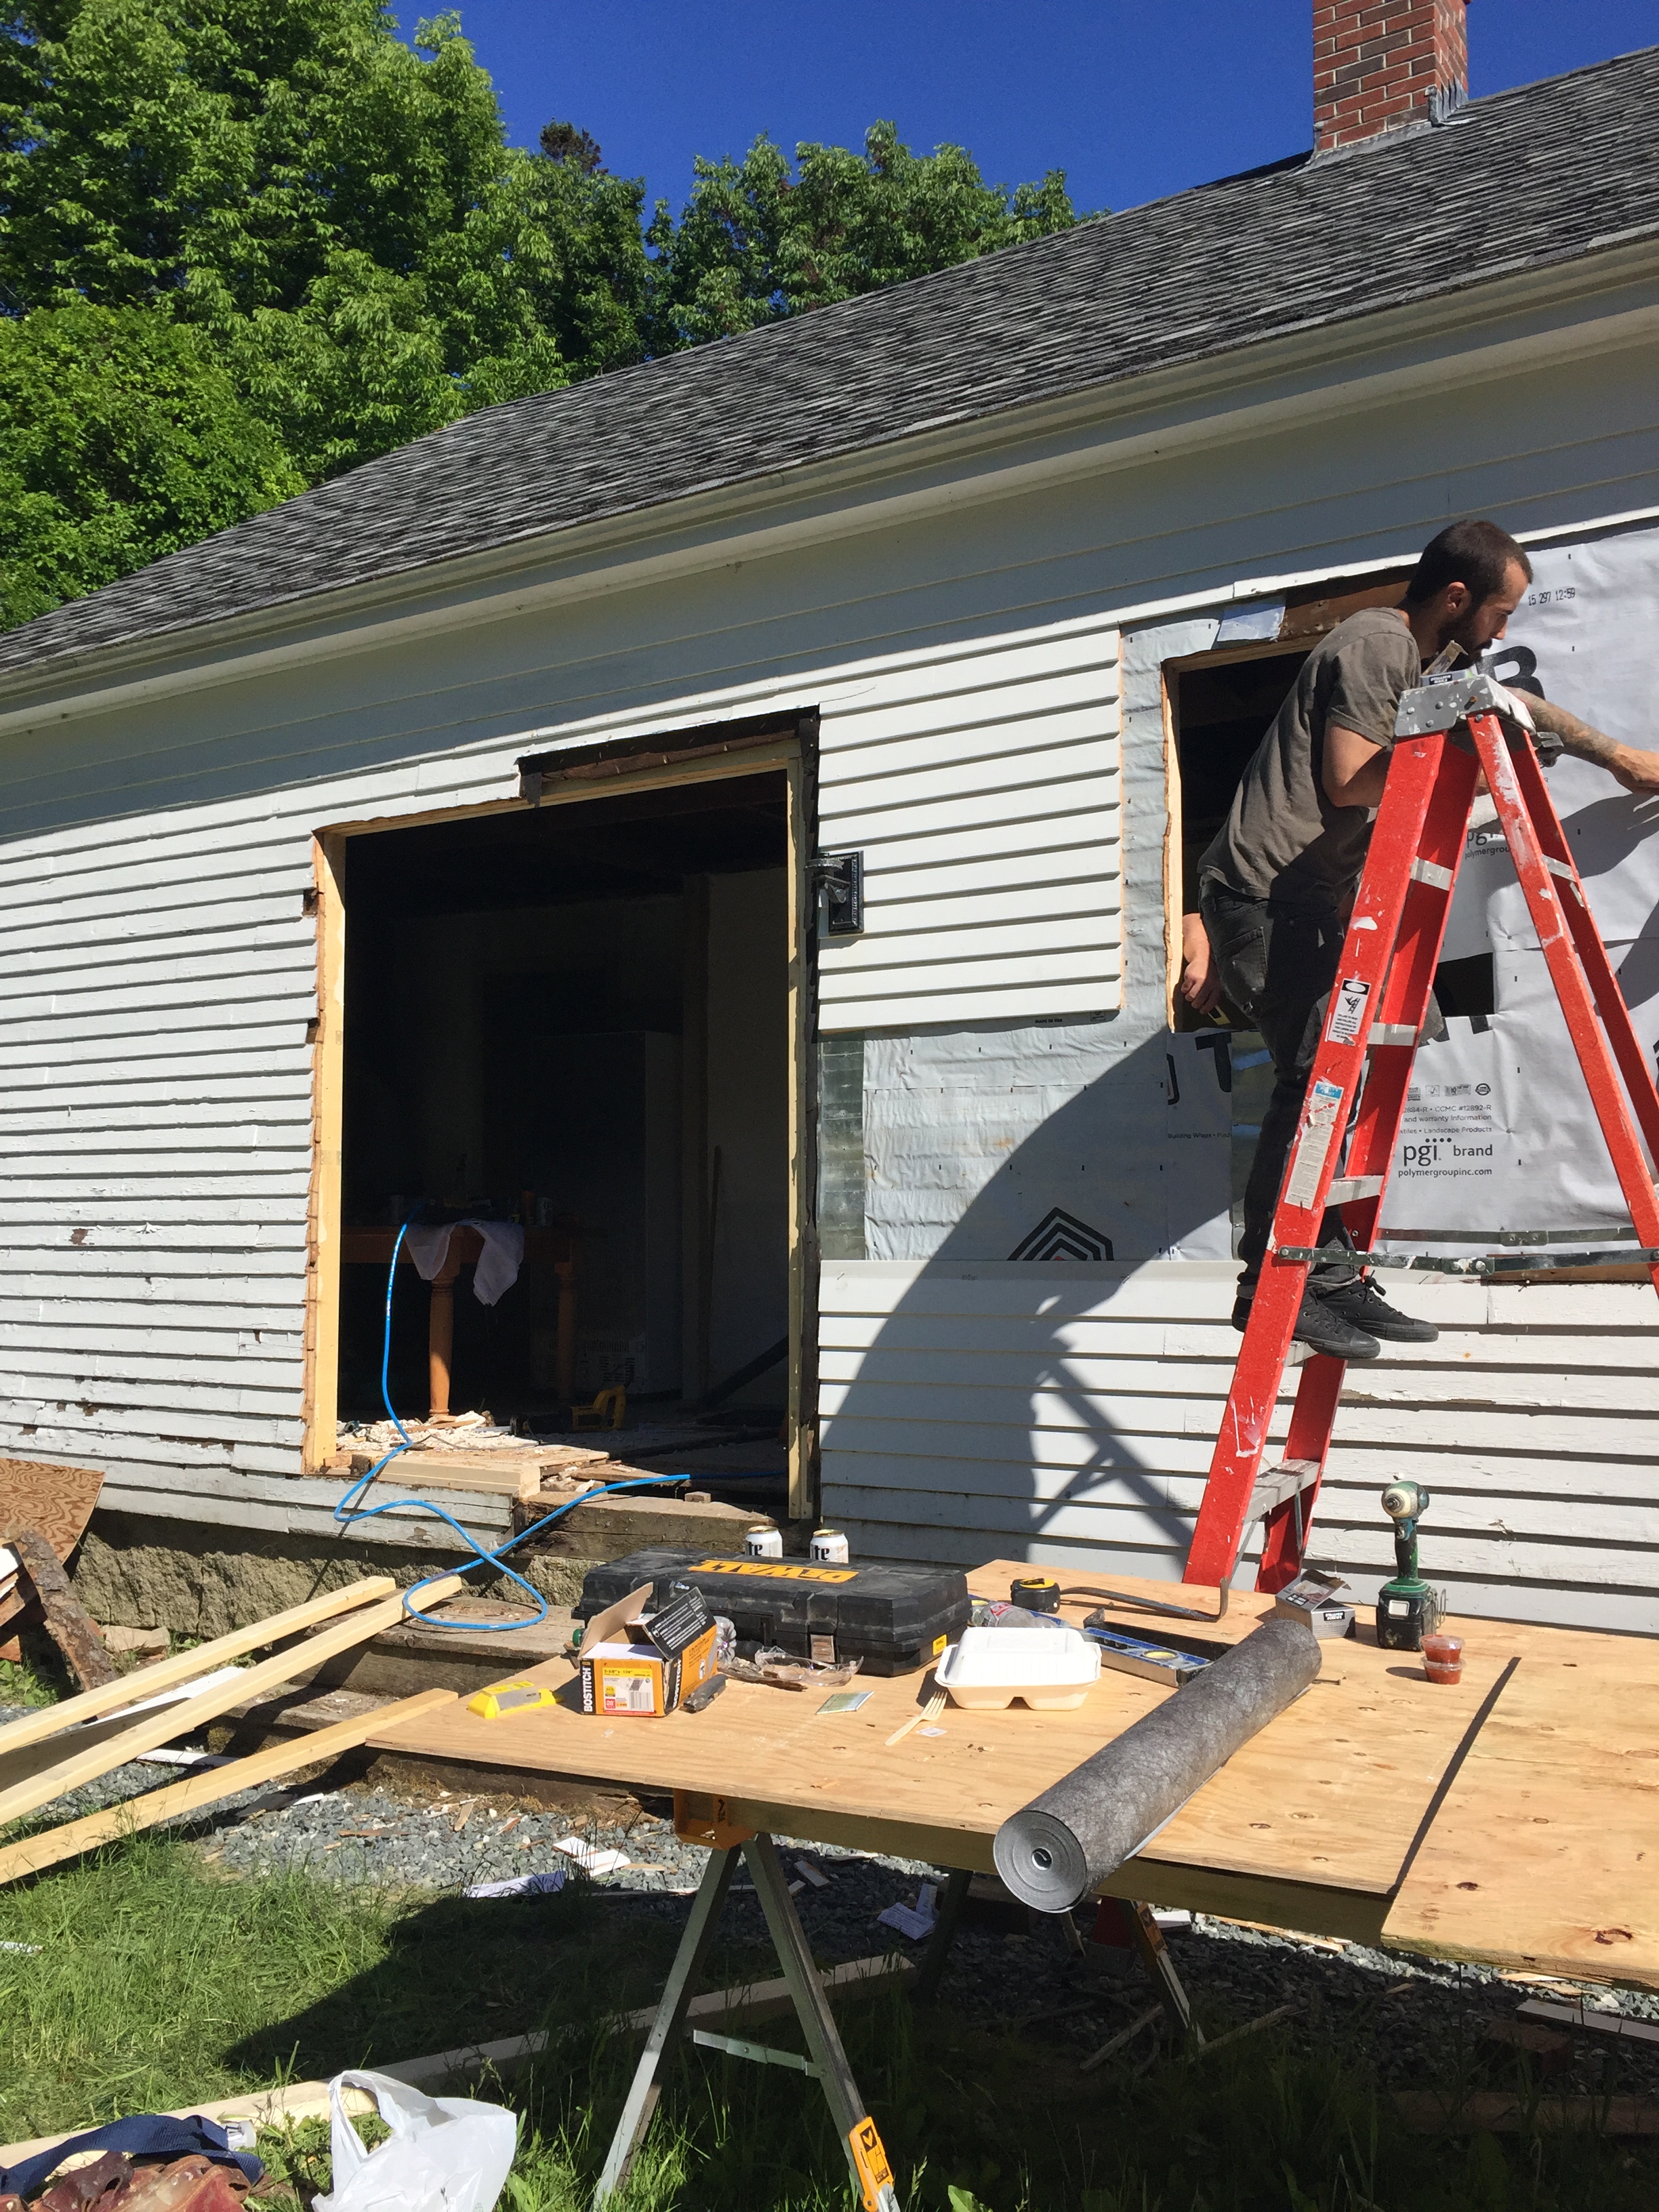
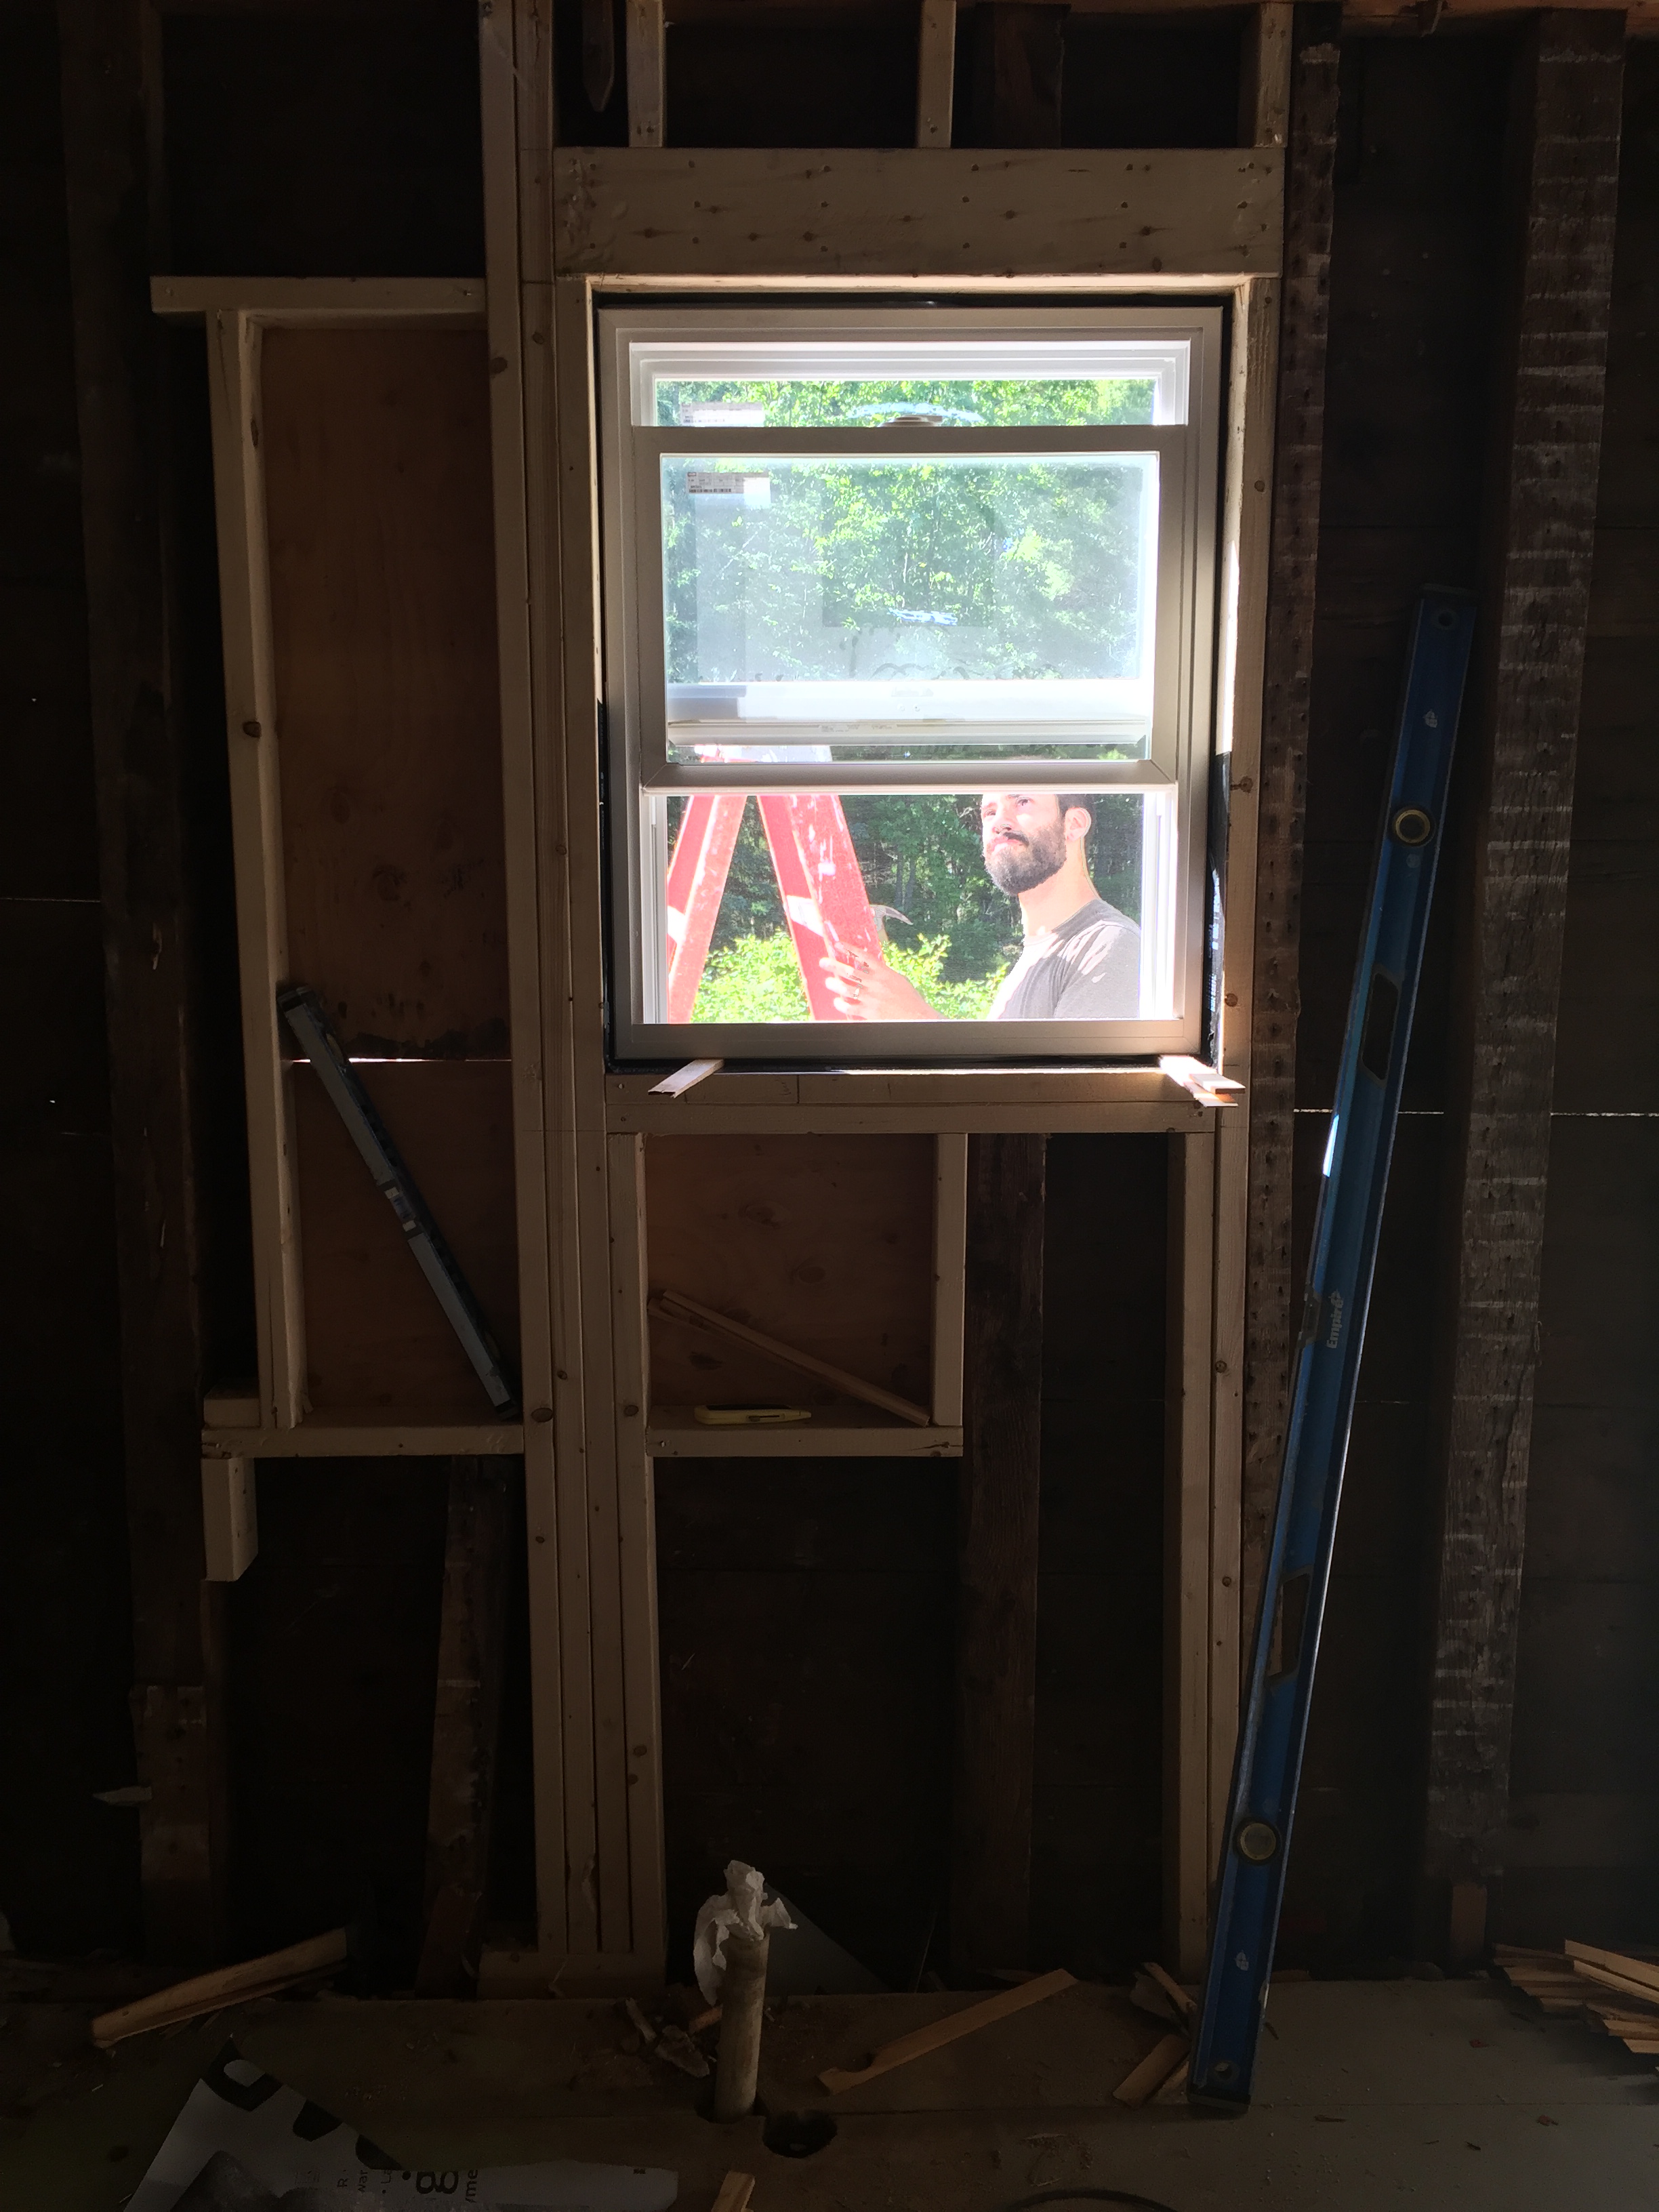
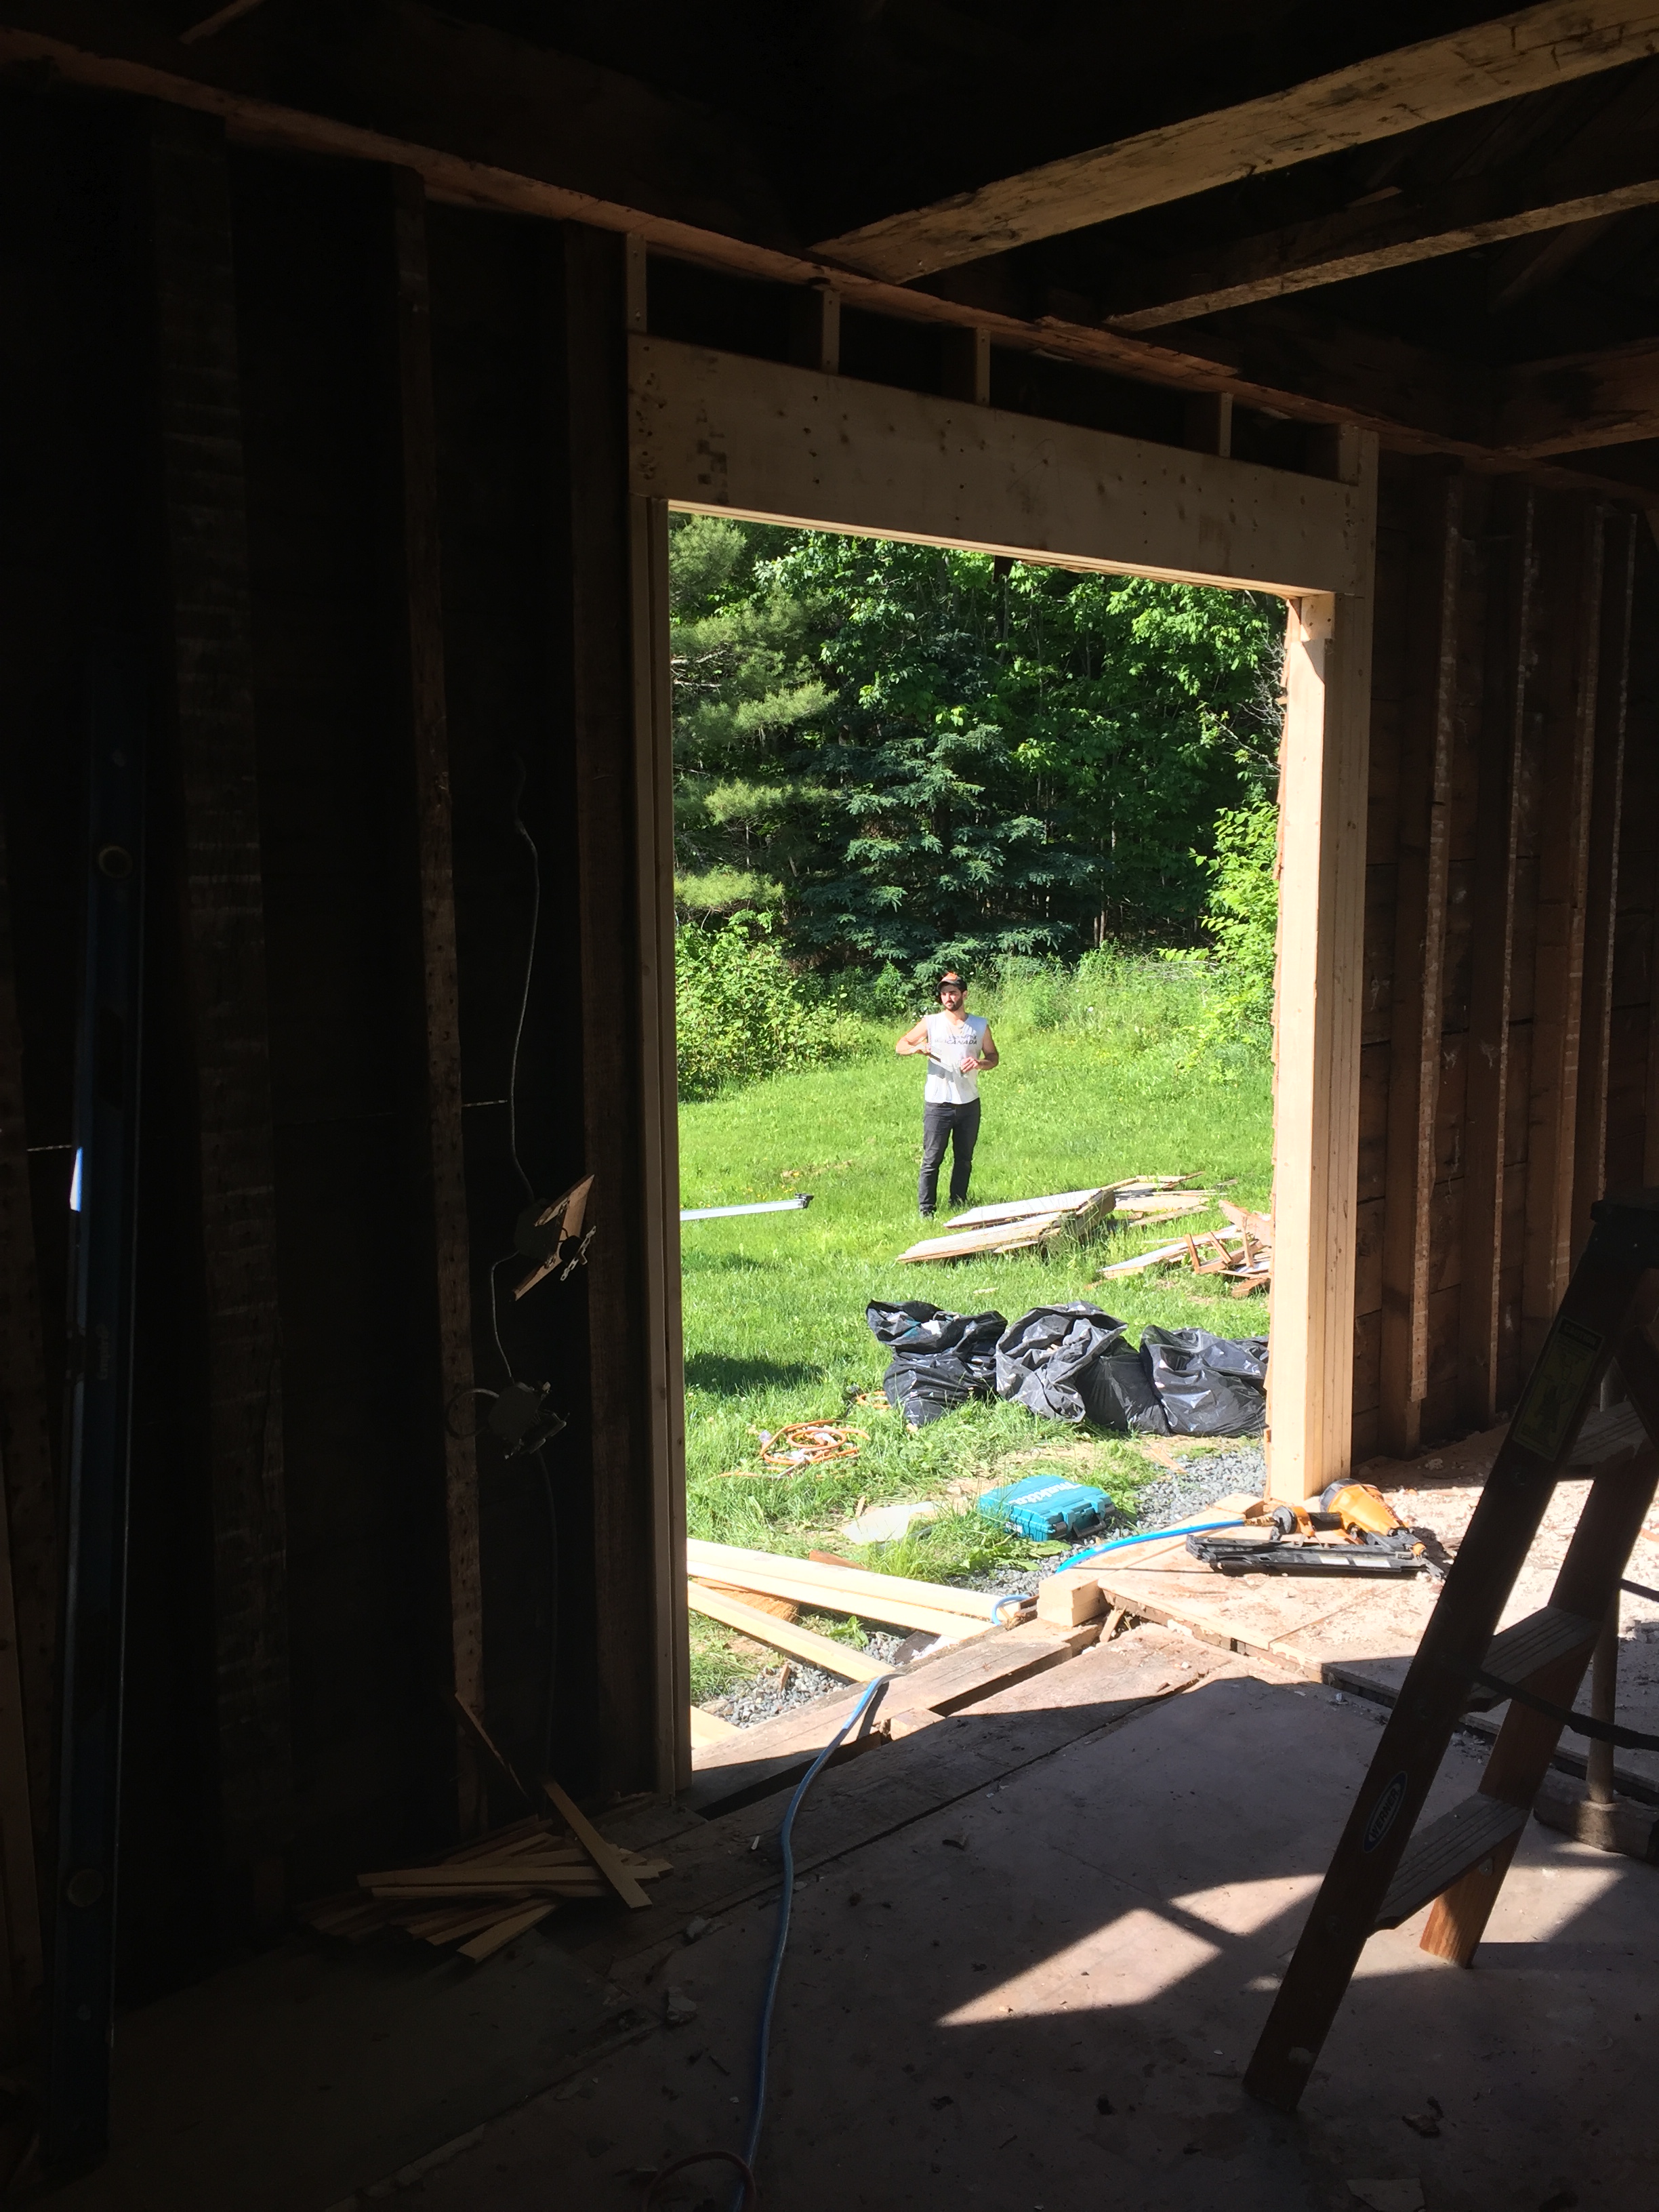
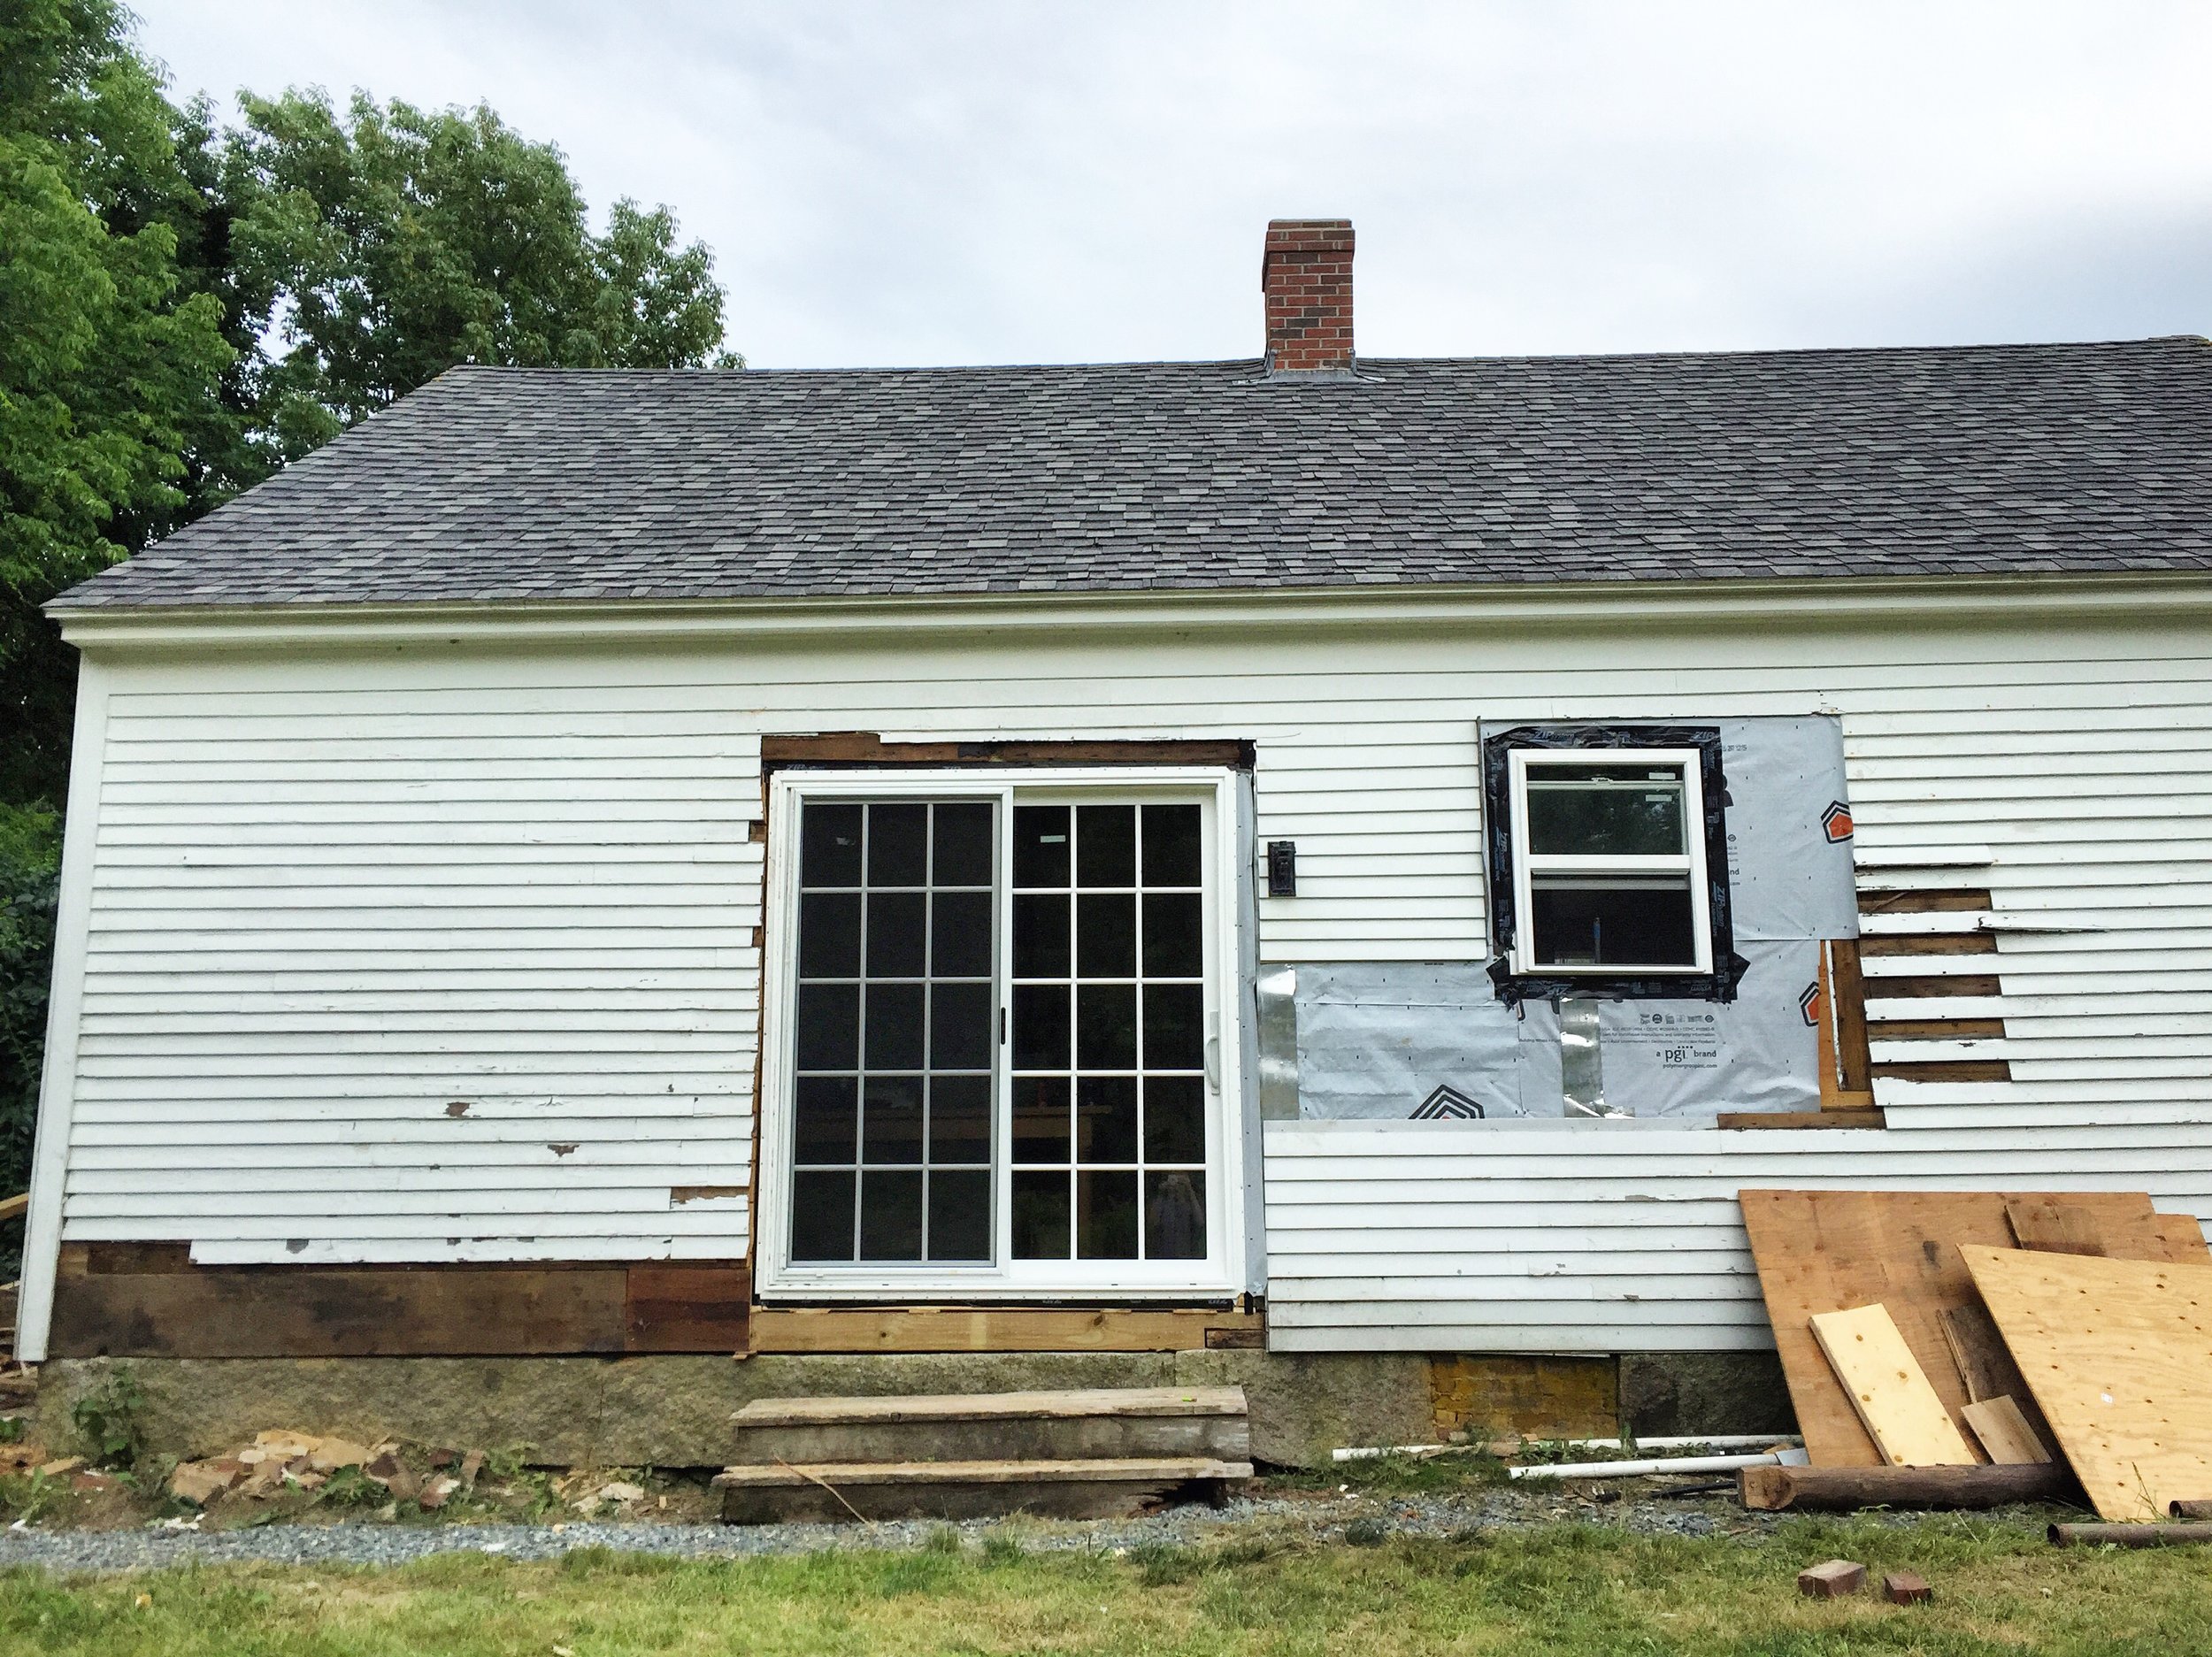
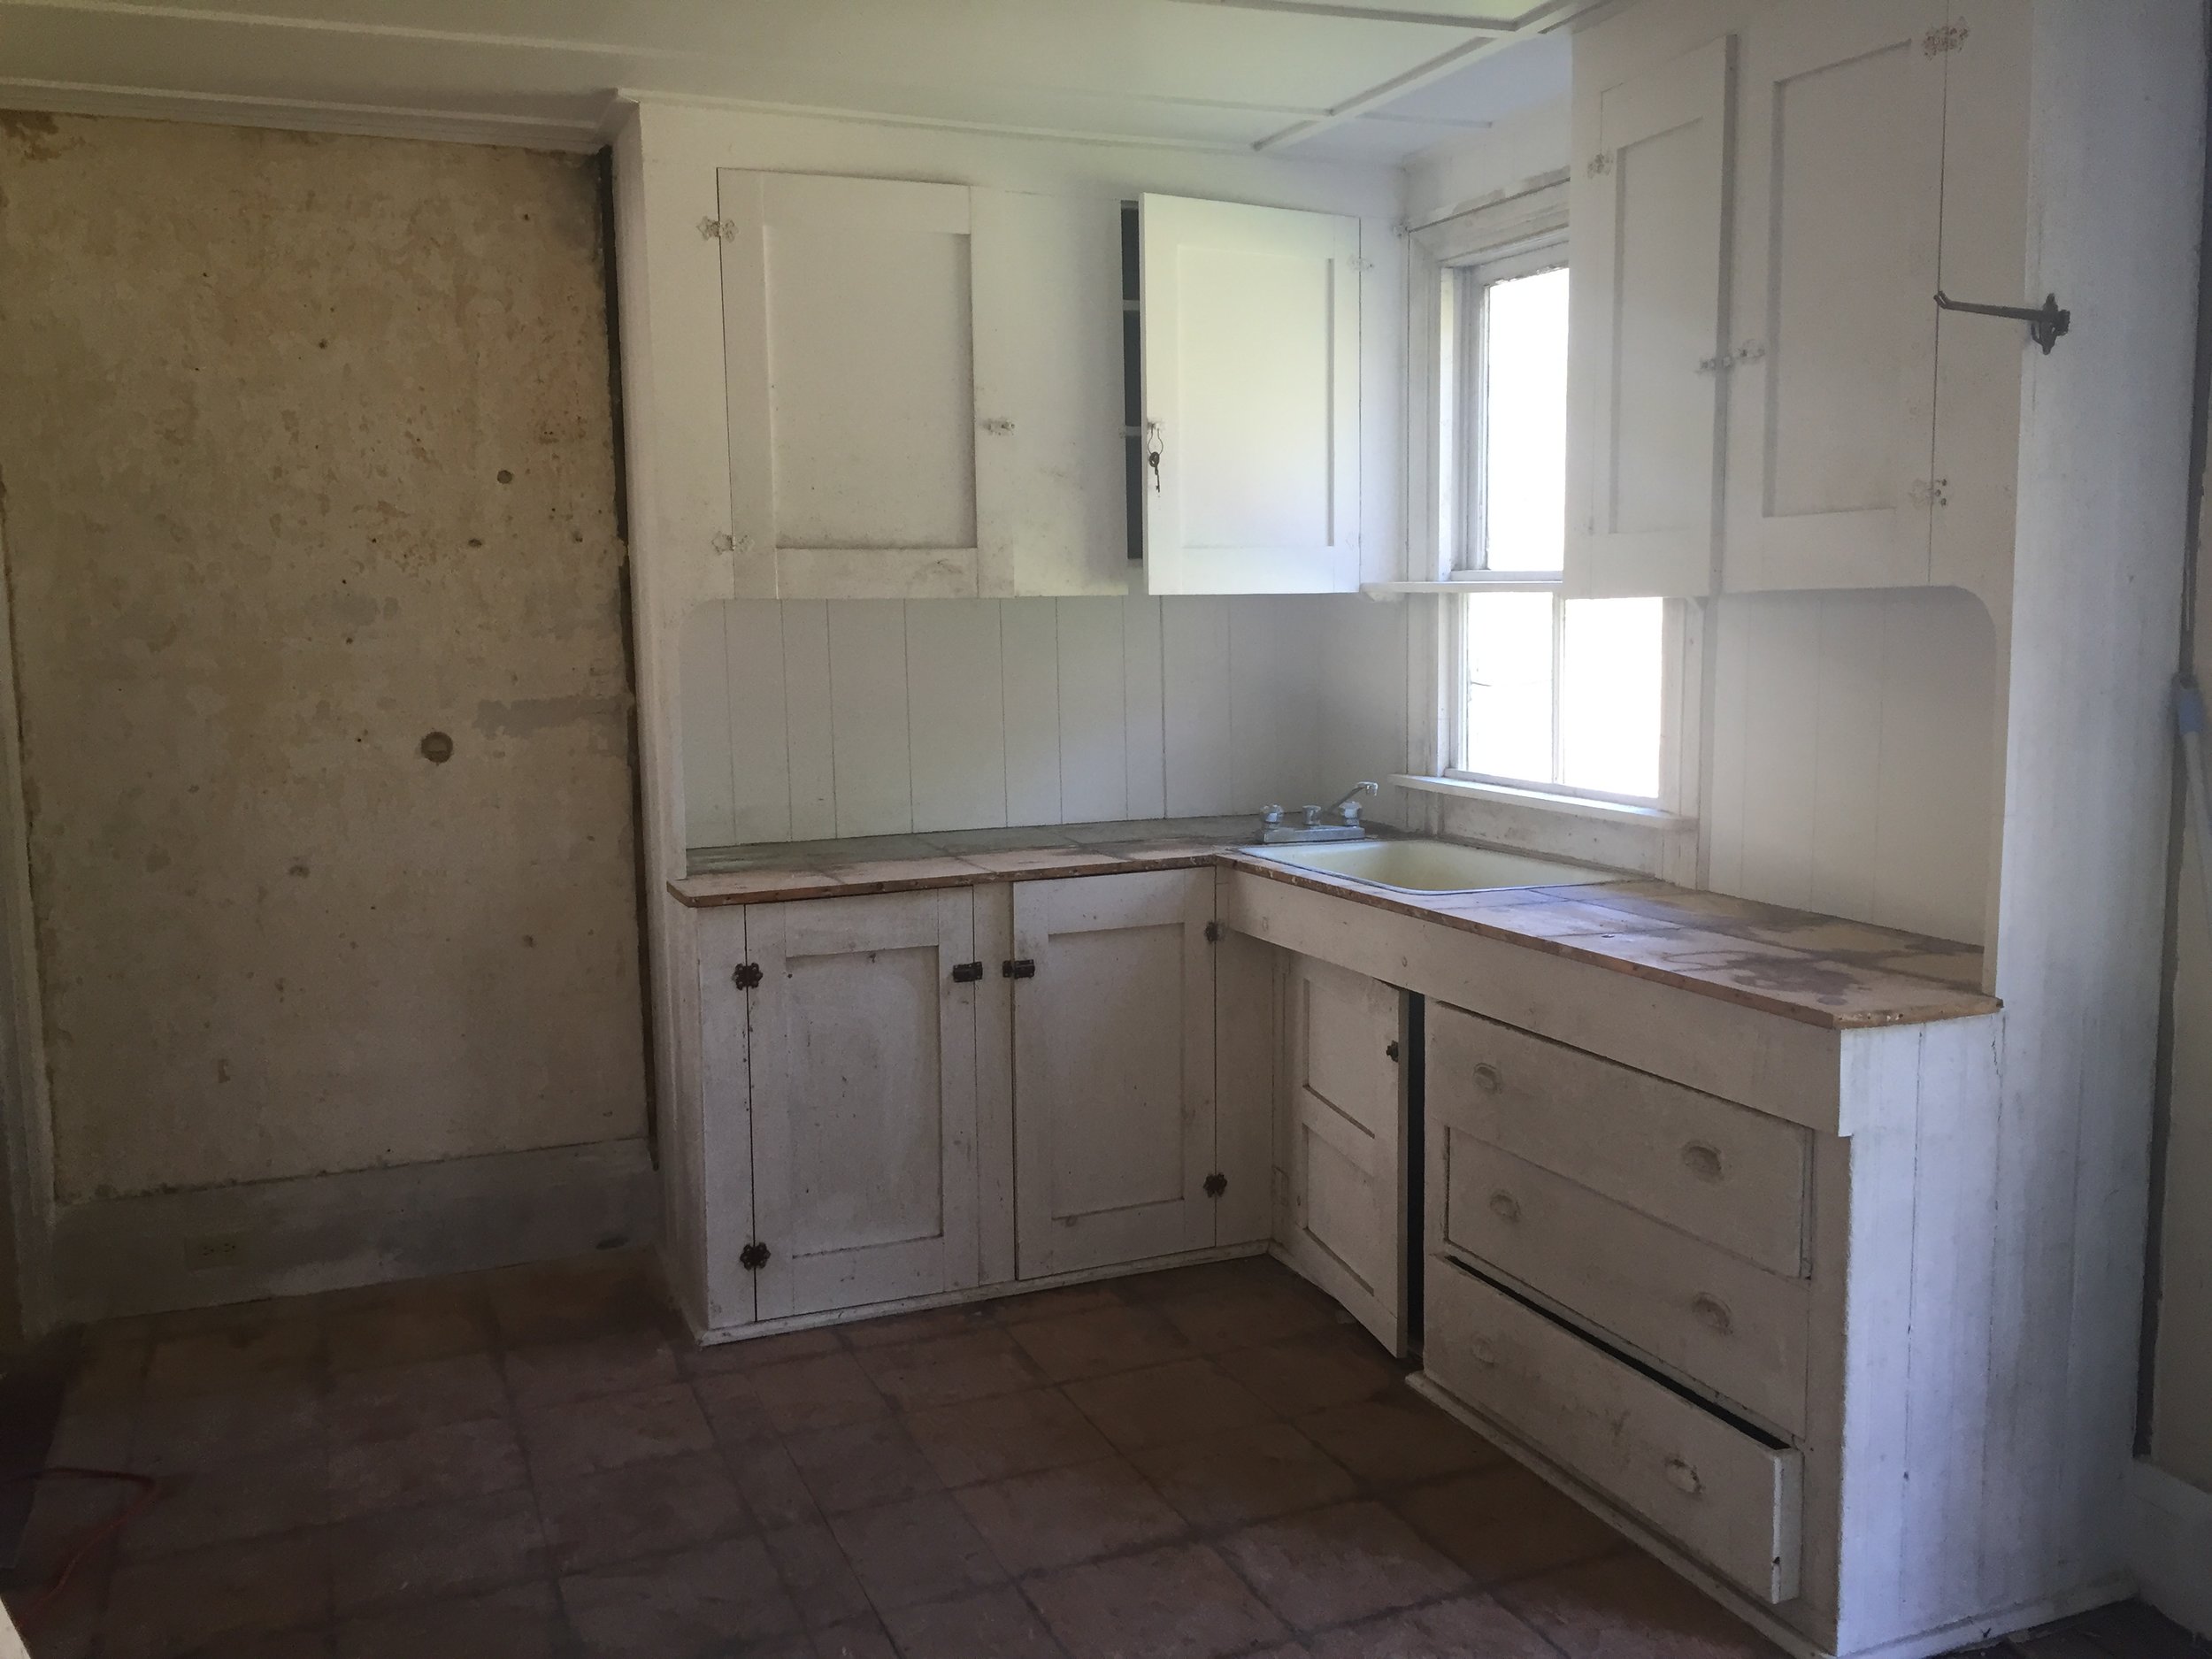
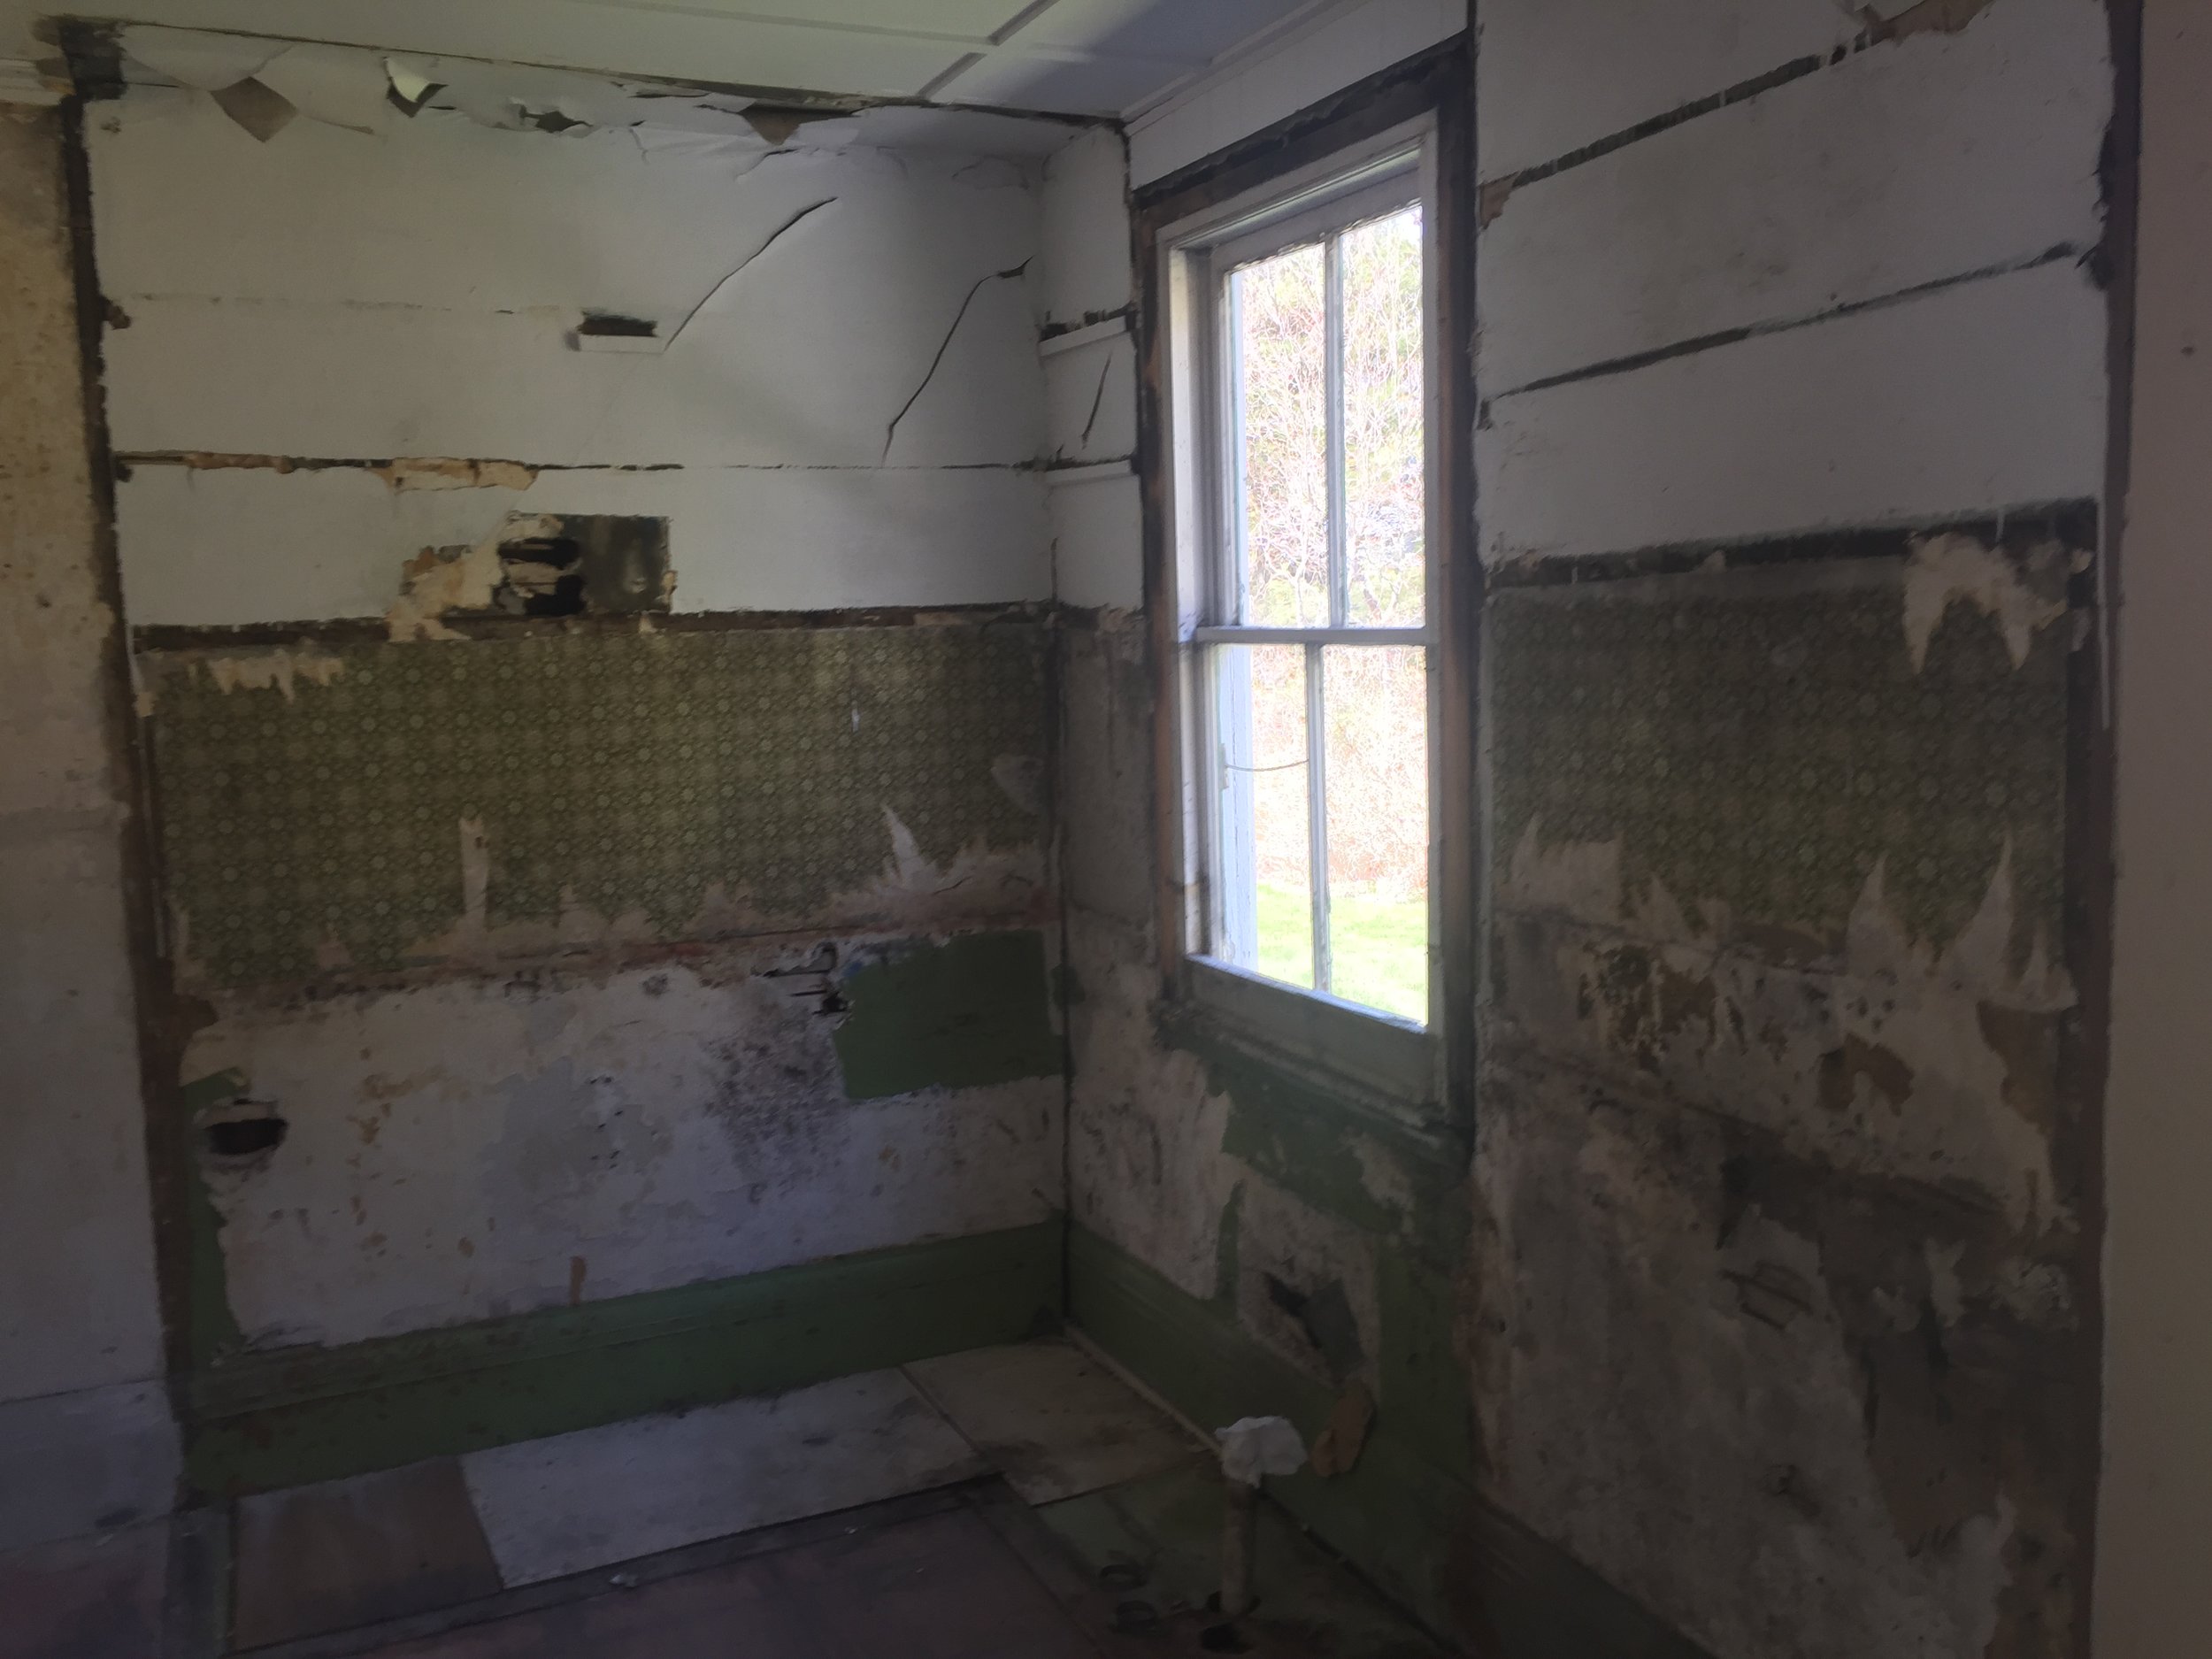
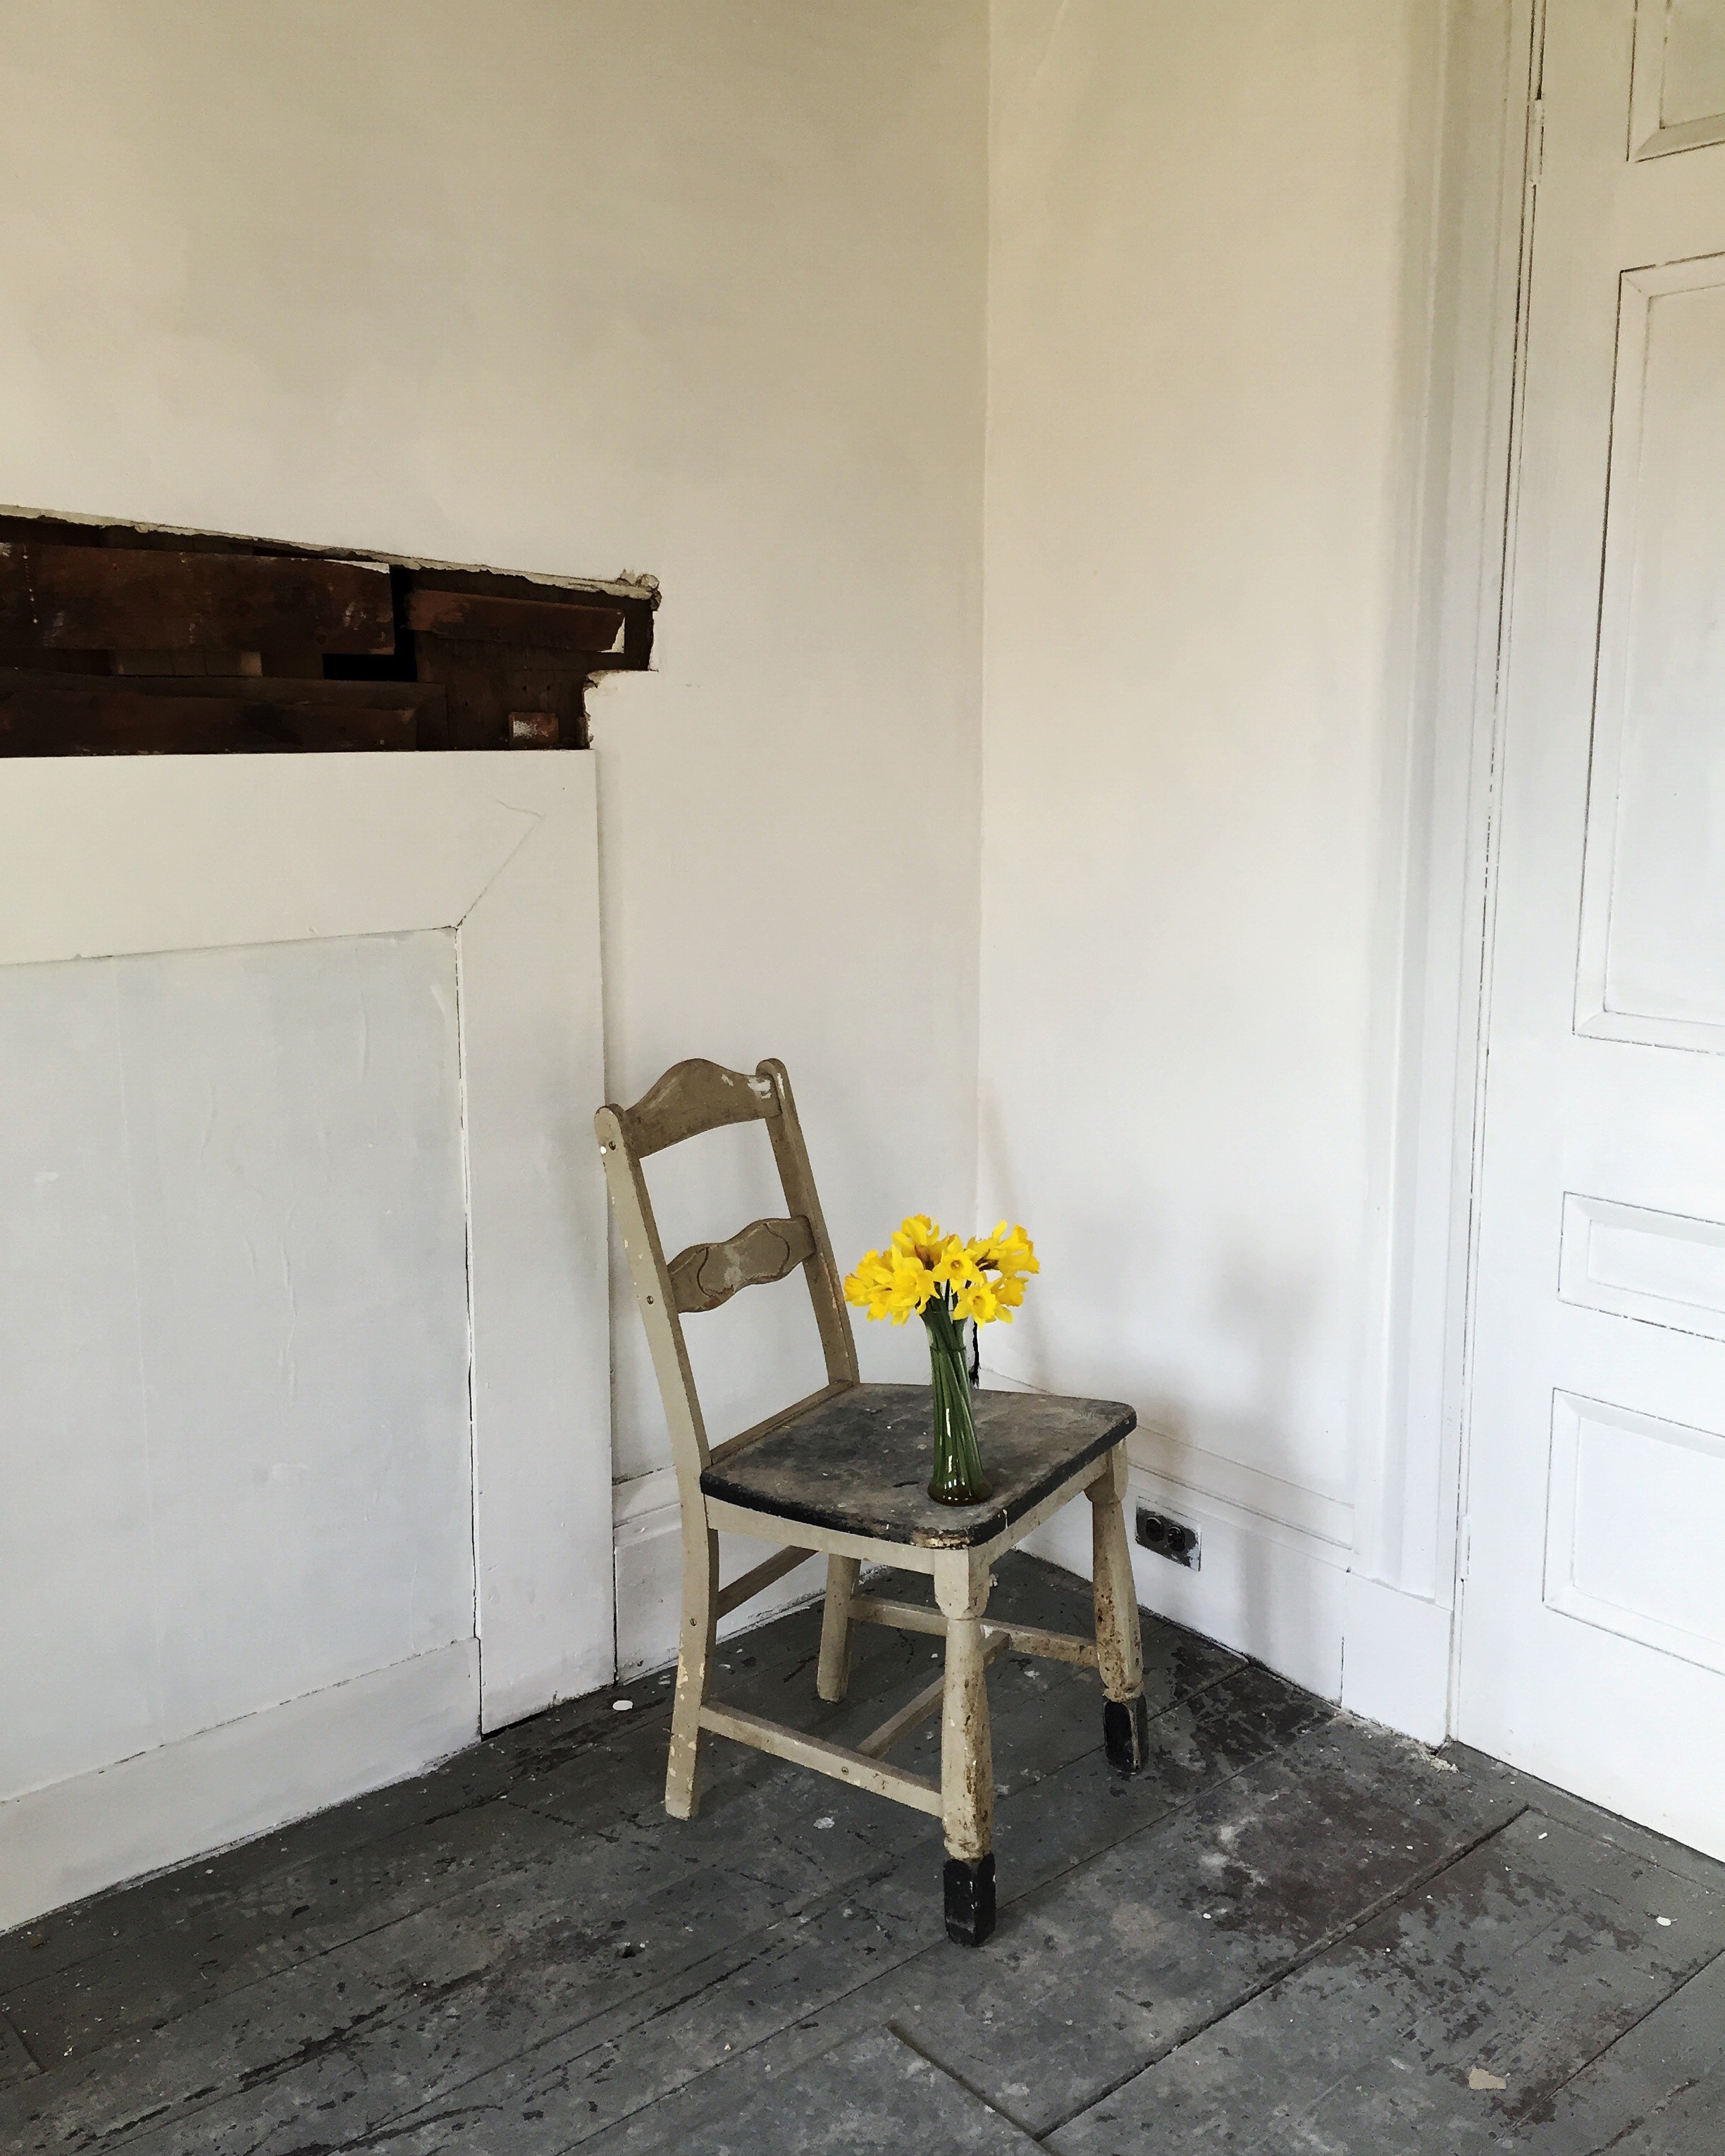
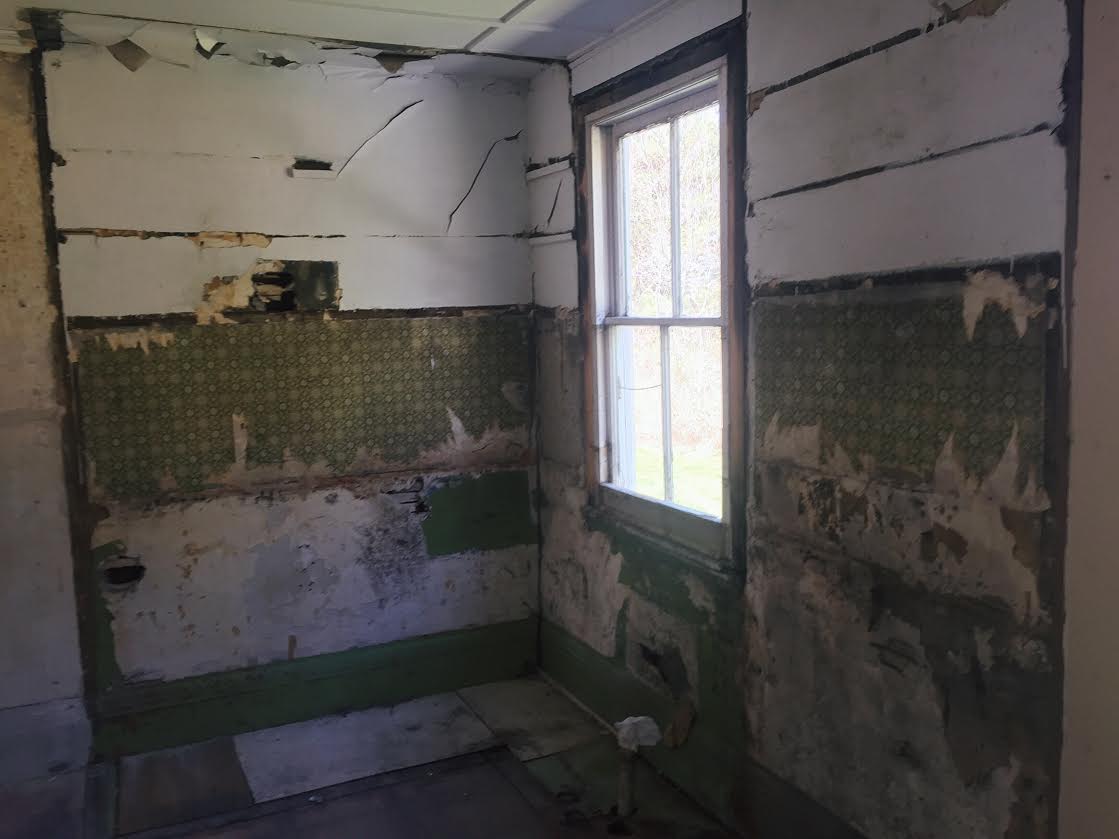
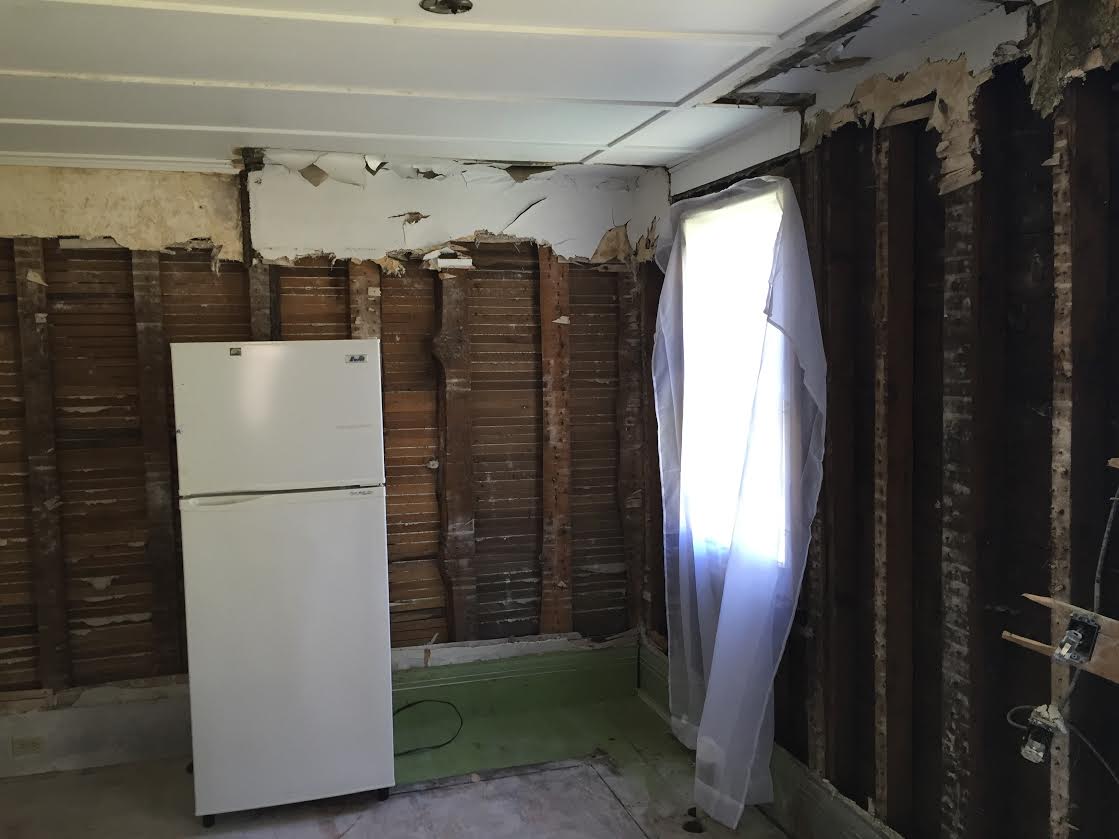
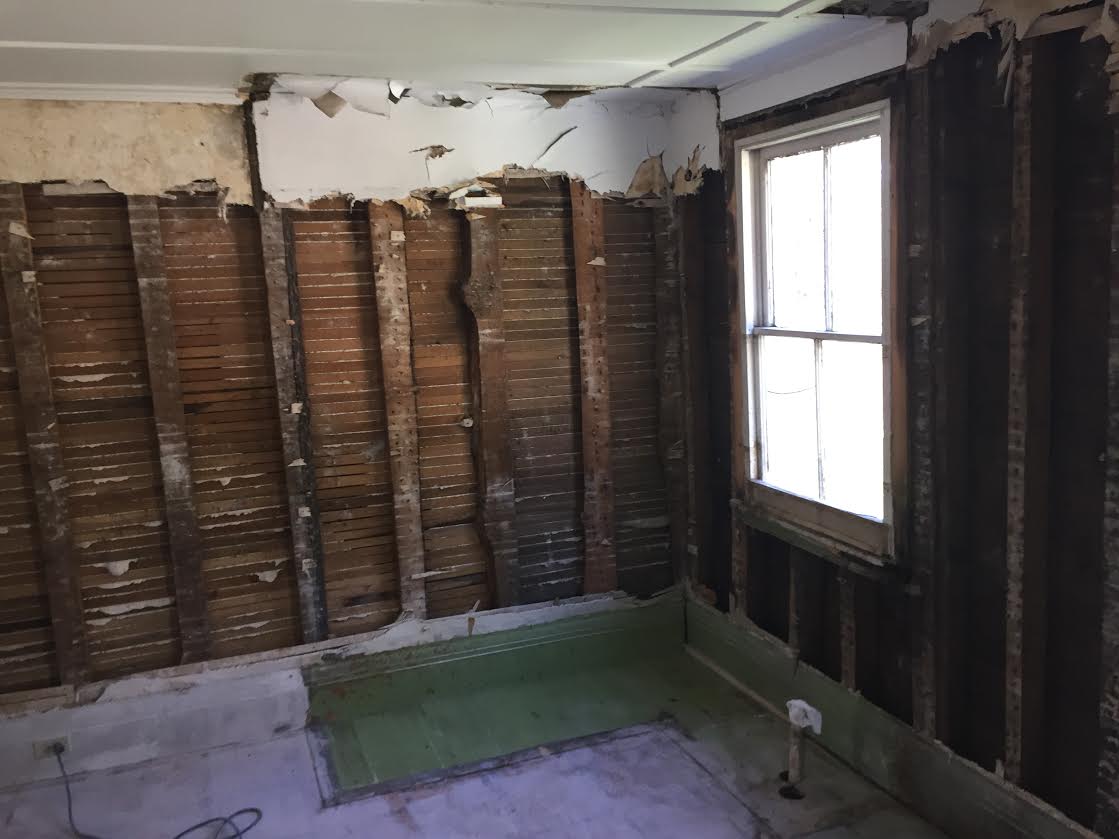
Mid summer I stood in the kitchen of our house and said, "I hate being in here." There was no ceiling in the kitchen and dining room, you could see outside around the entire perimeter up to two feet tall due to rot repair, and the gaping hole for the patio door was framed out but it was not yet installed so every time we came in and out we had to screw and unscrew a huge piece of plywood. It looked like a complete mess that would never ever be finished. I felt way over my head, totally unprepared, exhausted, and like we were moving at a snail's pace. Well, if you're in the middle of your own renovation -- guys, it gets exciting and promising I swear!

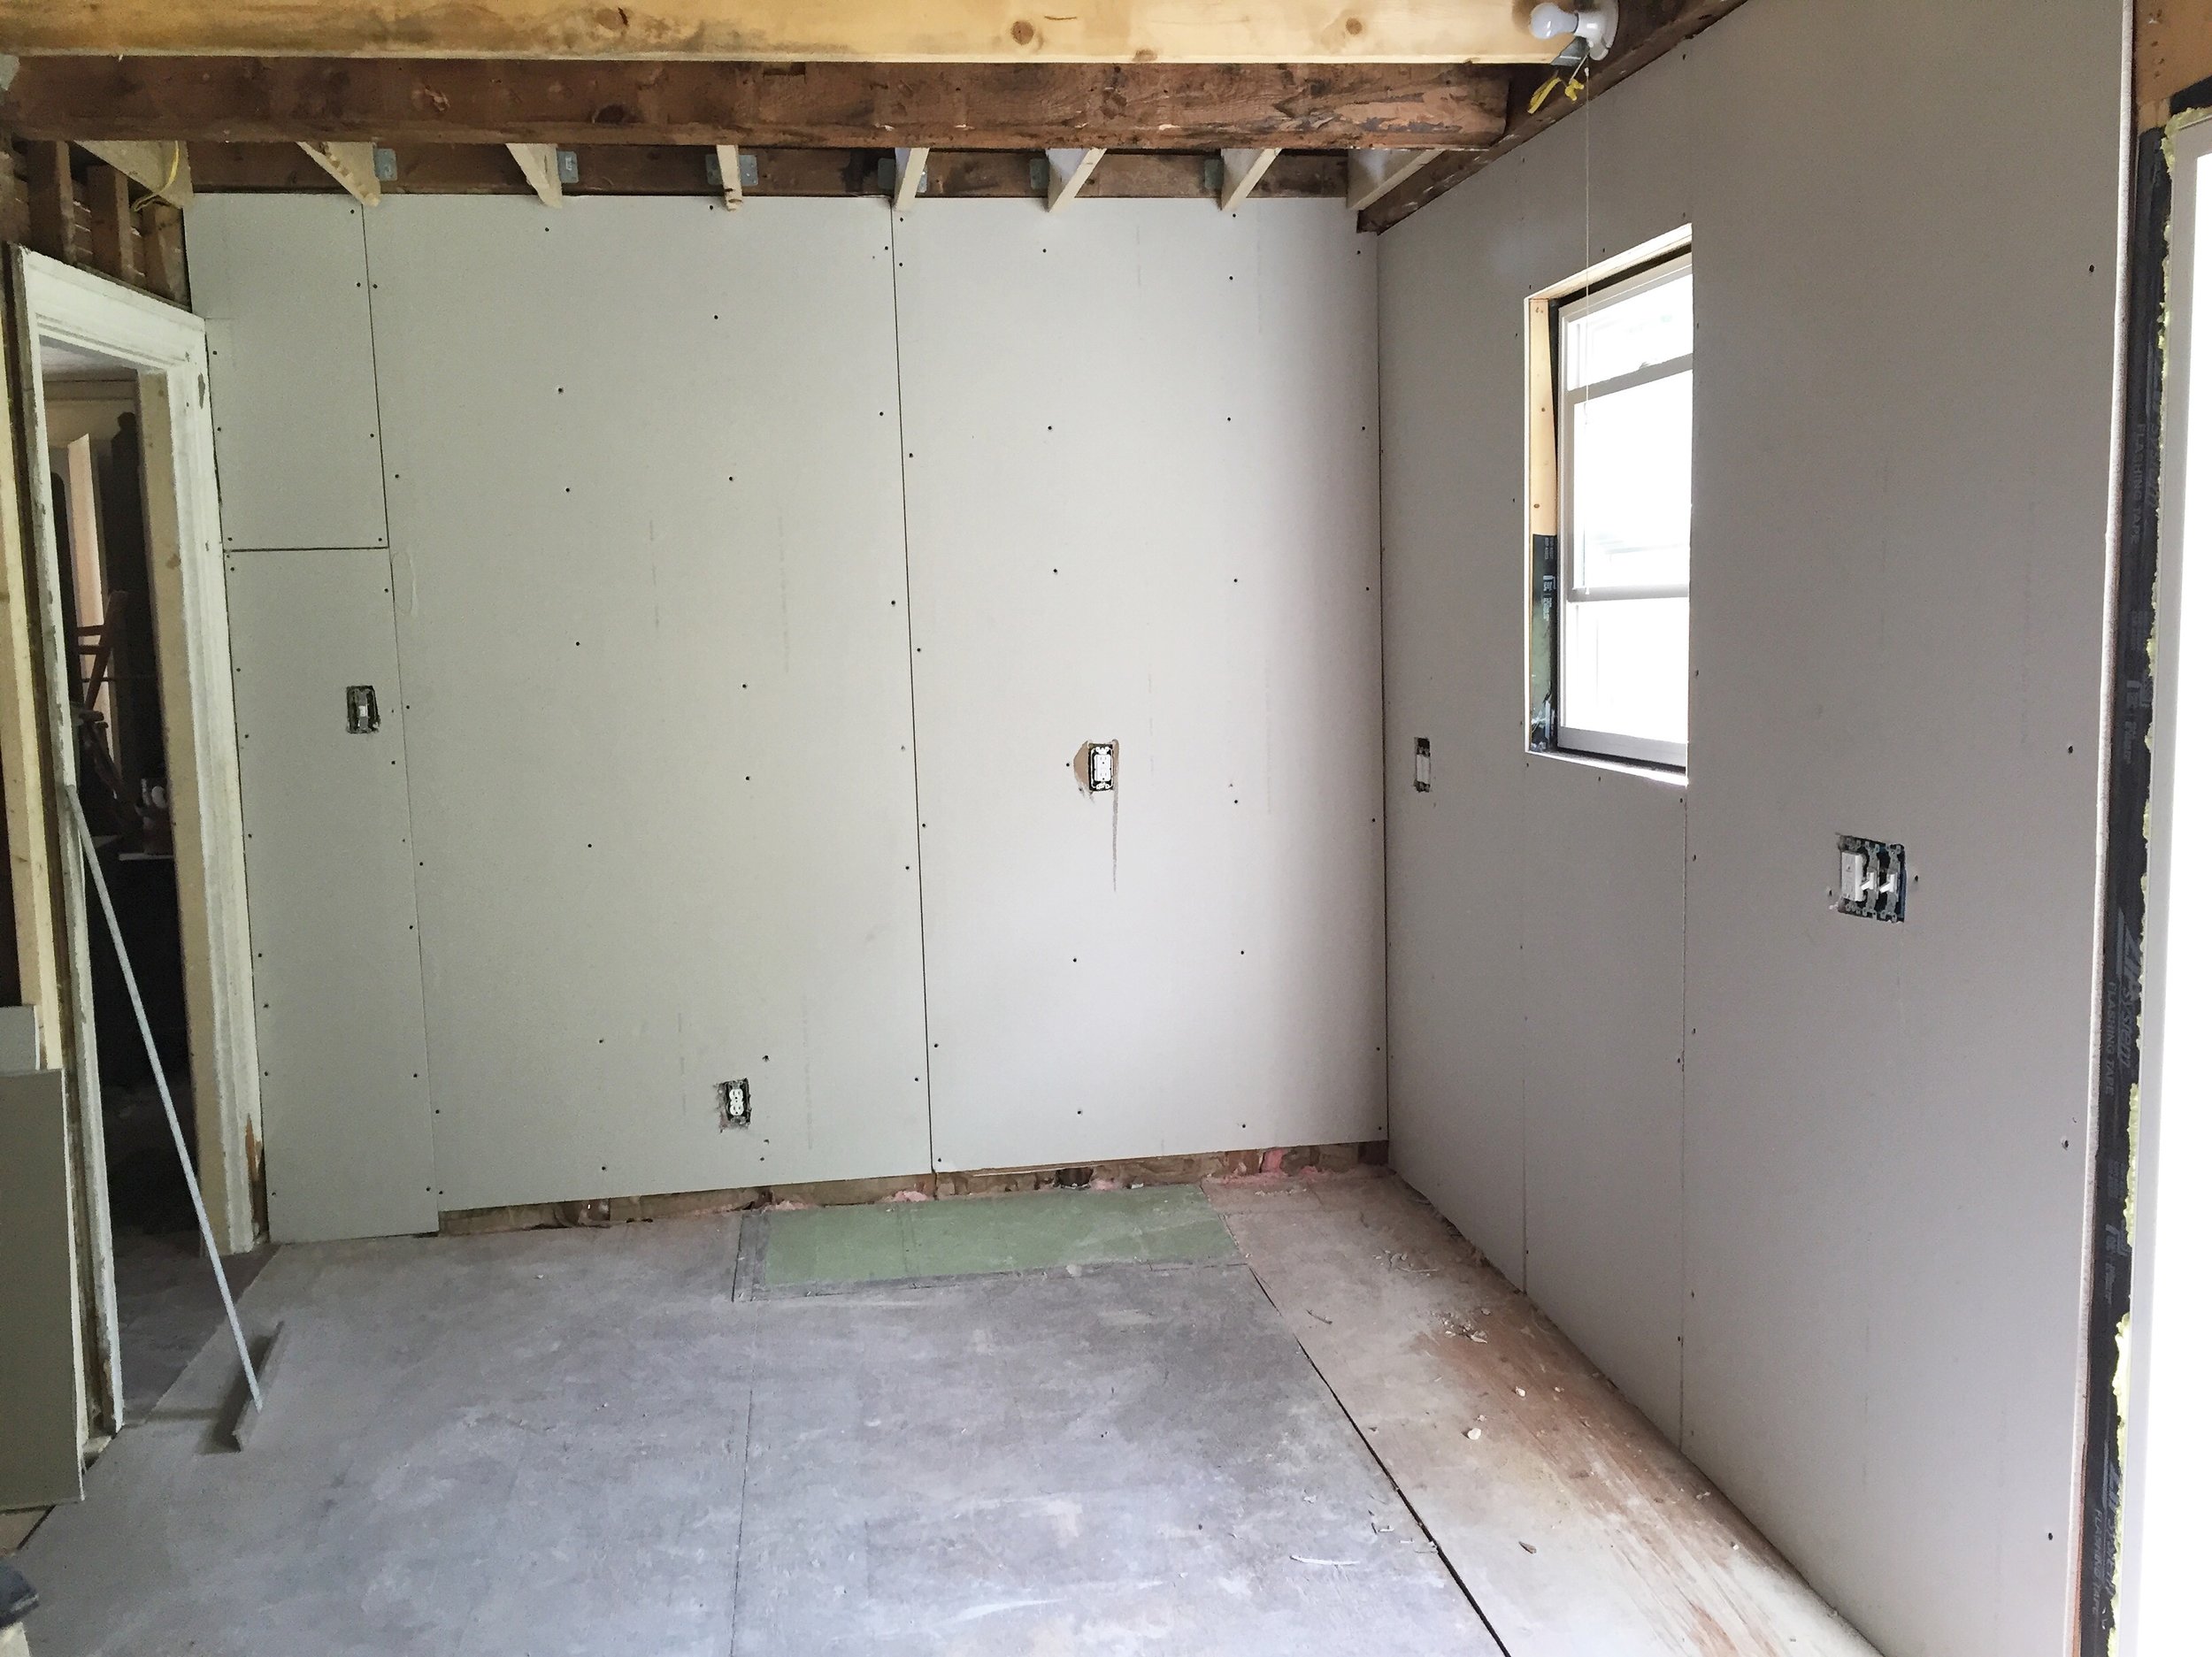
Fast forward to the end of October and this shell of a home now has walls, floors, and the most exciting thing -- kitchen cabinets!

Once we finished the electrical we were able to put up dry wall which then lead us to figure out the flooring. We originally thought we'd be able to recycle the original flooring from upstairs, but when we pulled it out from under my Dad's garage it had not held up well over the years. Knowing we wanted planks as wide as possible we headed to Lumber Liquidators in Bangor. They had a bundle of 10" boards for a super steal at $80, but it would only cover half our square footage. The salesman and my Dad convinced a skeptical me that mixing it with 8" would not only look great, but would actually be more authentic to the time period of the house (it was rare to have equal width boards in a pre-1900s home). So we headed back to Brooklin with enough pine for our kitchen and dining room for less than $400. Five hours of hard work later, we had flooring.

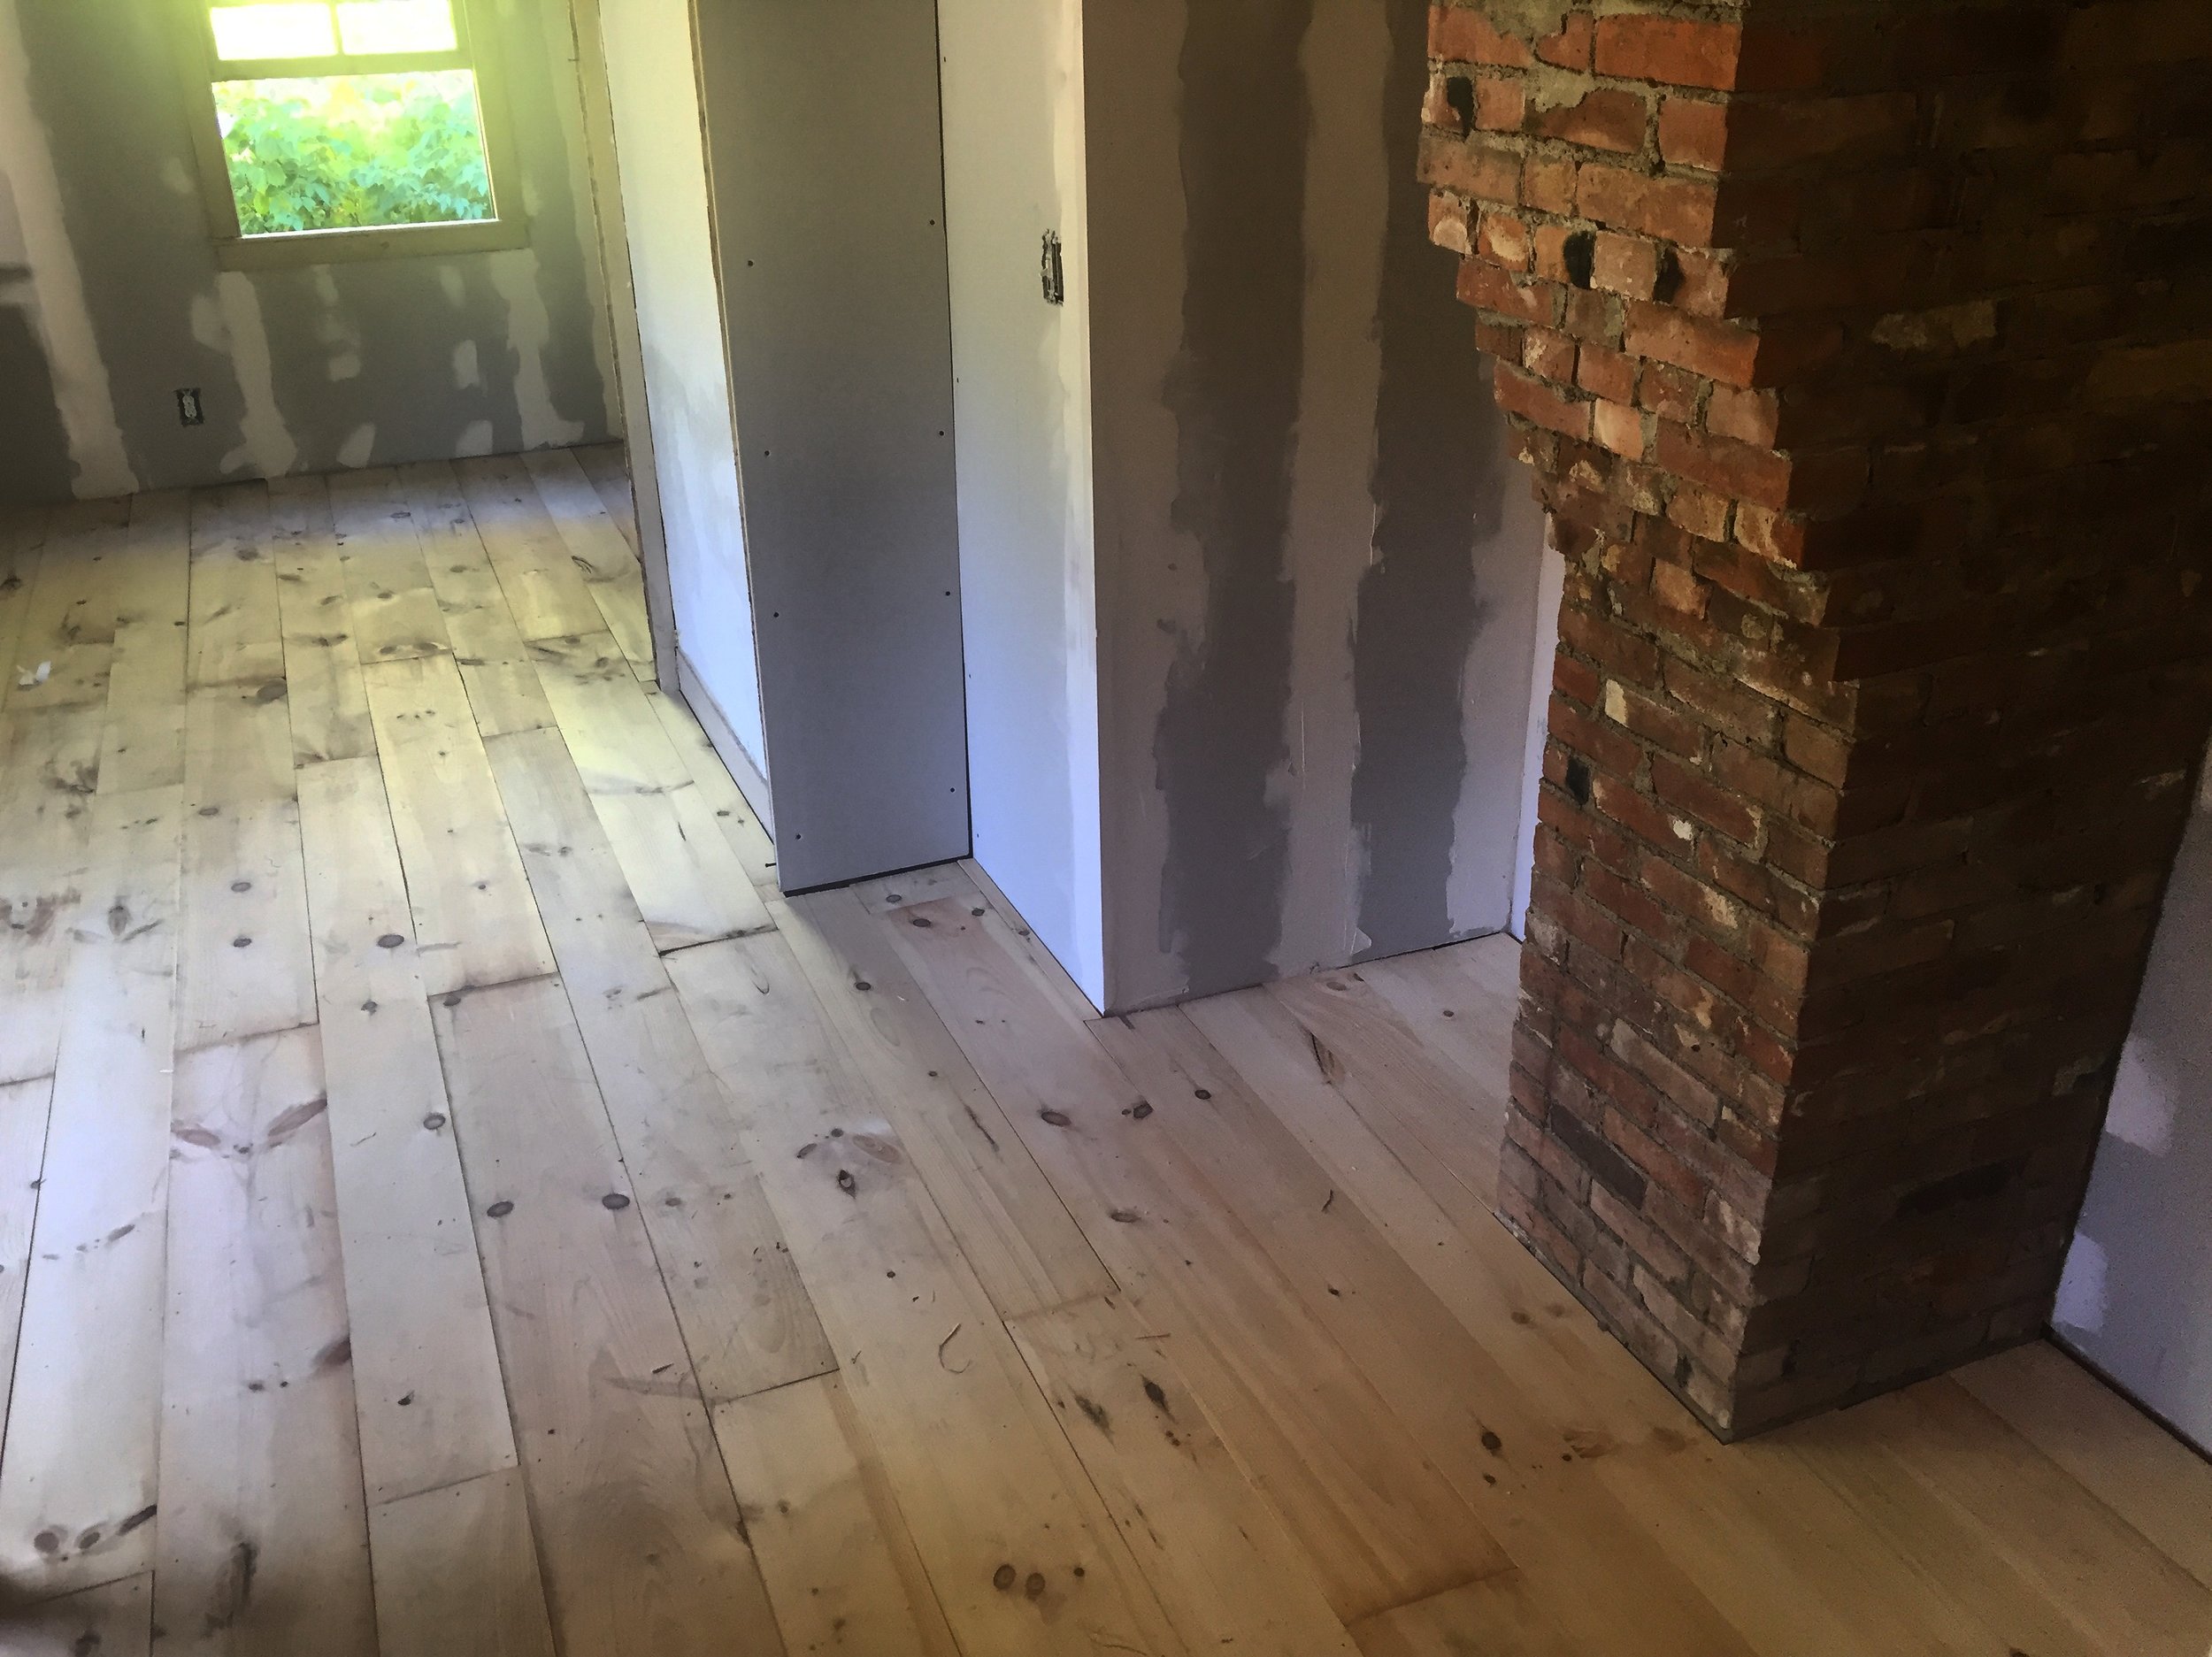
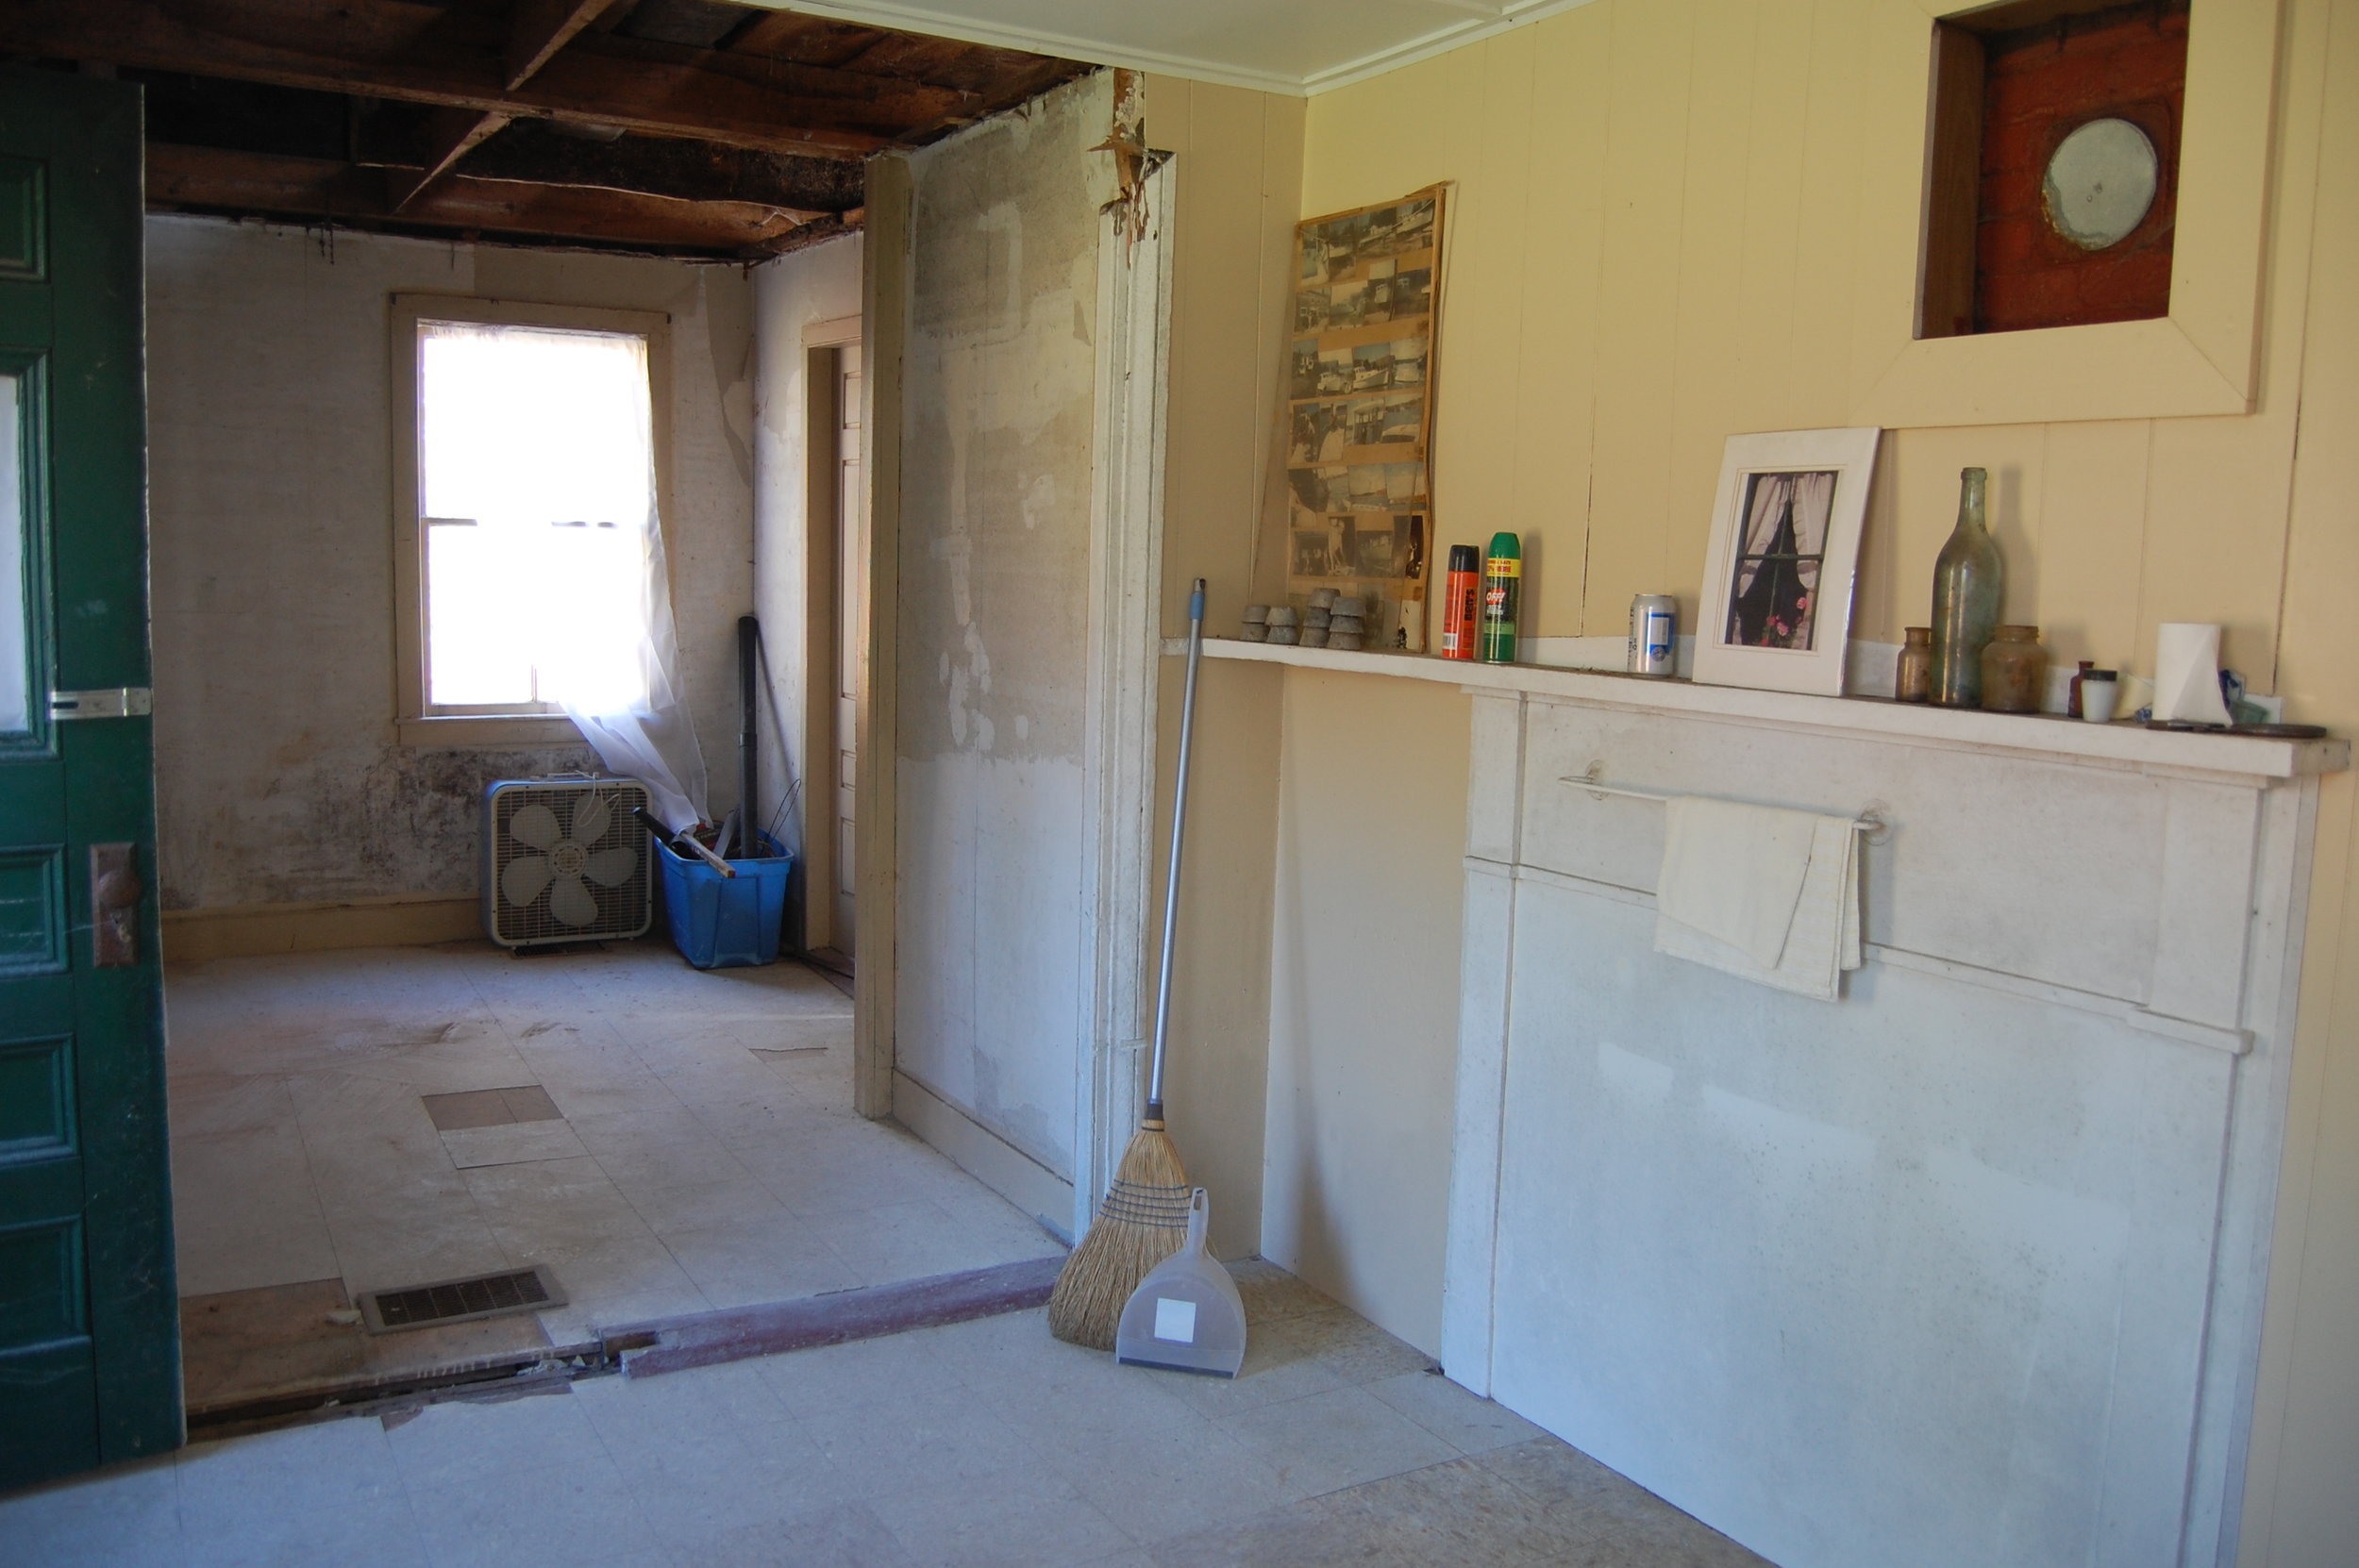
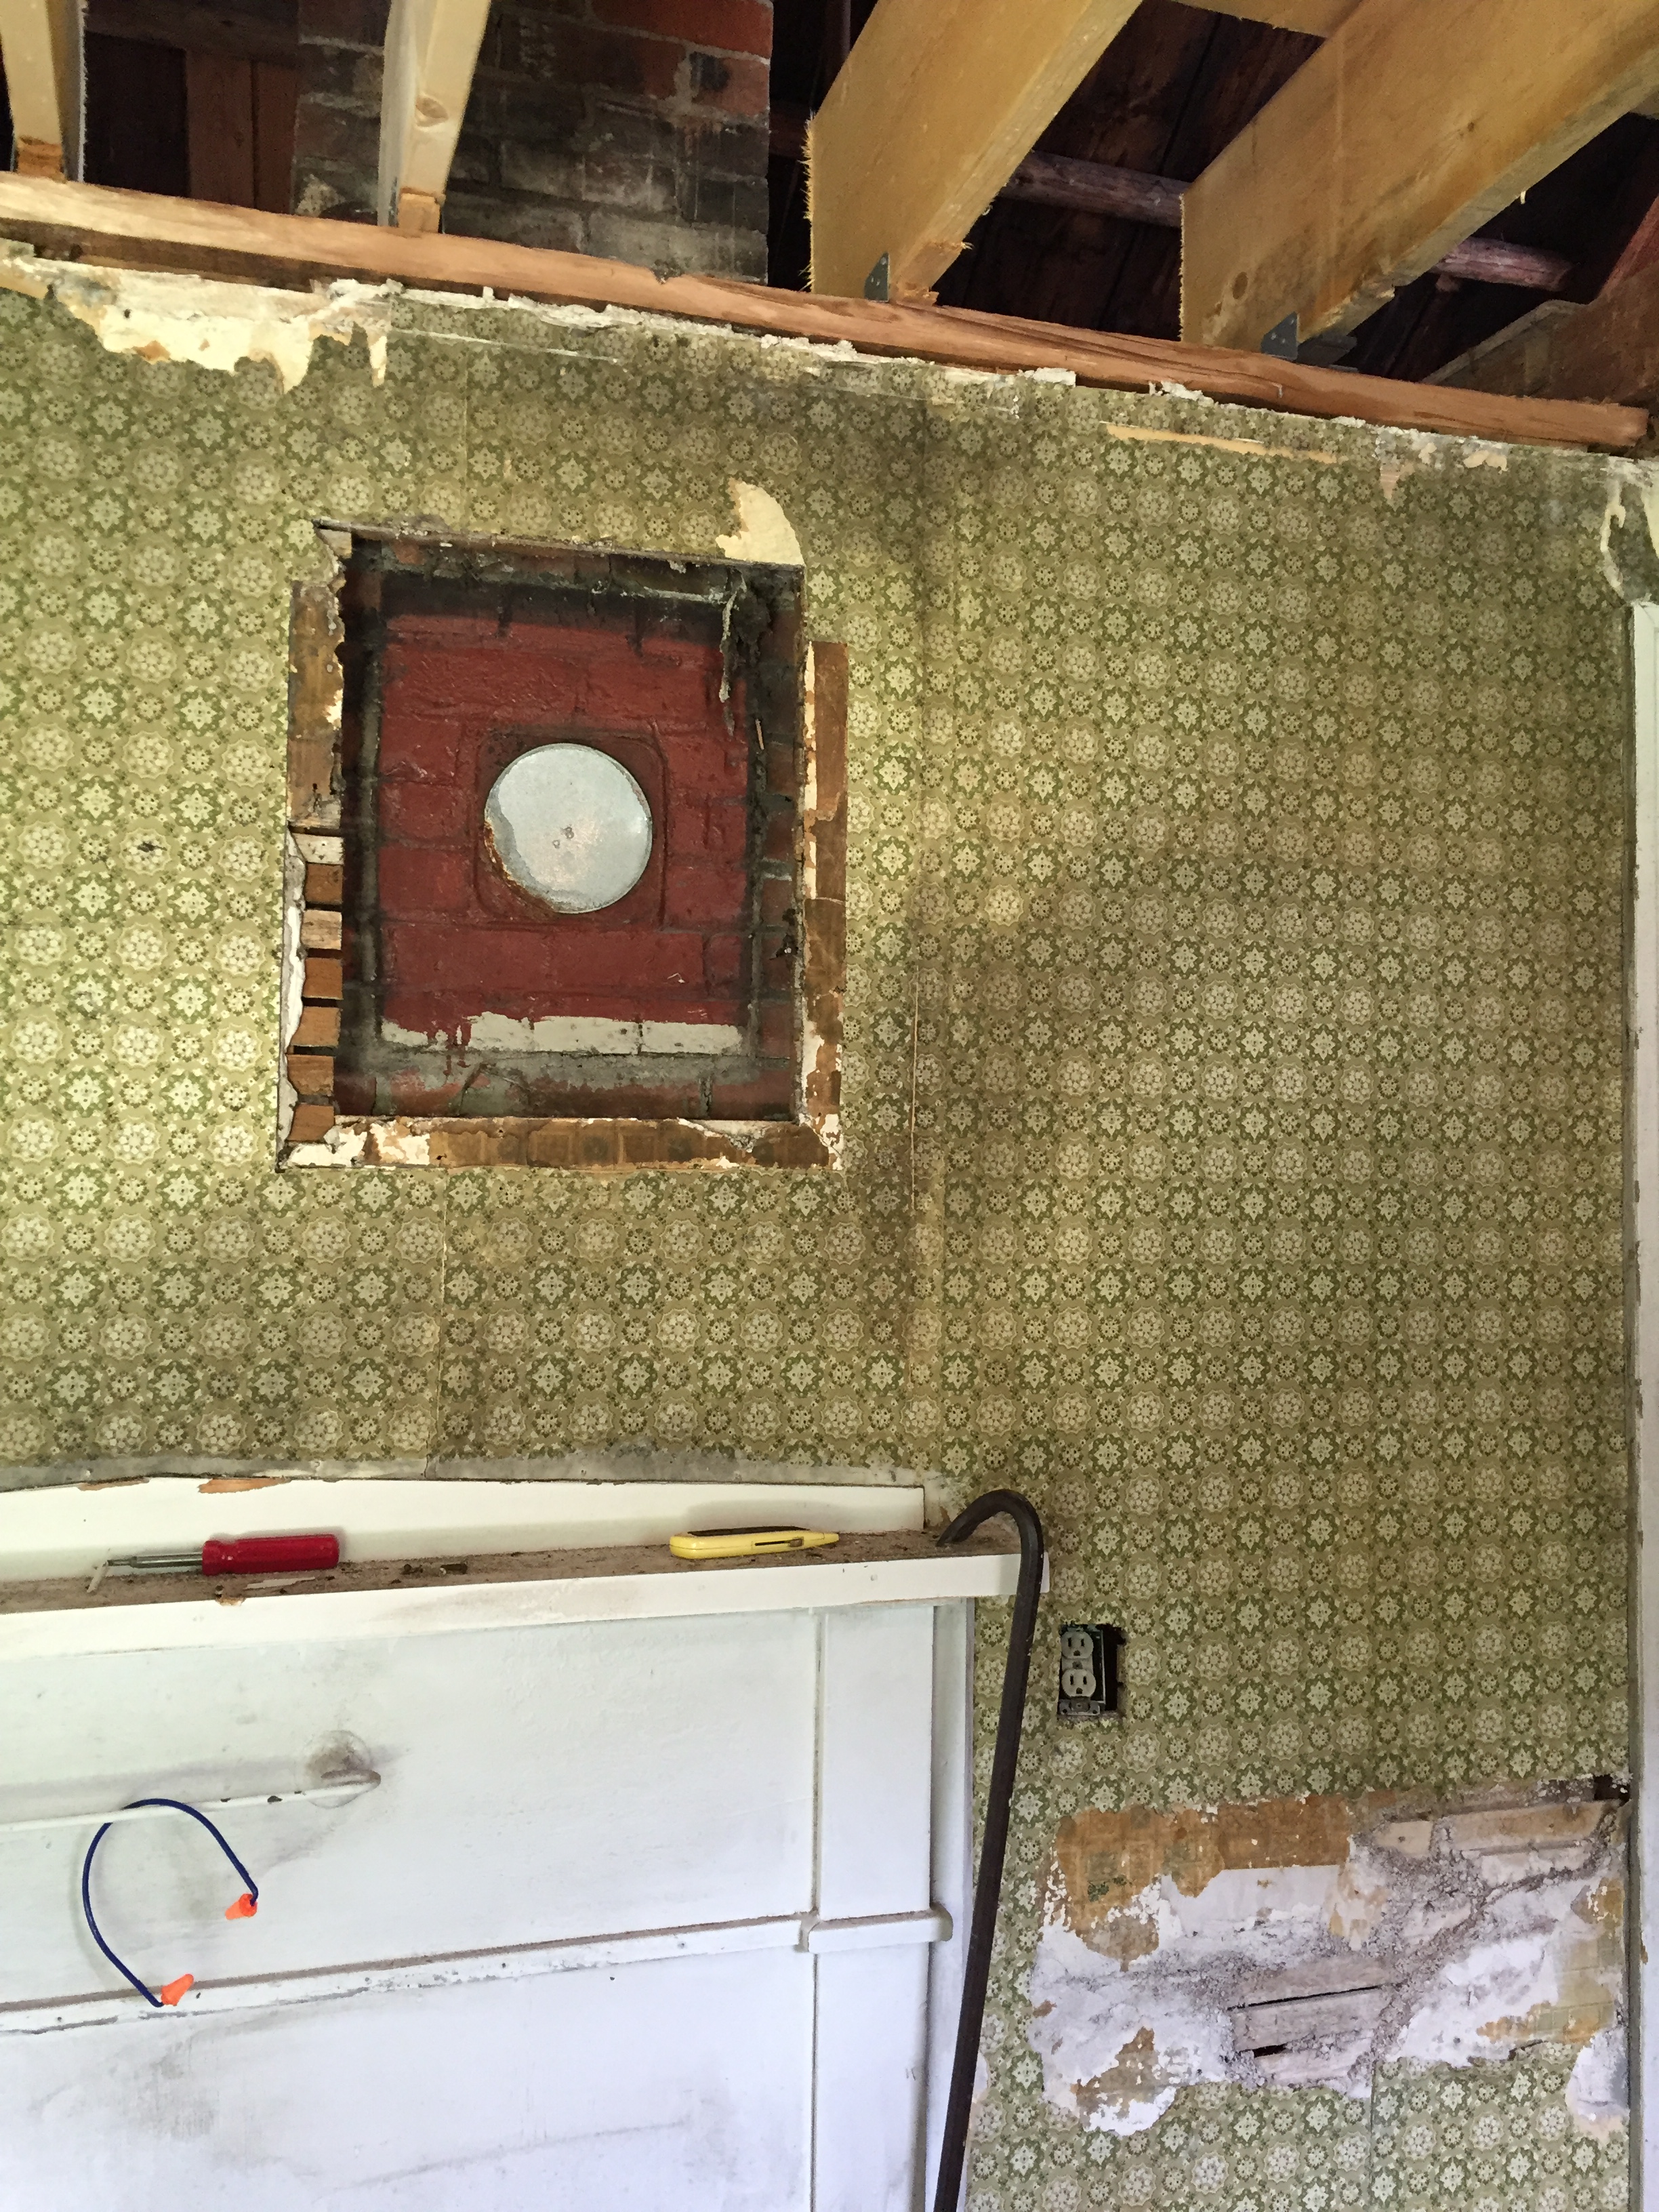
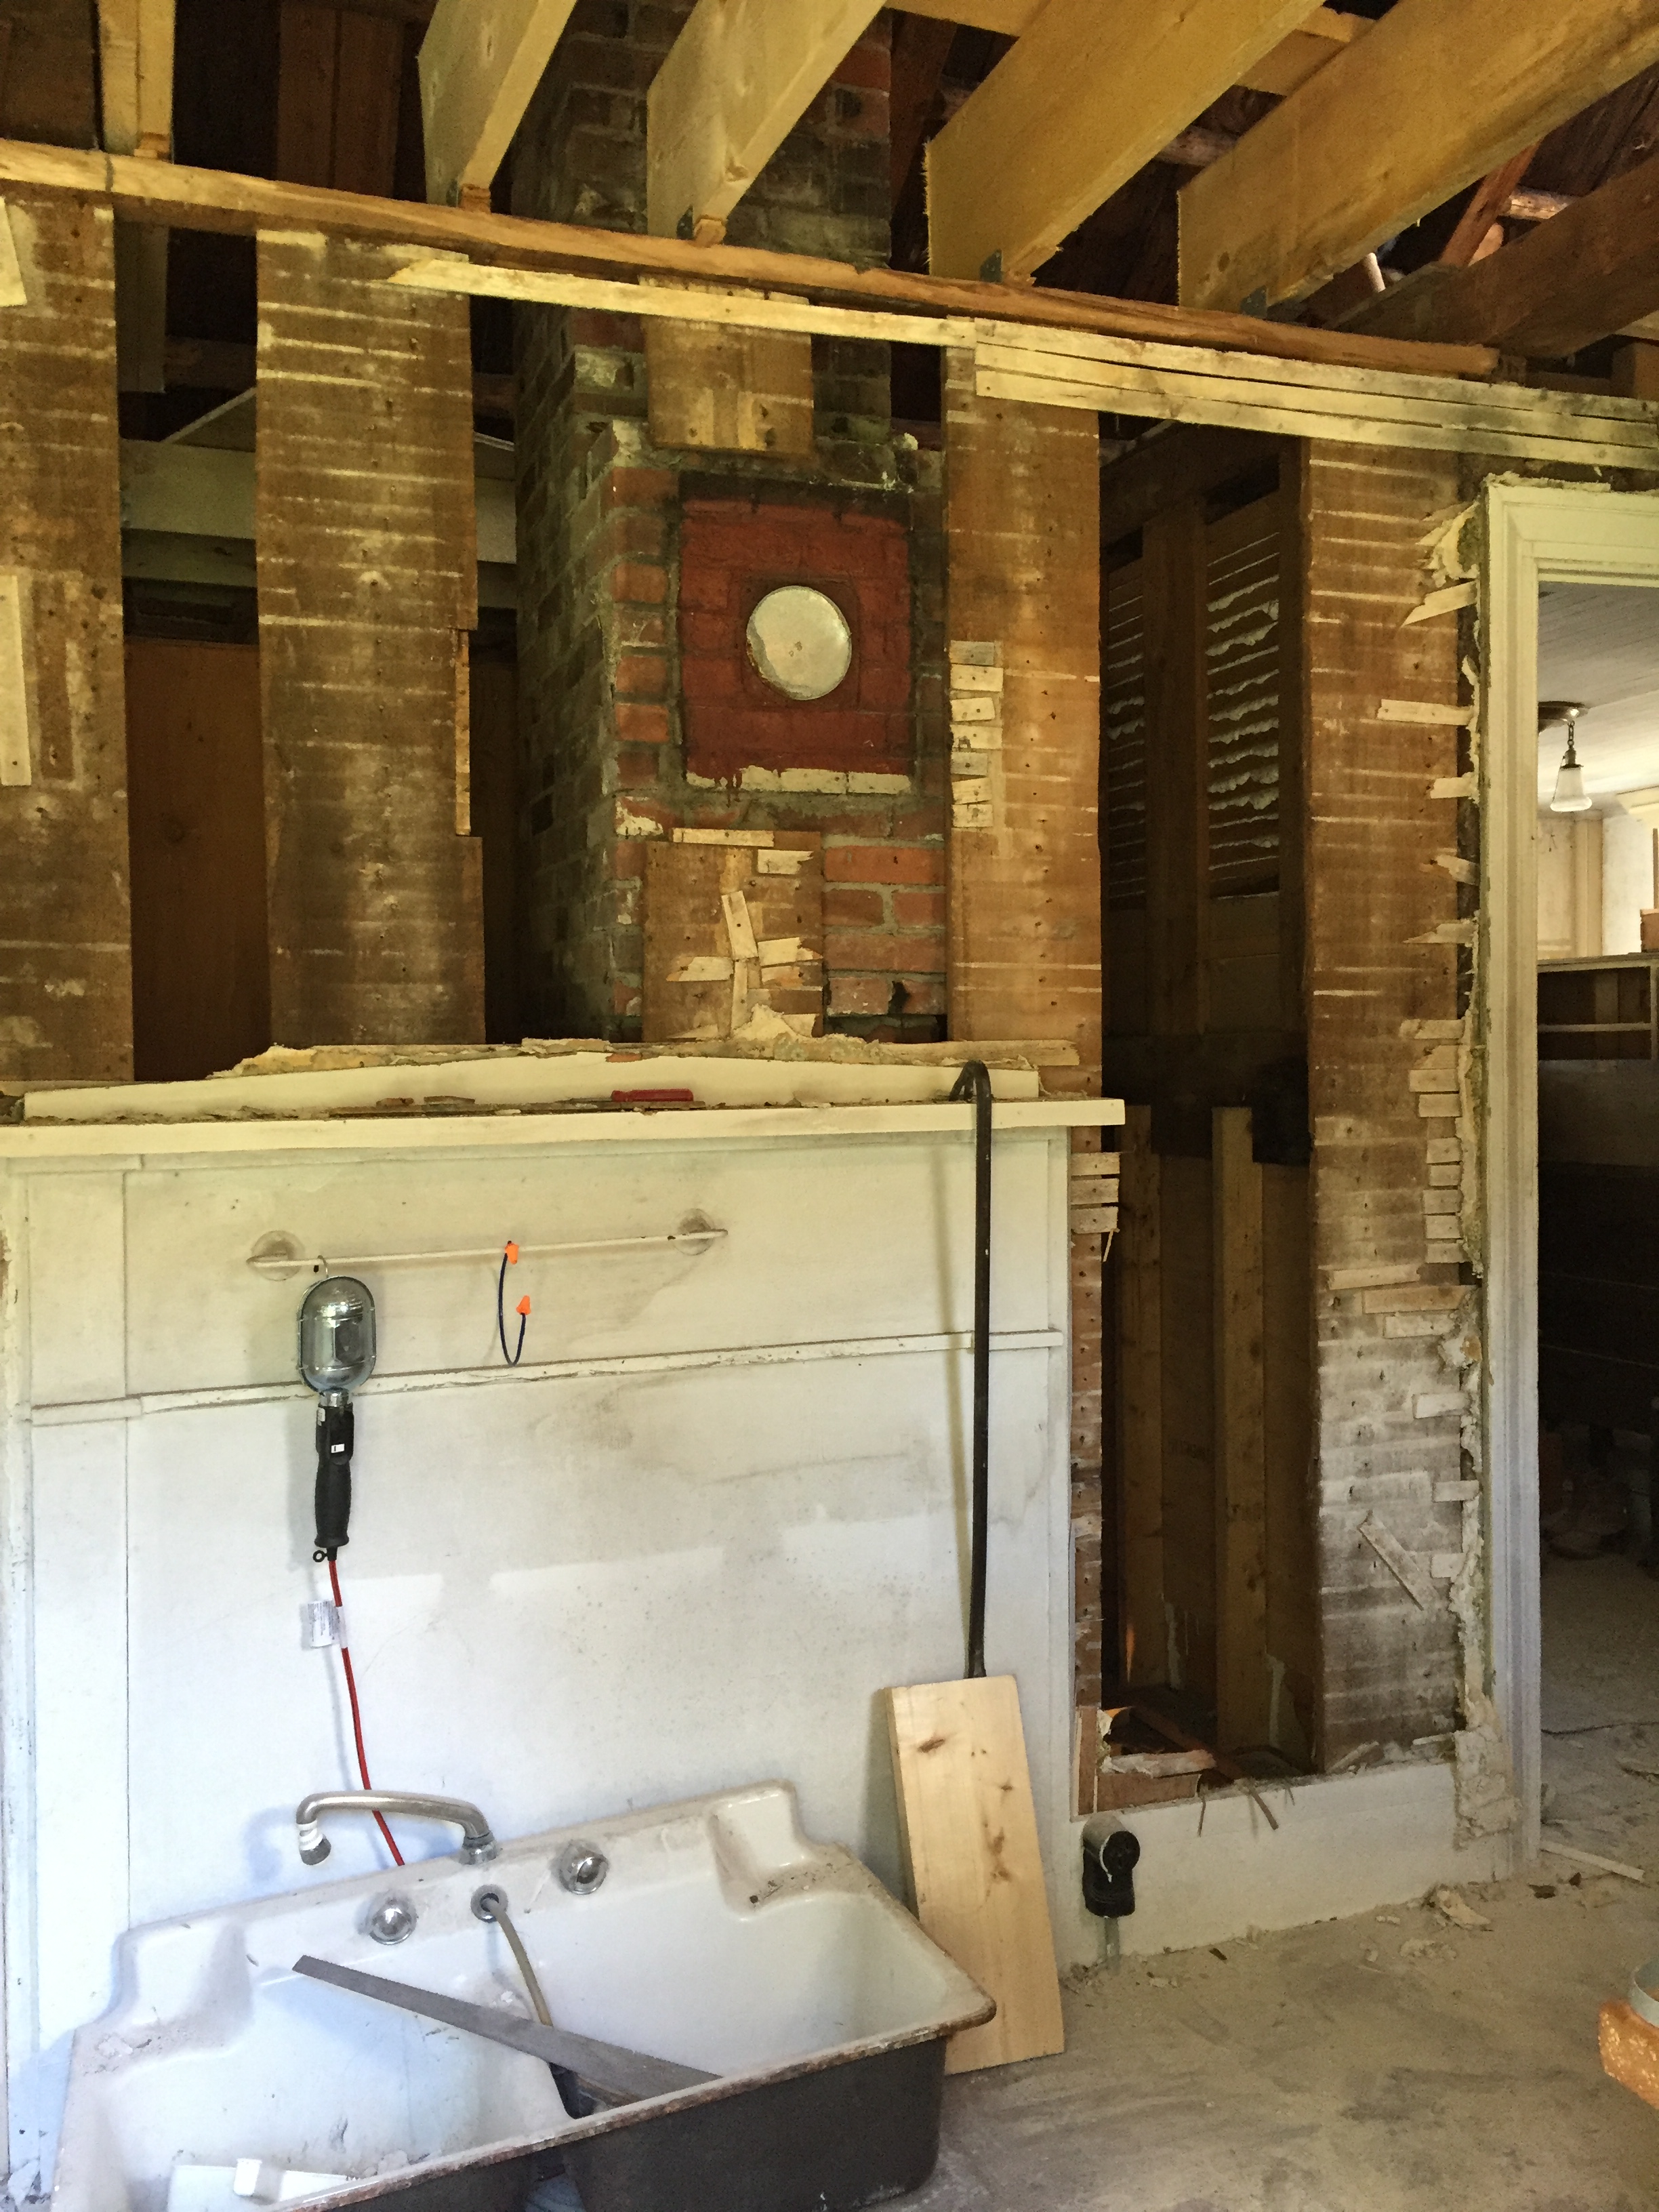
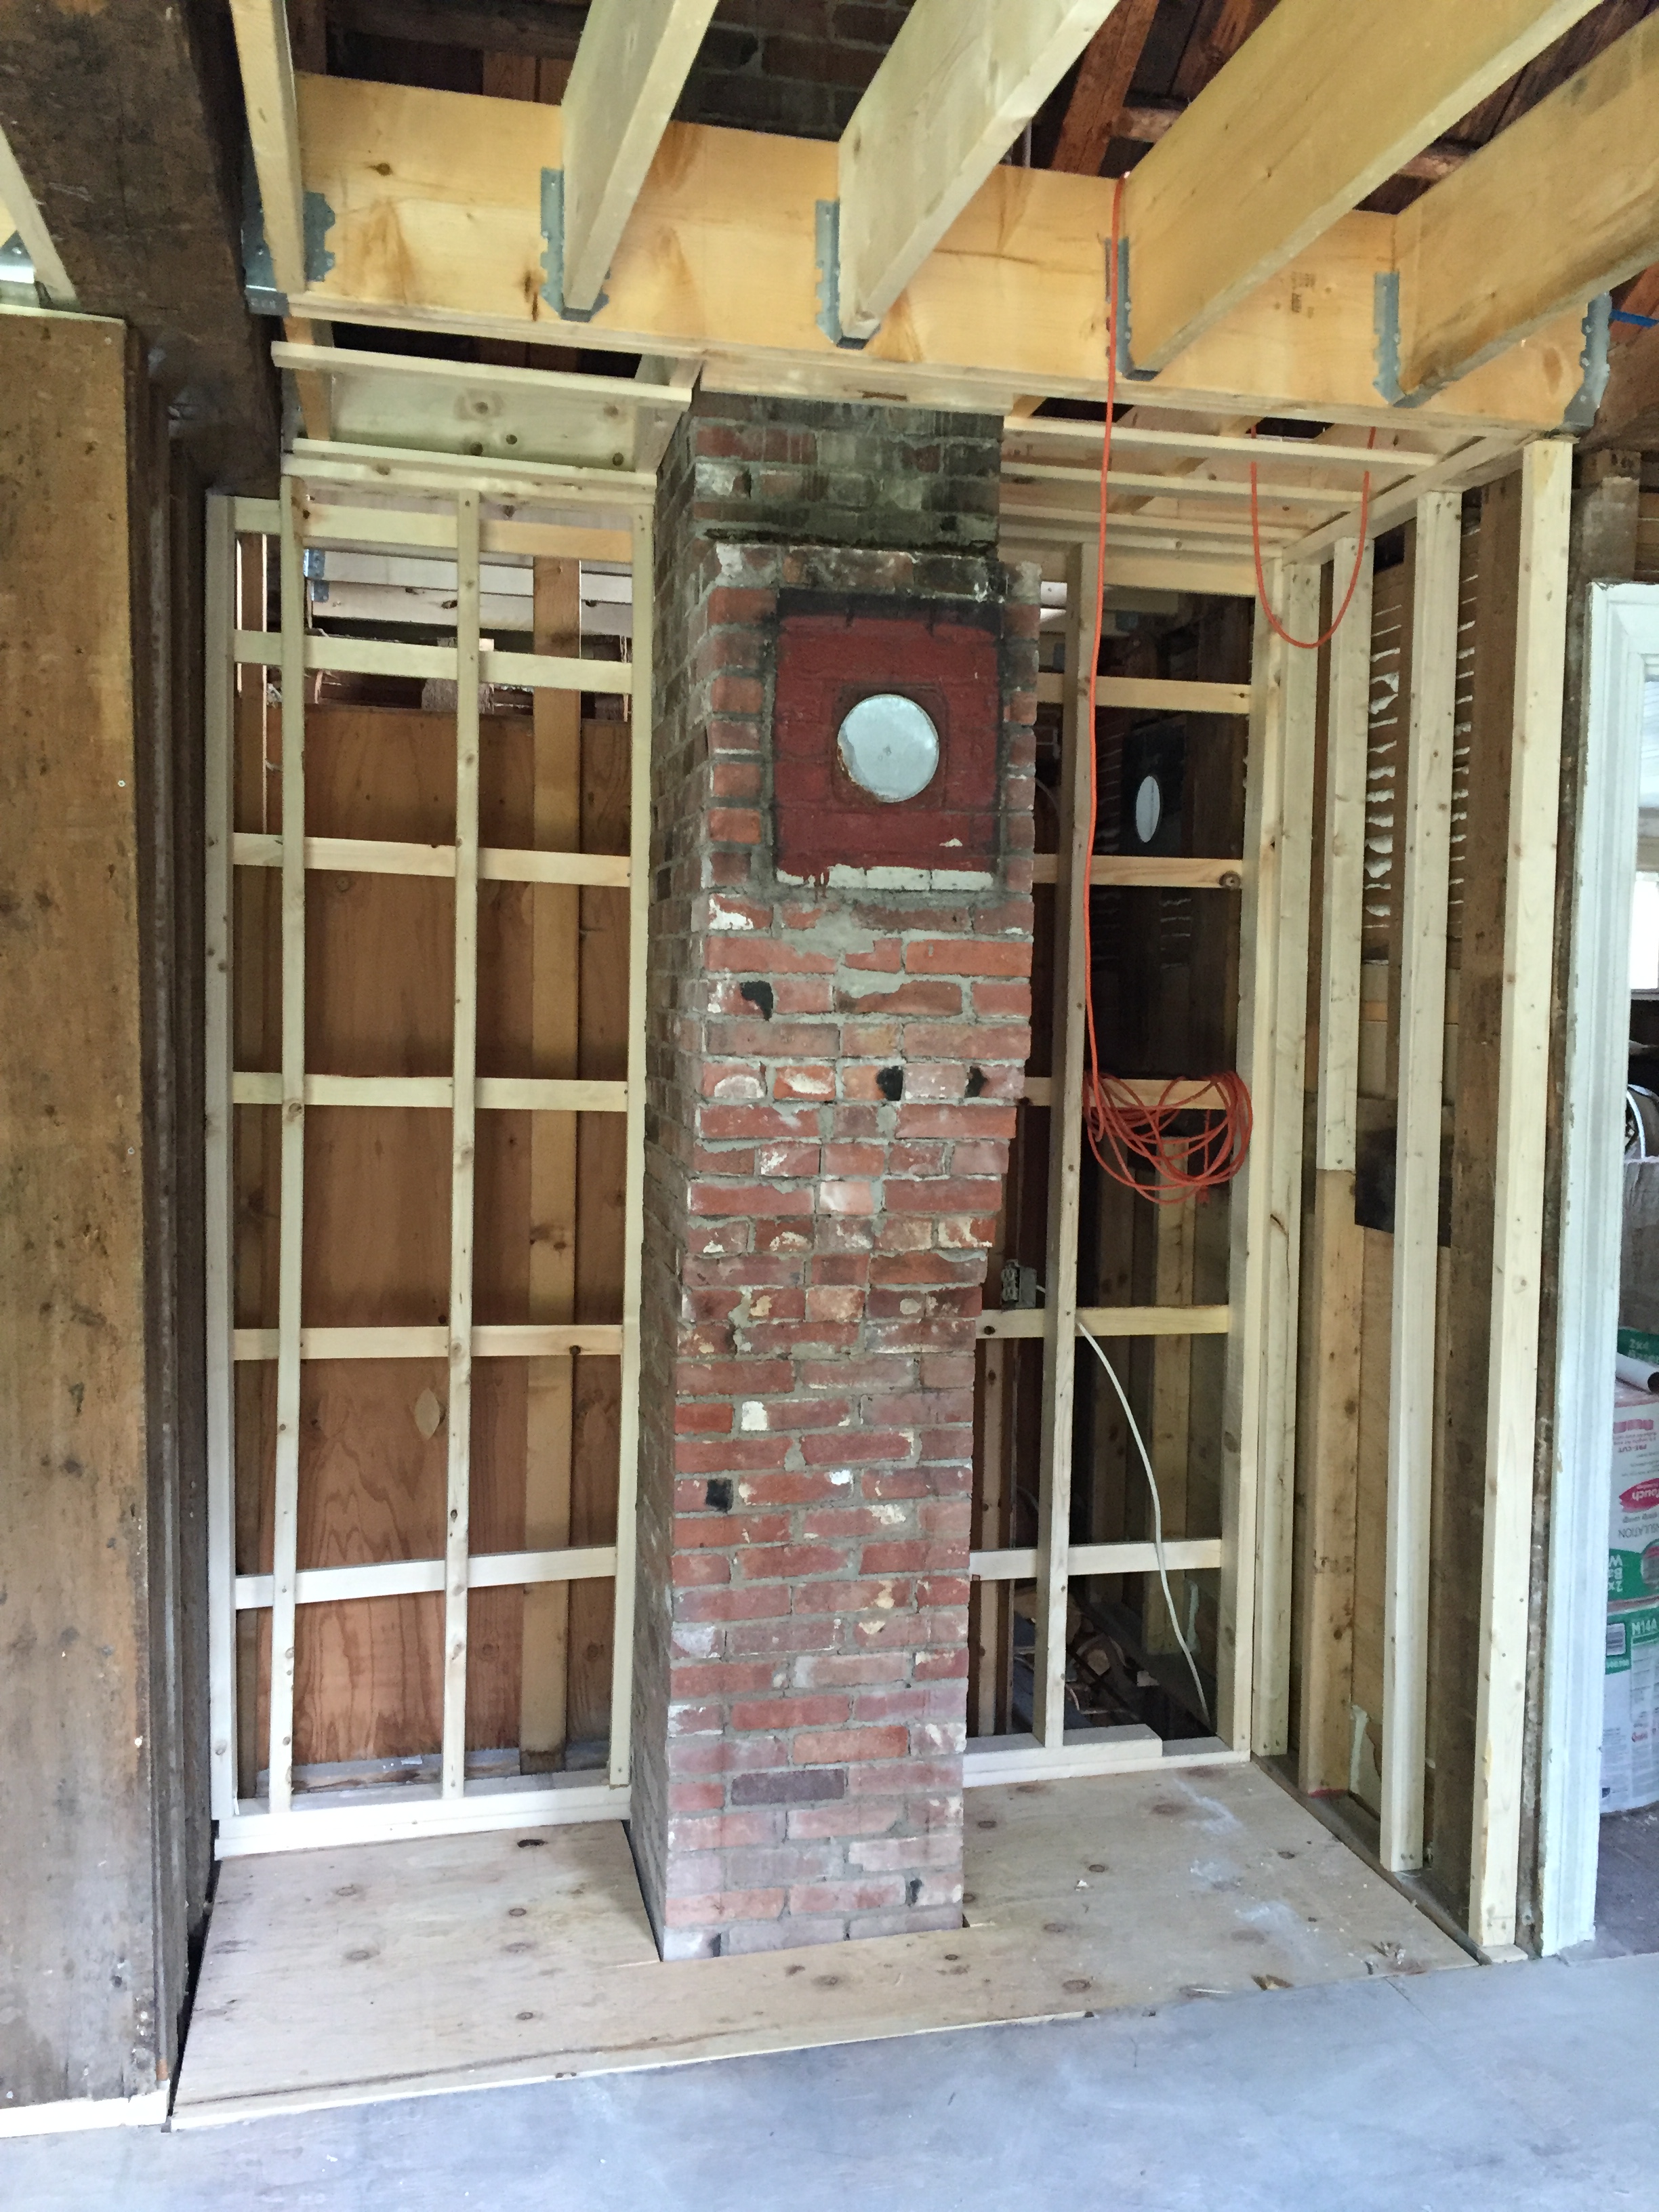
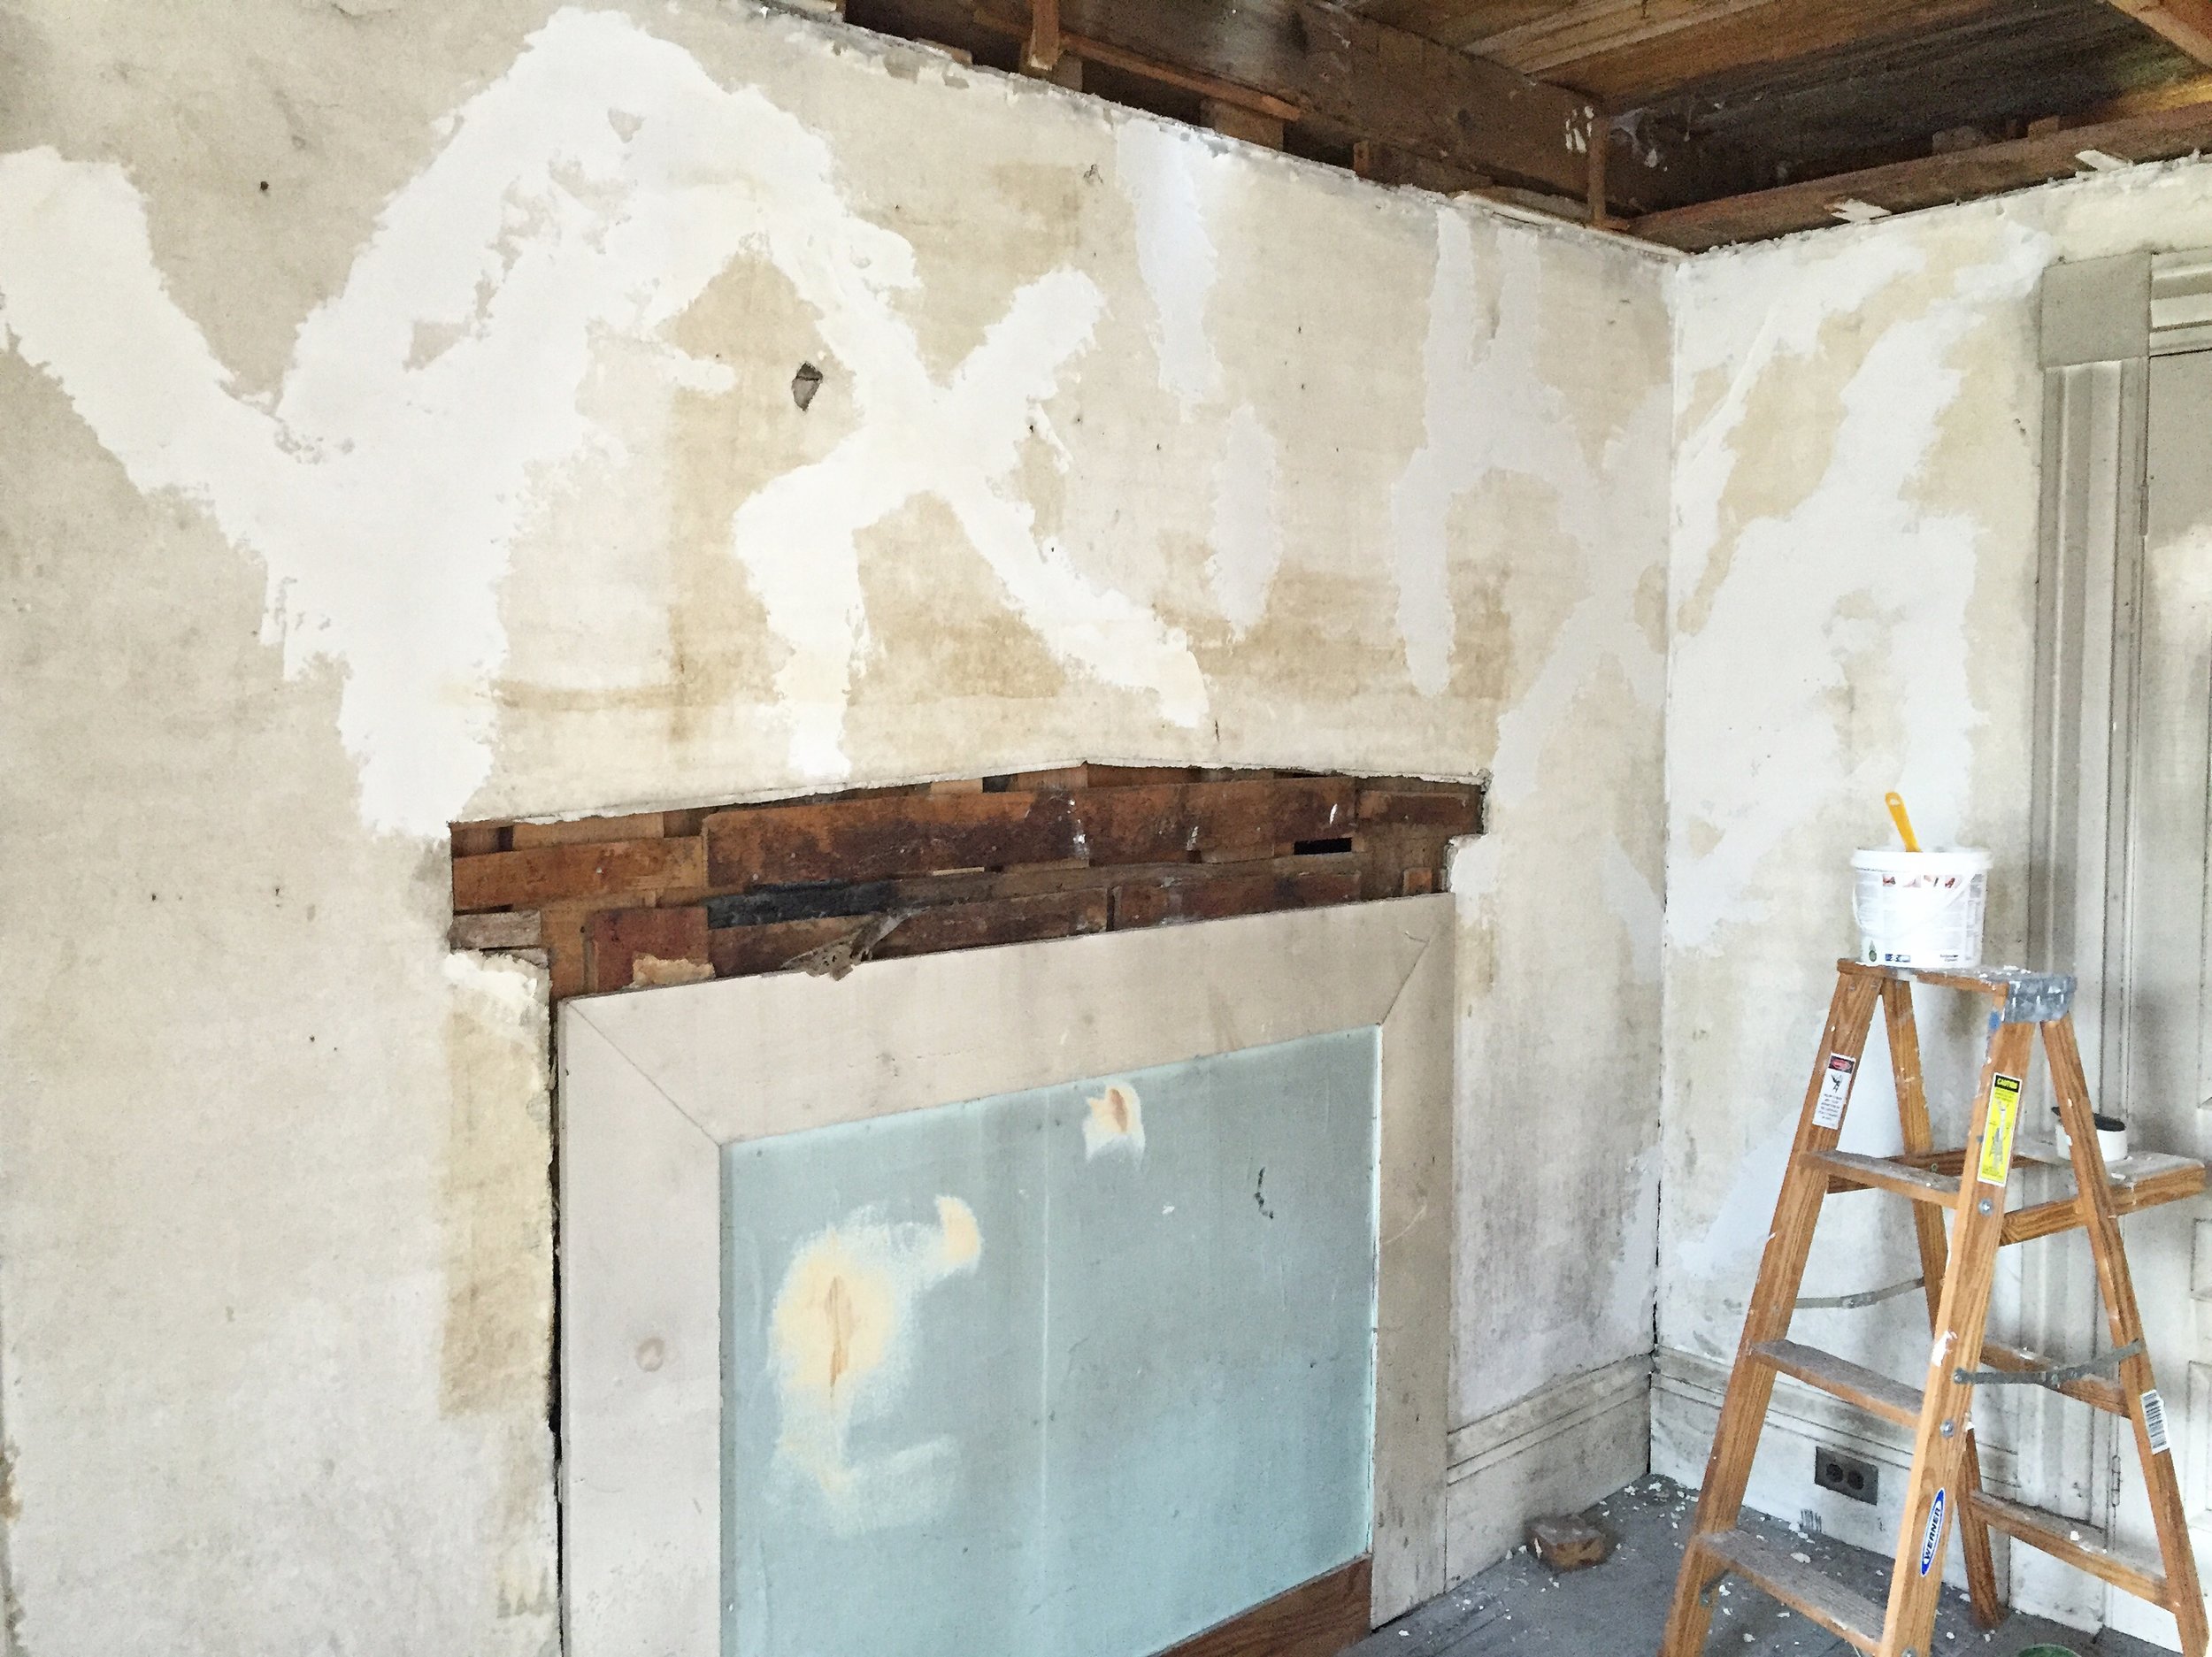
I can't explain what a difference this made to the space. When we started working on the house both these spaces were covered with a gross linoleum. Once the floor was all laid I just said, "It looks like this was always meant to be here!" Once it gets warm out again we will paint the floor a greenish gray color we discovered was originally a trim color (see image below, we found this behind the mantle in the kitchen). People seem to hate this idea and have tried to persuade us to change out minds but too bad, guys, it's happening. The original wood floors in the bedroom, living room, and upstairs were all painted -- it's highly unlikely any of the floors were ever just stained. And, we think it's going to look great painted. So deal with it!

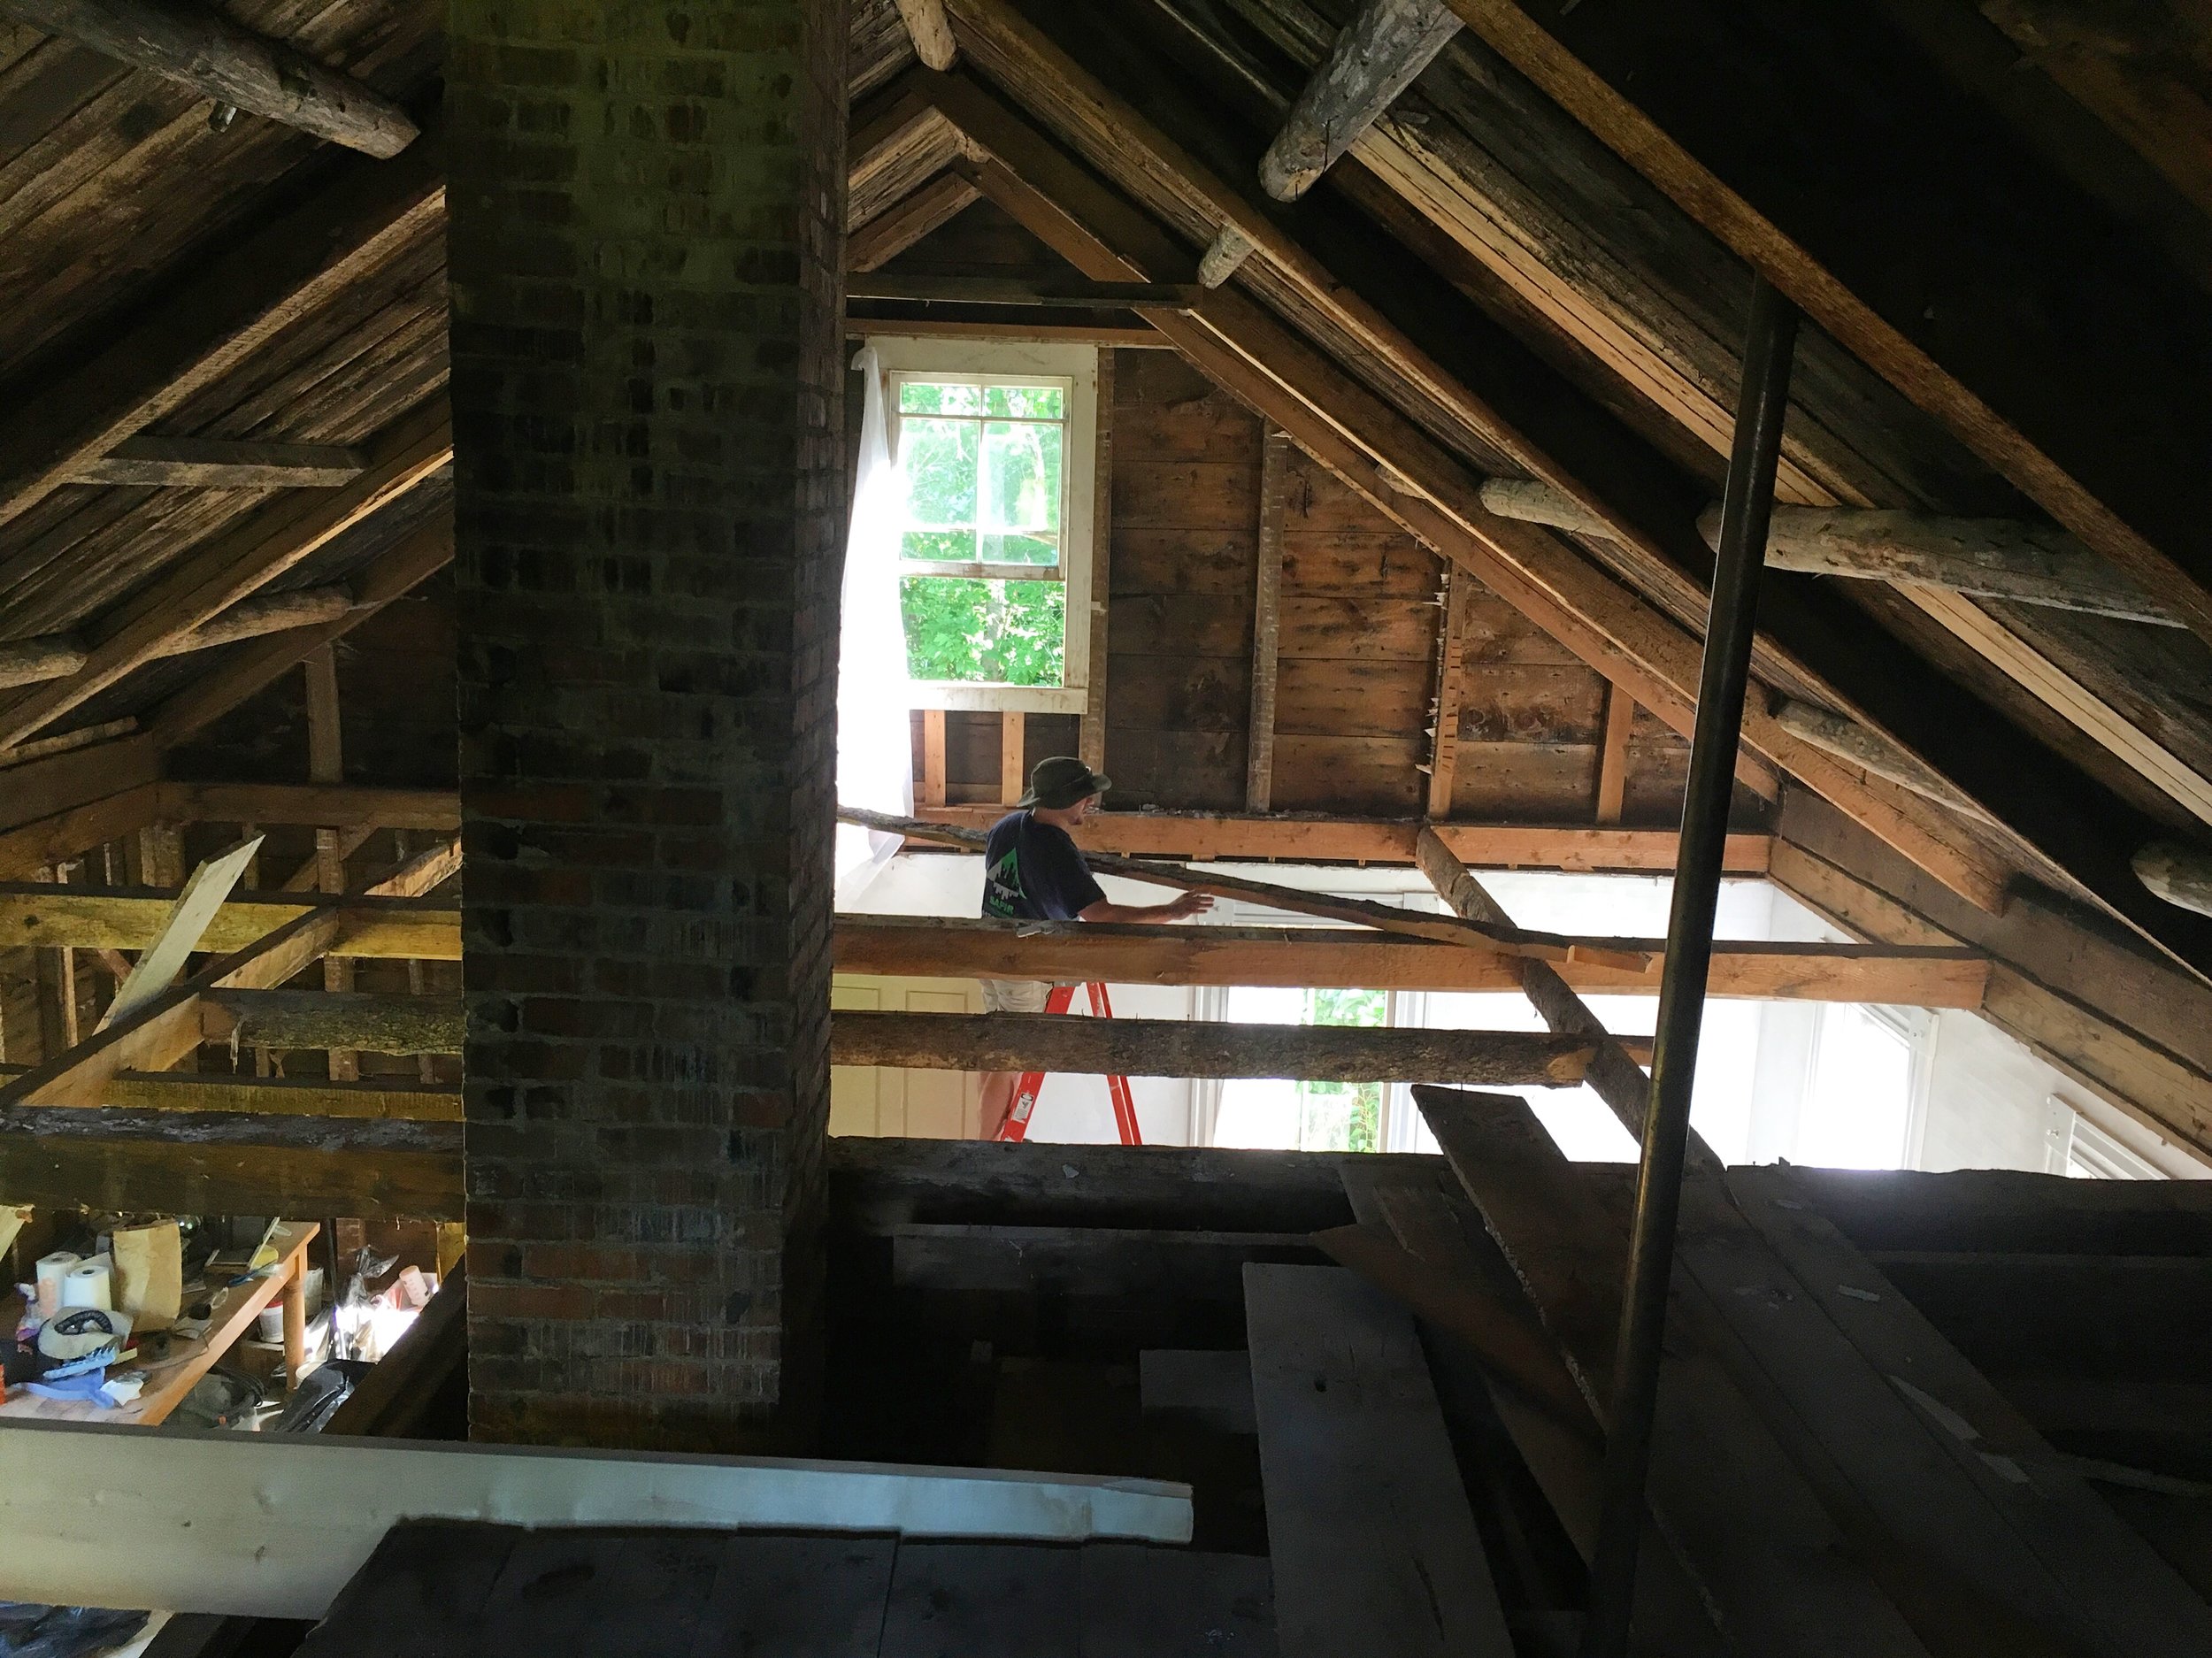
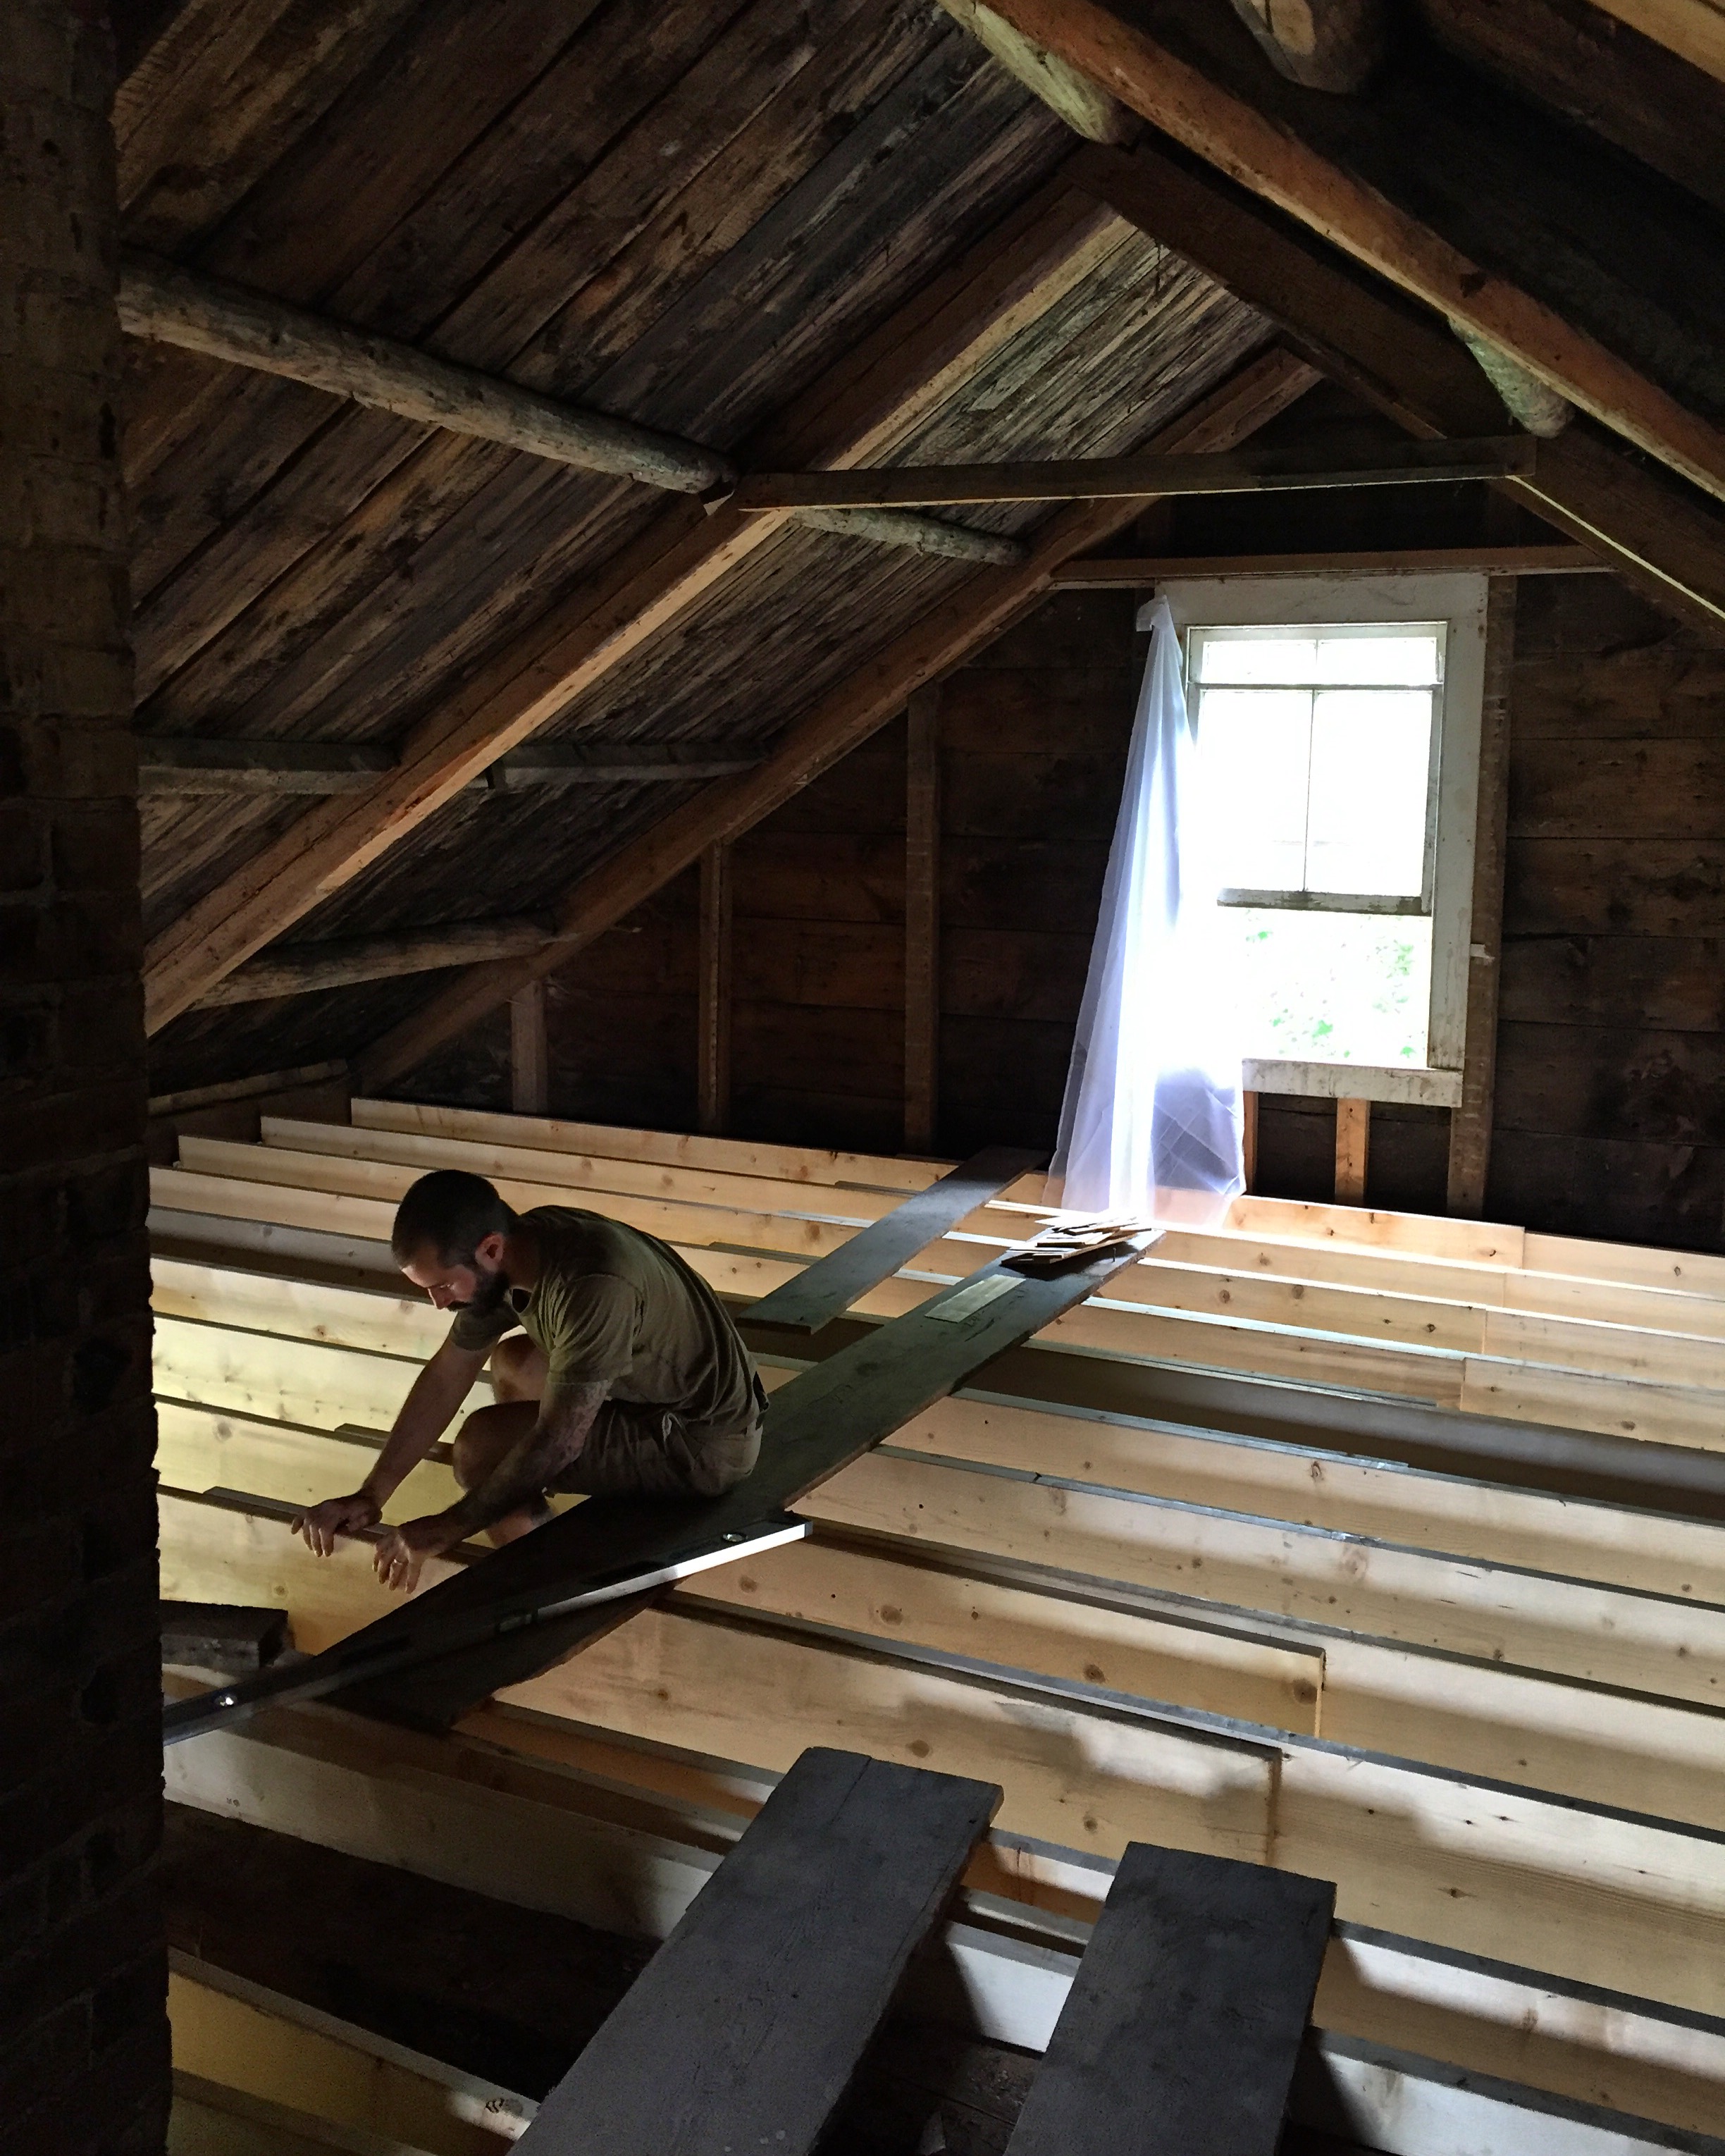
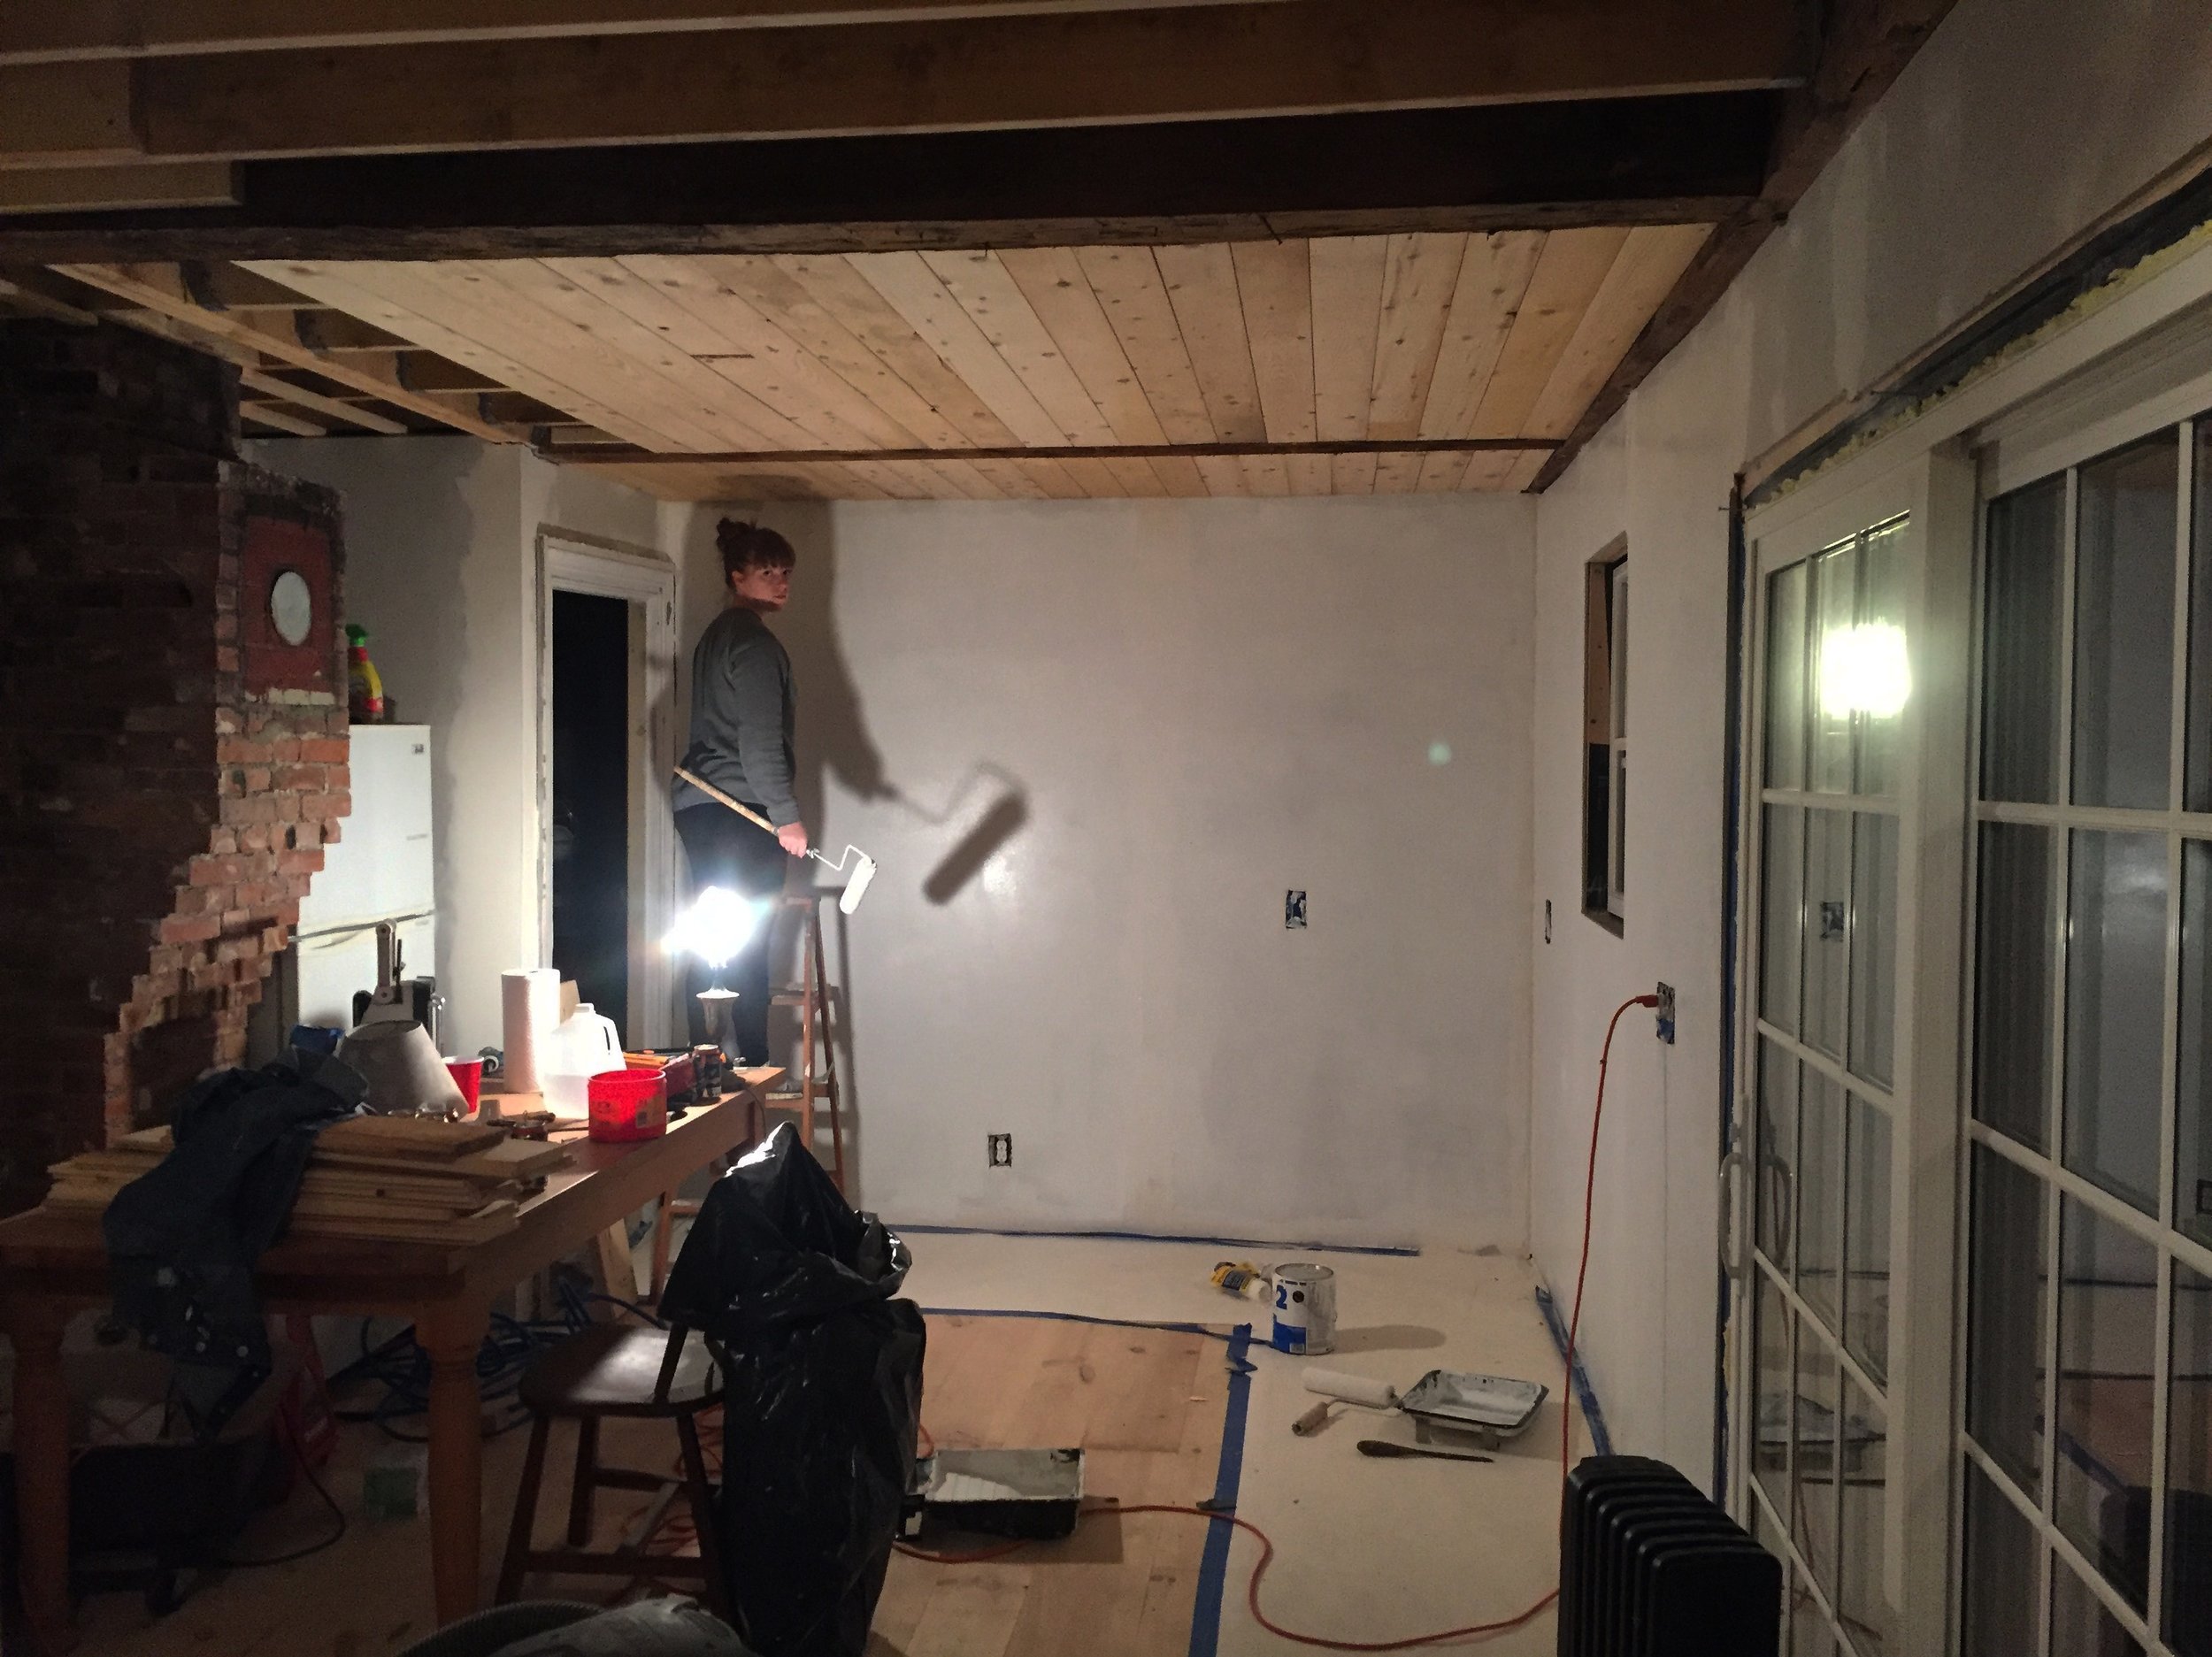
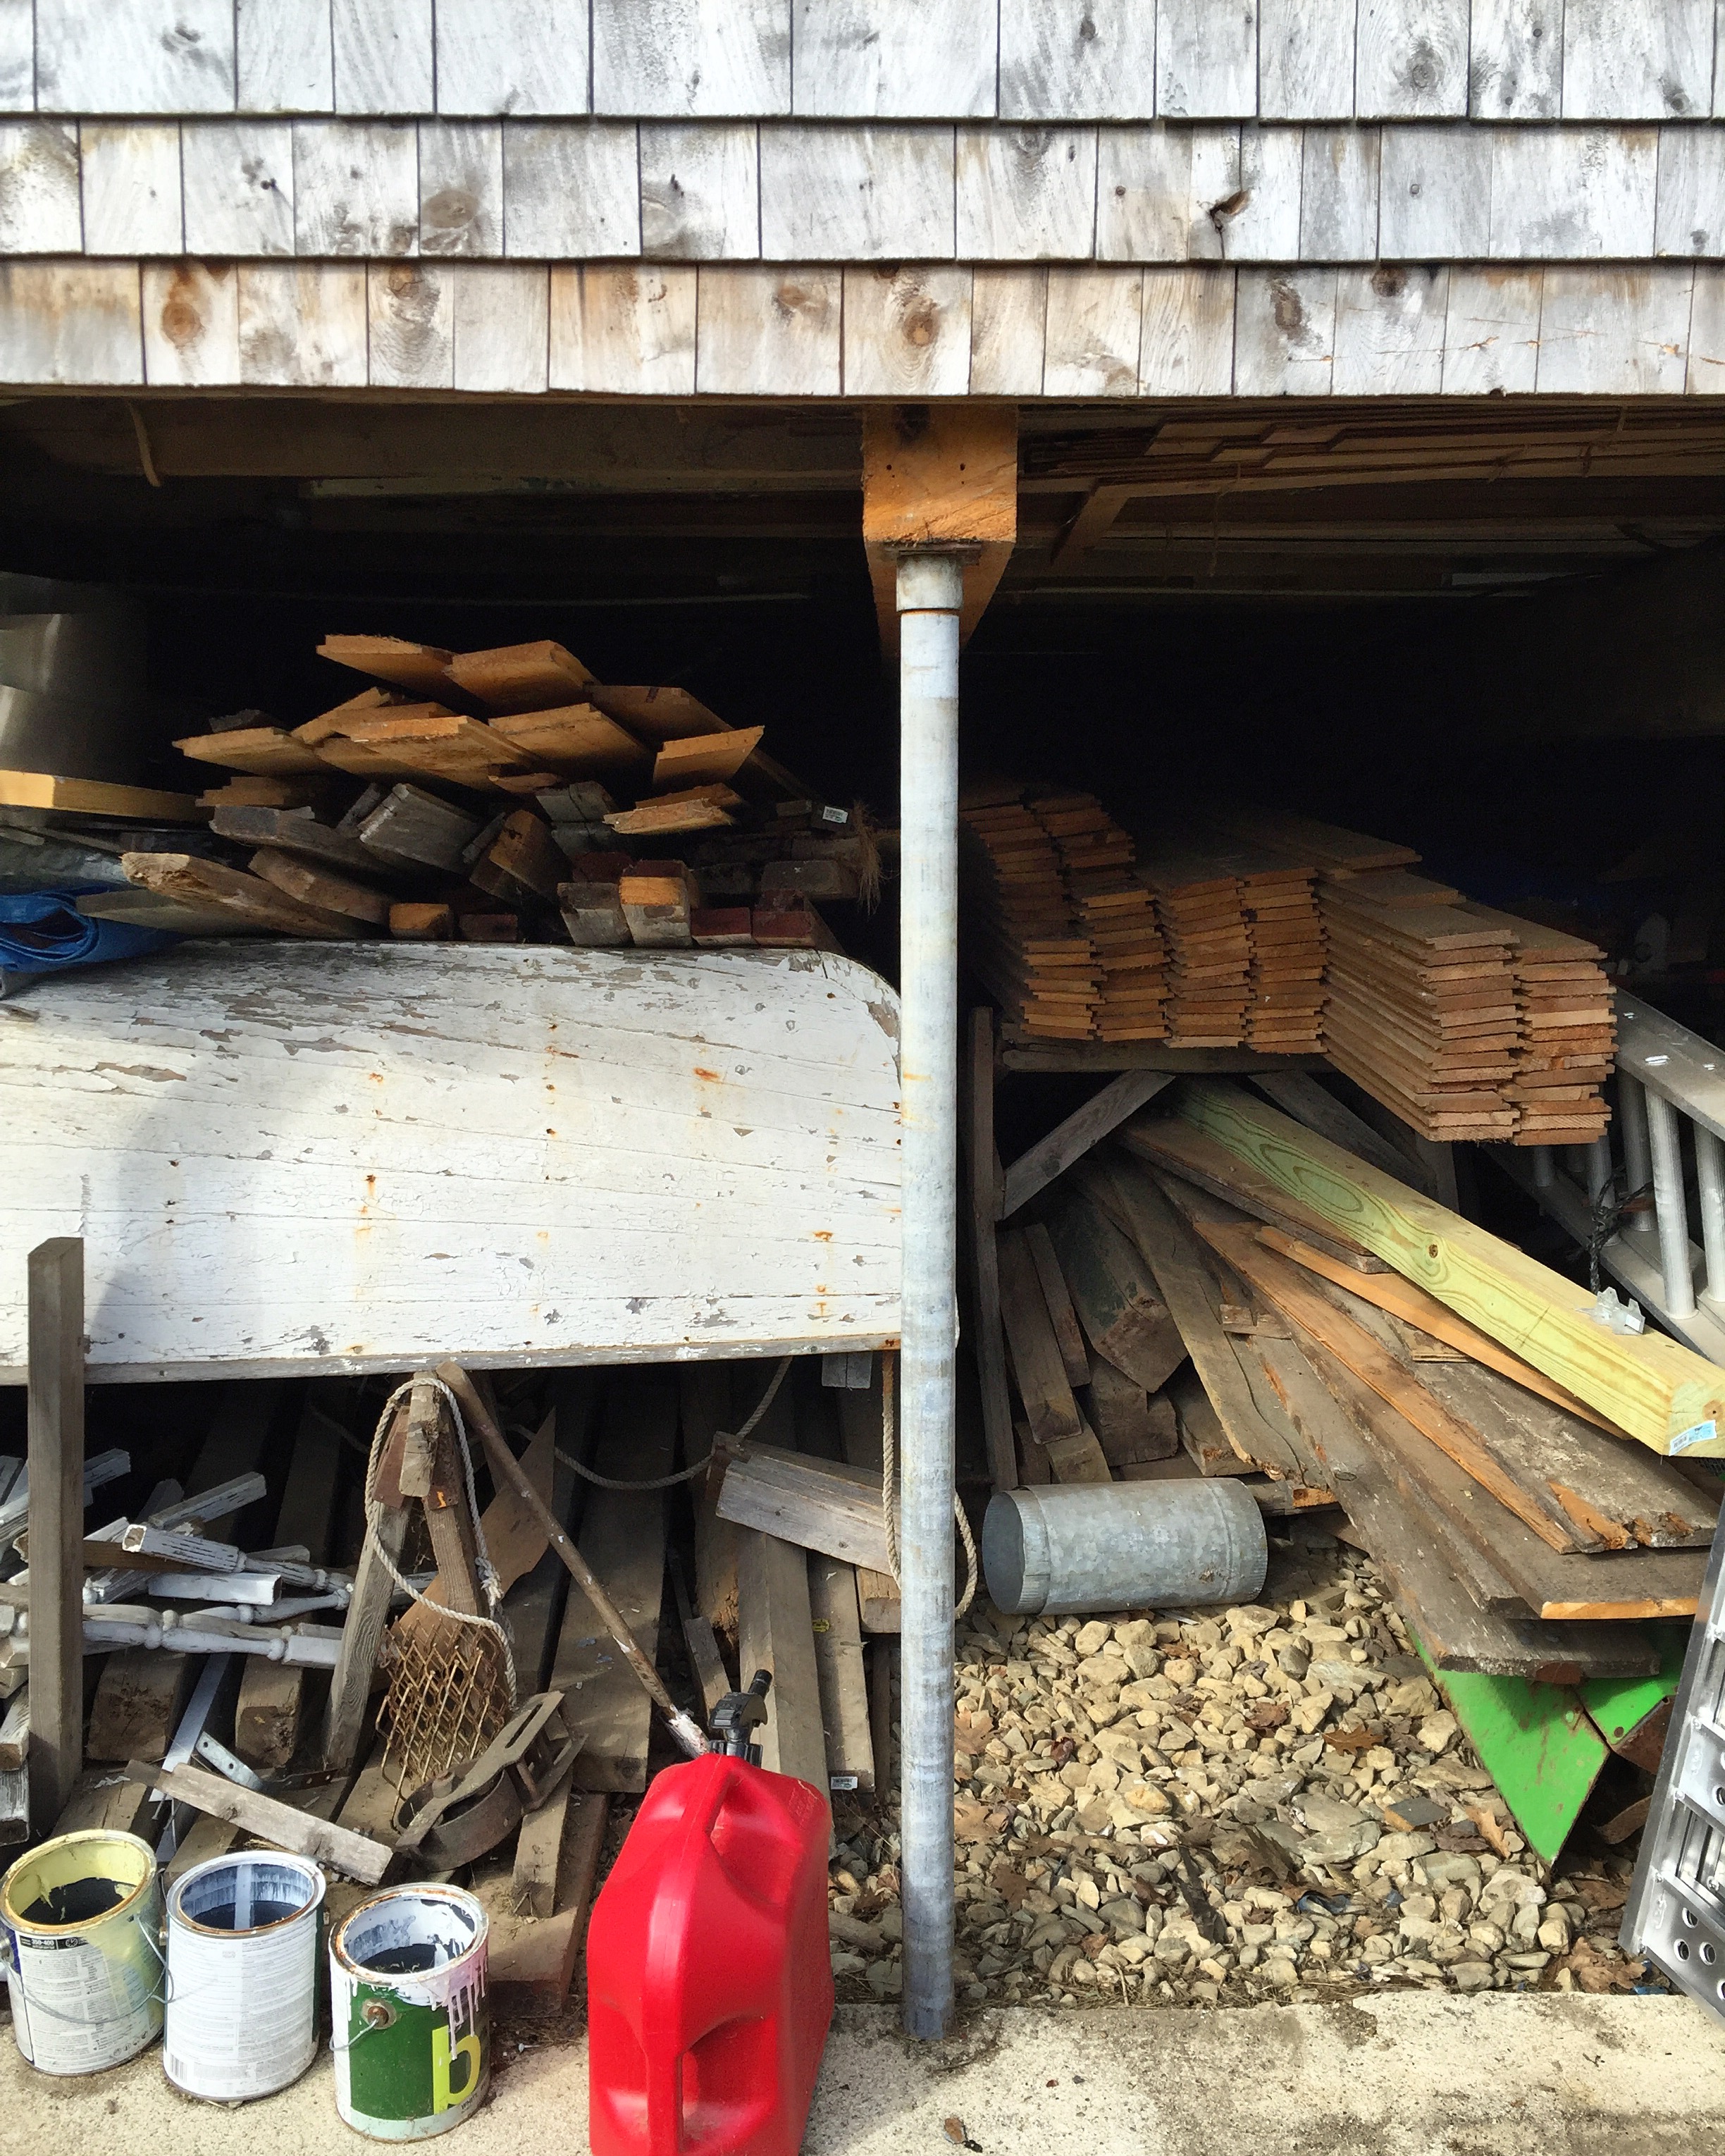
Next we began to re-install the ceiling. A bright side to having reinforce the second story was the ability to expose the original beams that were previously covered. We poached lots and lots of shiplap from my Dad's house -- this was bought by my grandfather over 50 years ago and can be found in so many rooms on the floors and walls of his house. We began running this between the beams which is going to look great, but is a huge pain in the ass because this house is as wonky as you'd expect a 160 year old house to be. We'll eventually paint the shiplap white, and keep the original beams their dirty, patina-ed self. Below you can see the shiplap stored under my Dad's garage, and it partially installed in the house as I prime the walls at 6:00pm (even thought it looks like midnight!)

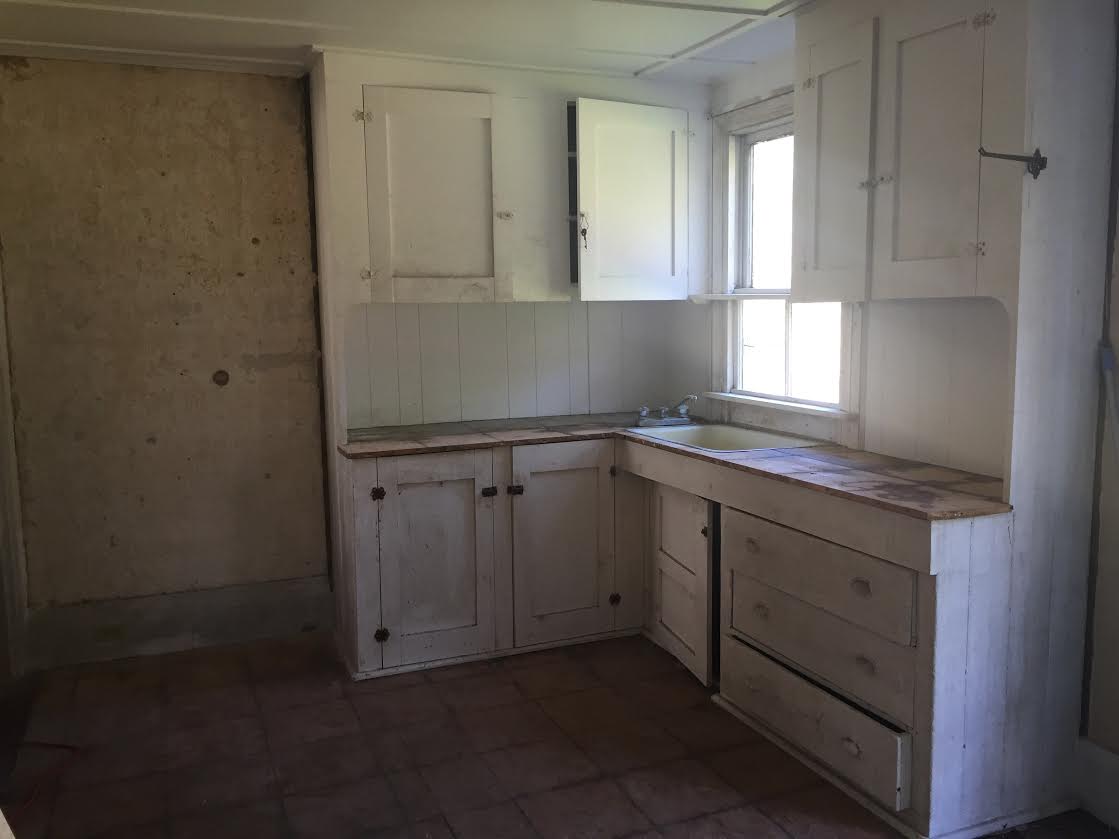
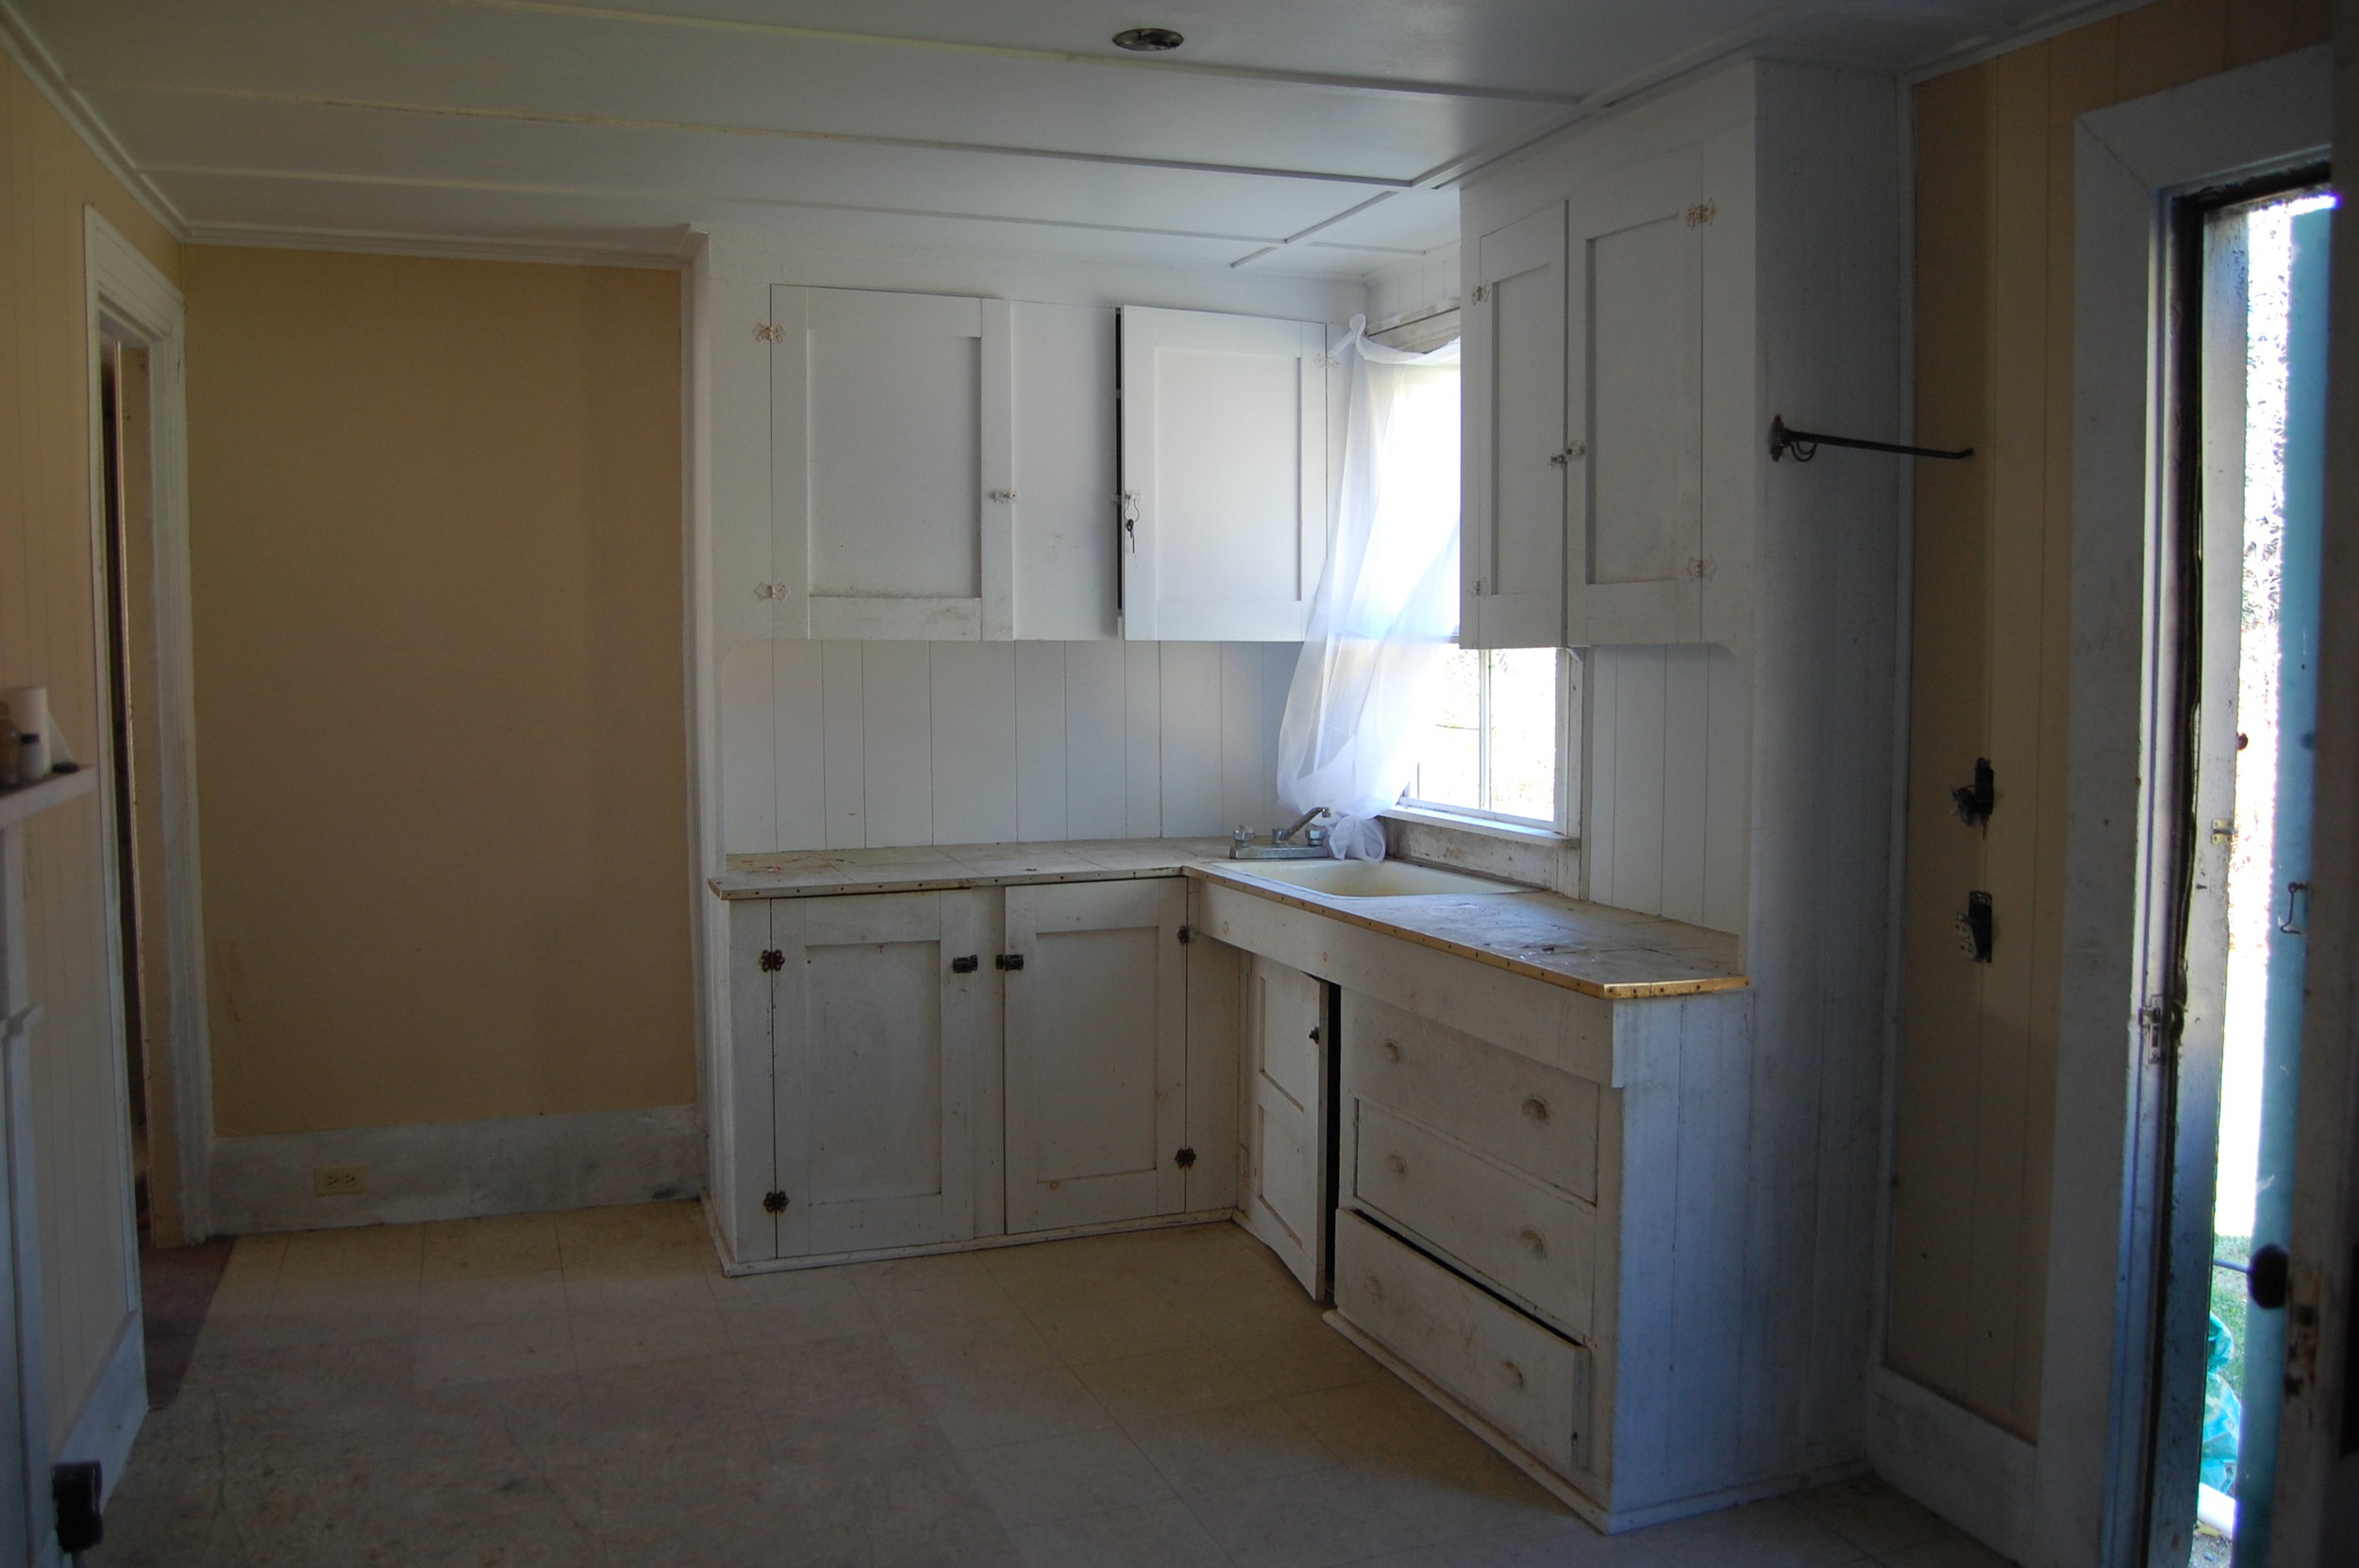
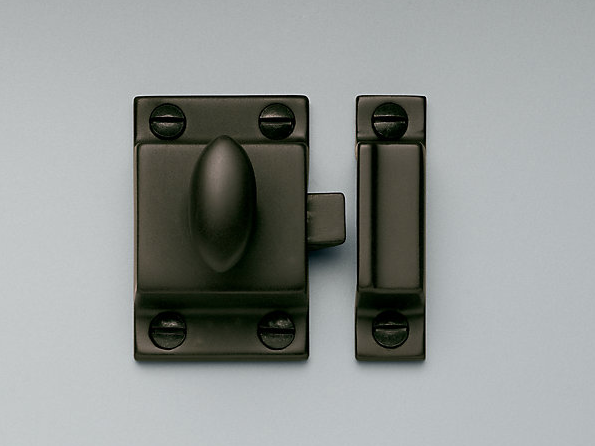
Now, oh my god, the cabinets. We have been working with Block Brother Cabinets in Searsport since last January. We wanted the new cabinets to look as close to the originals as possible, while accommodating for a slightly new set up -- and they hit it out of the park. Simple, clean, traditional, functional. We picked Restoration Hardware latches to match what was in the house originally, and pulls we thought were authentic without being trendy (in the oil rubbed bronze finish).

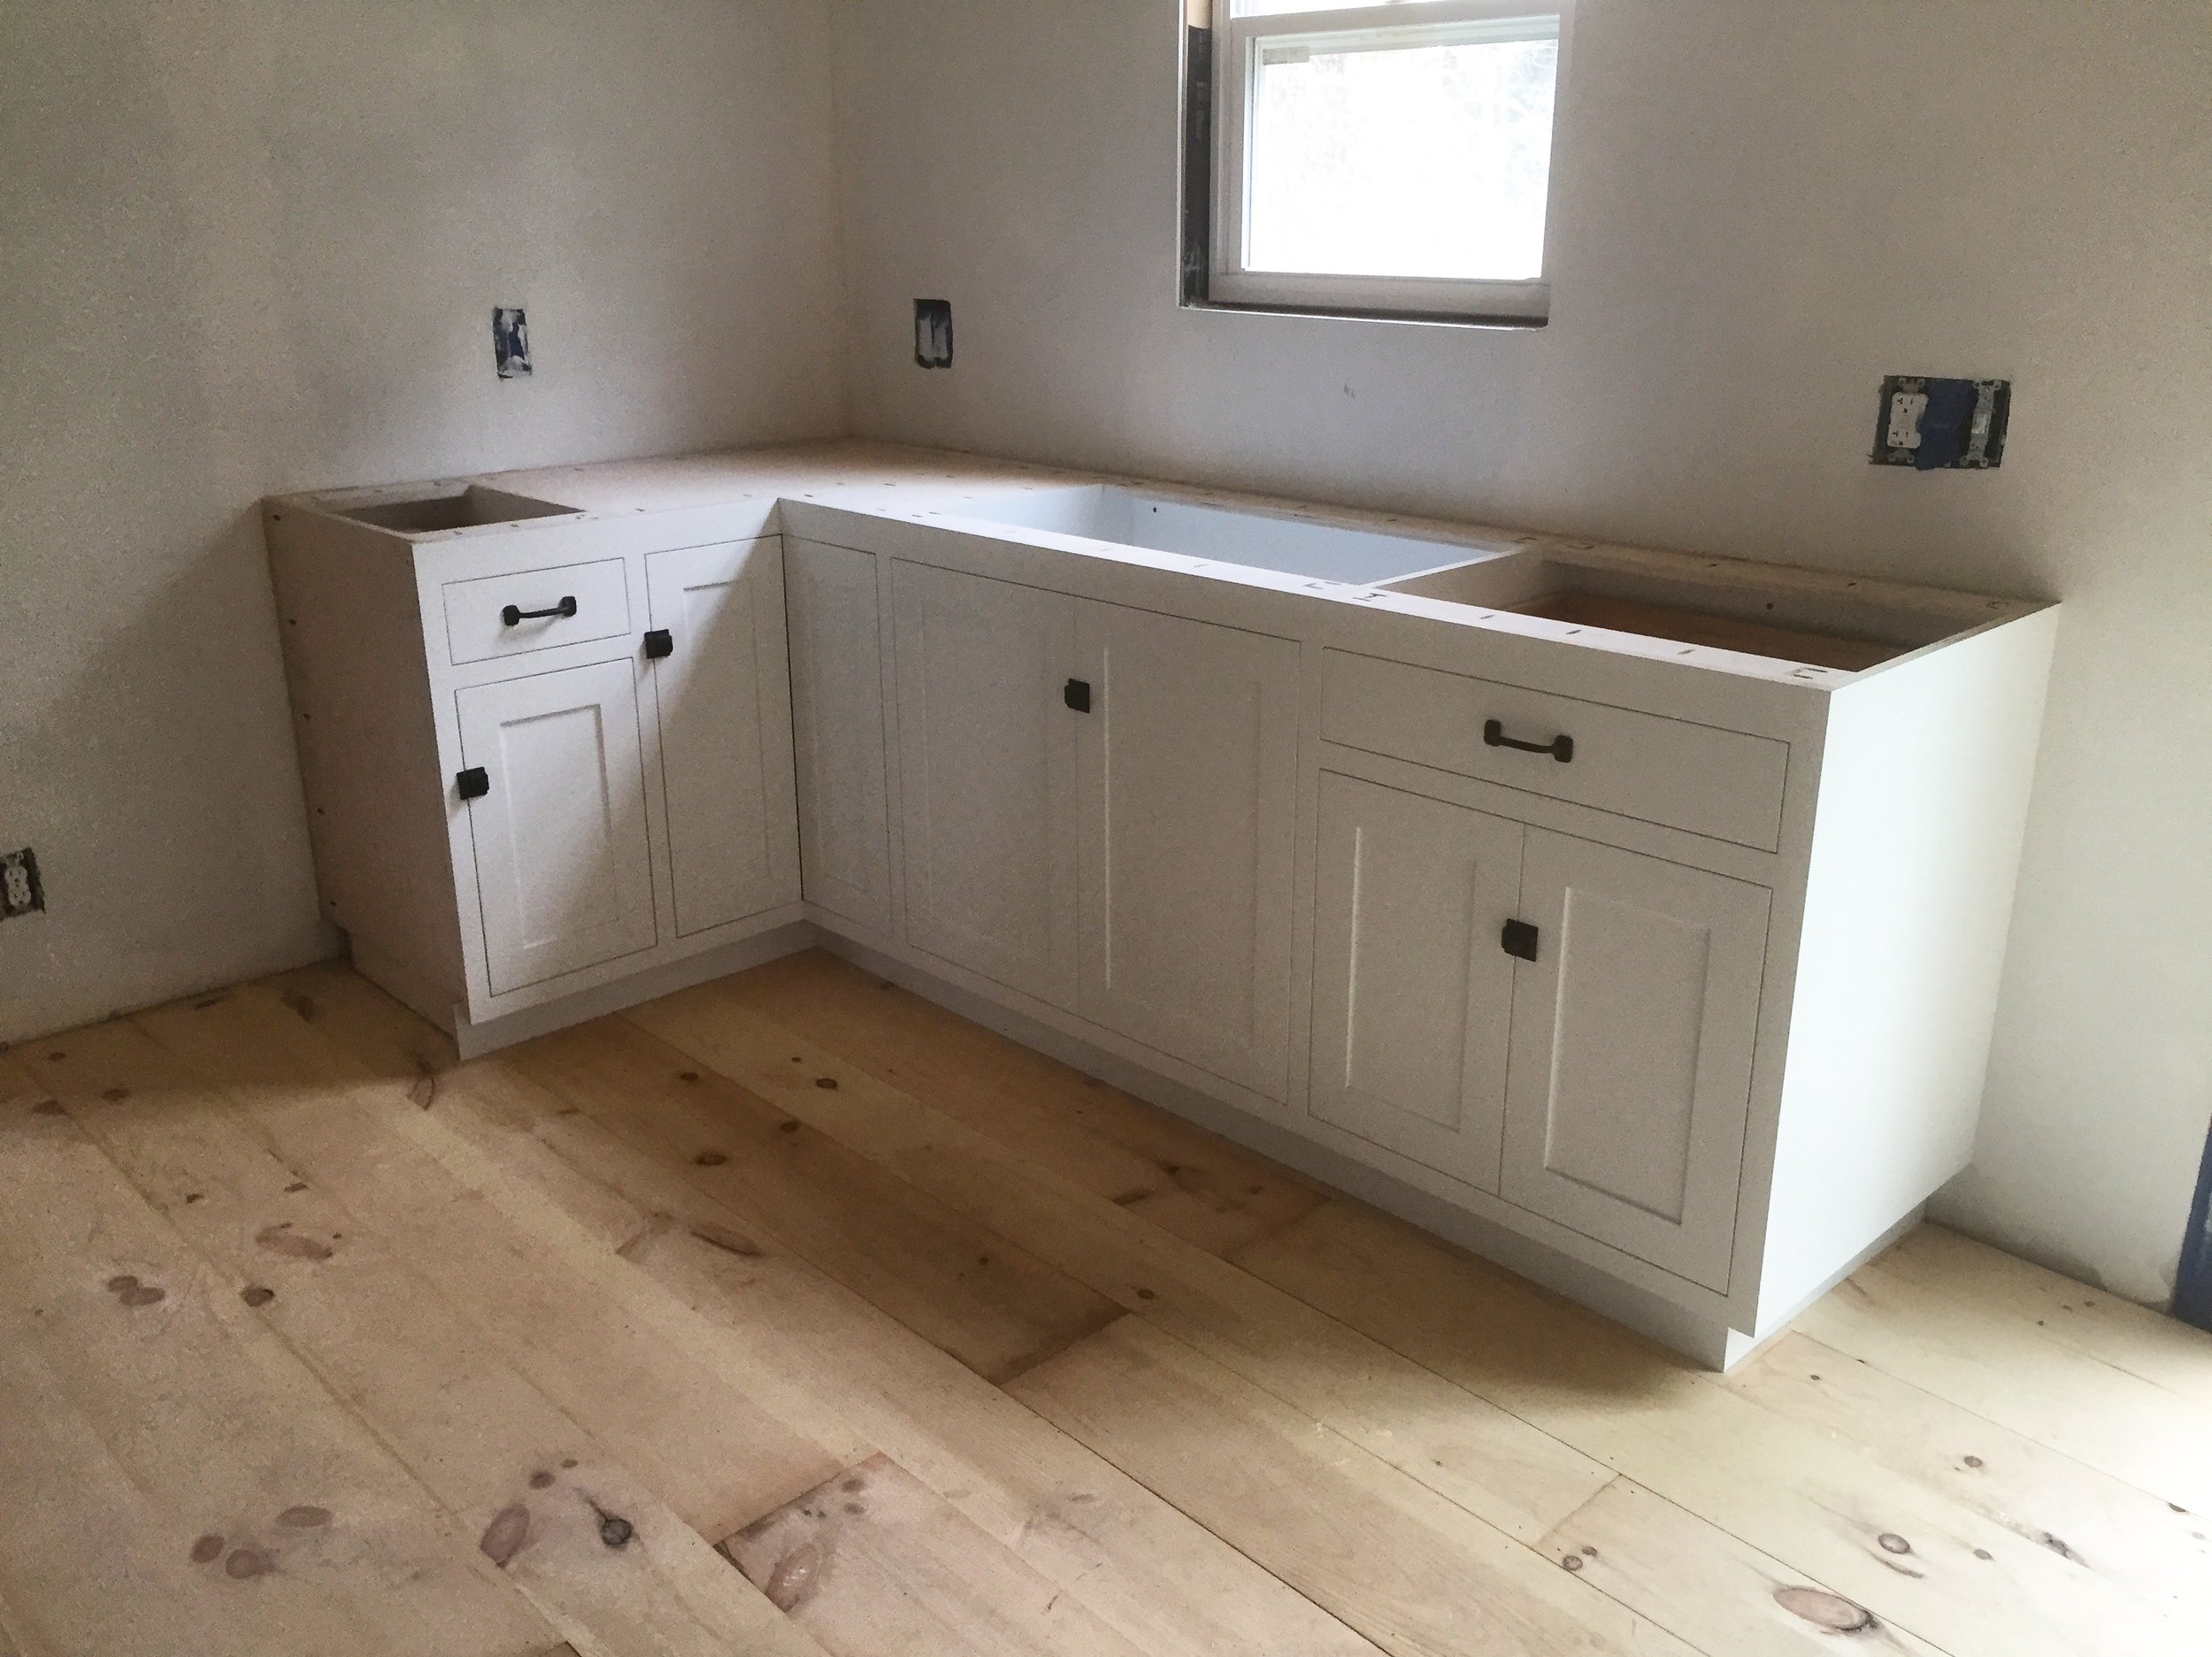
Seriously, look at this craftsmanship.

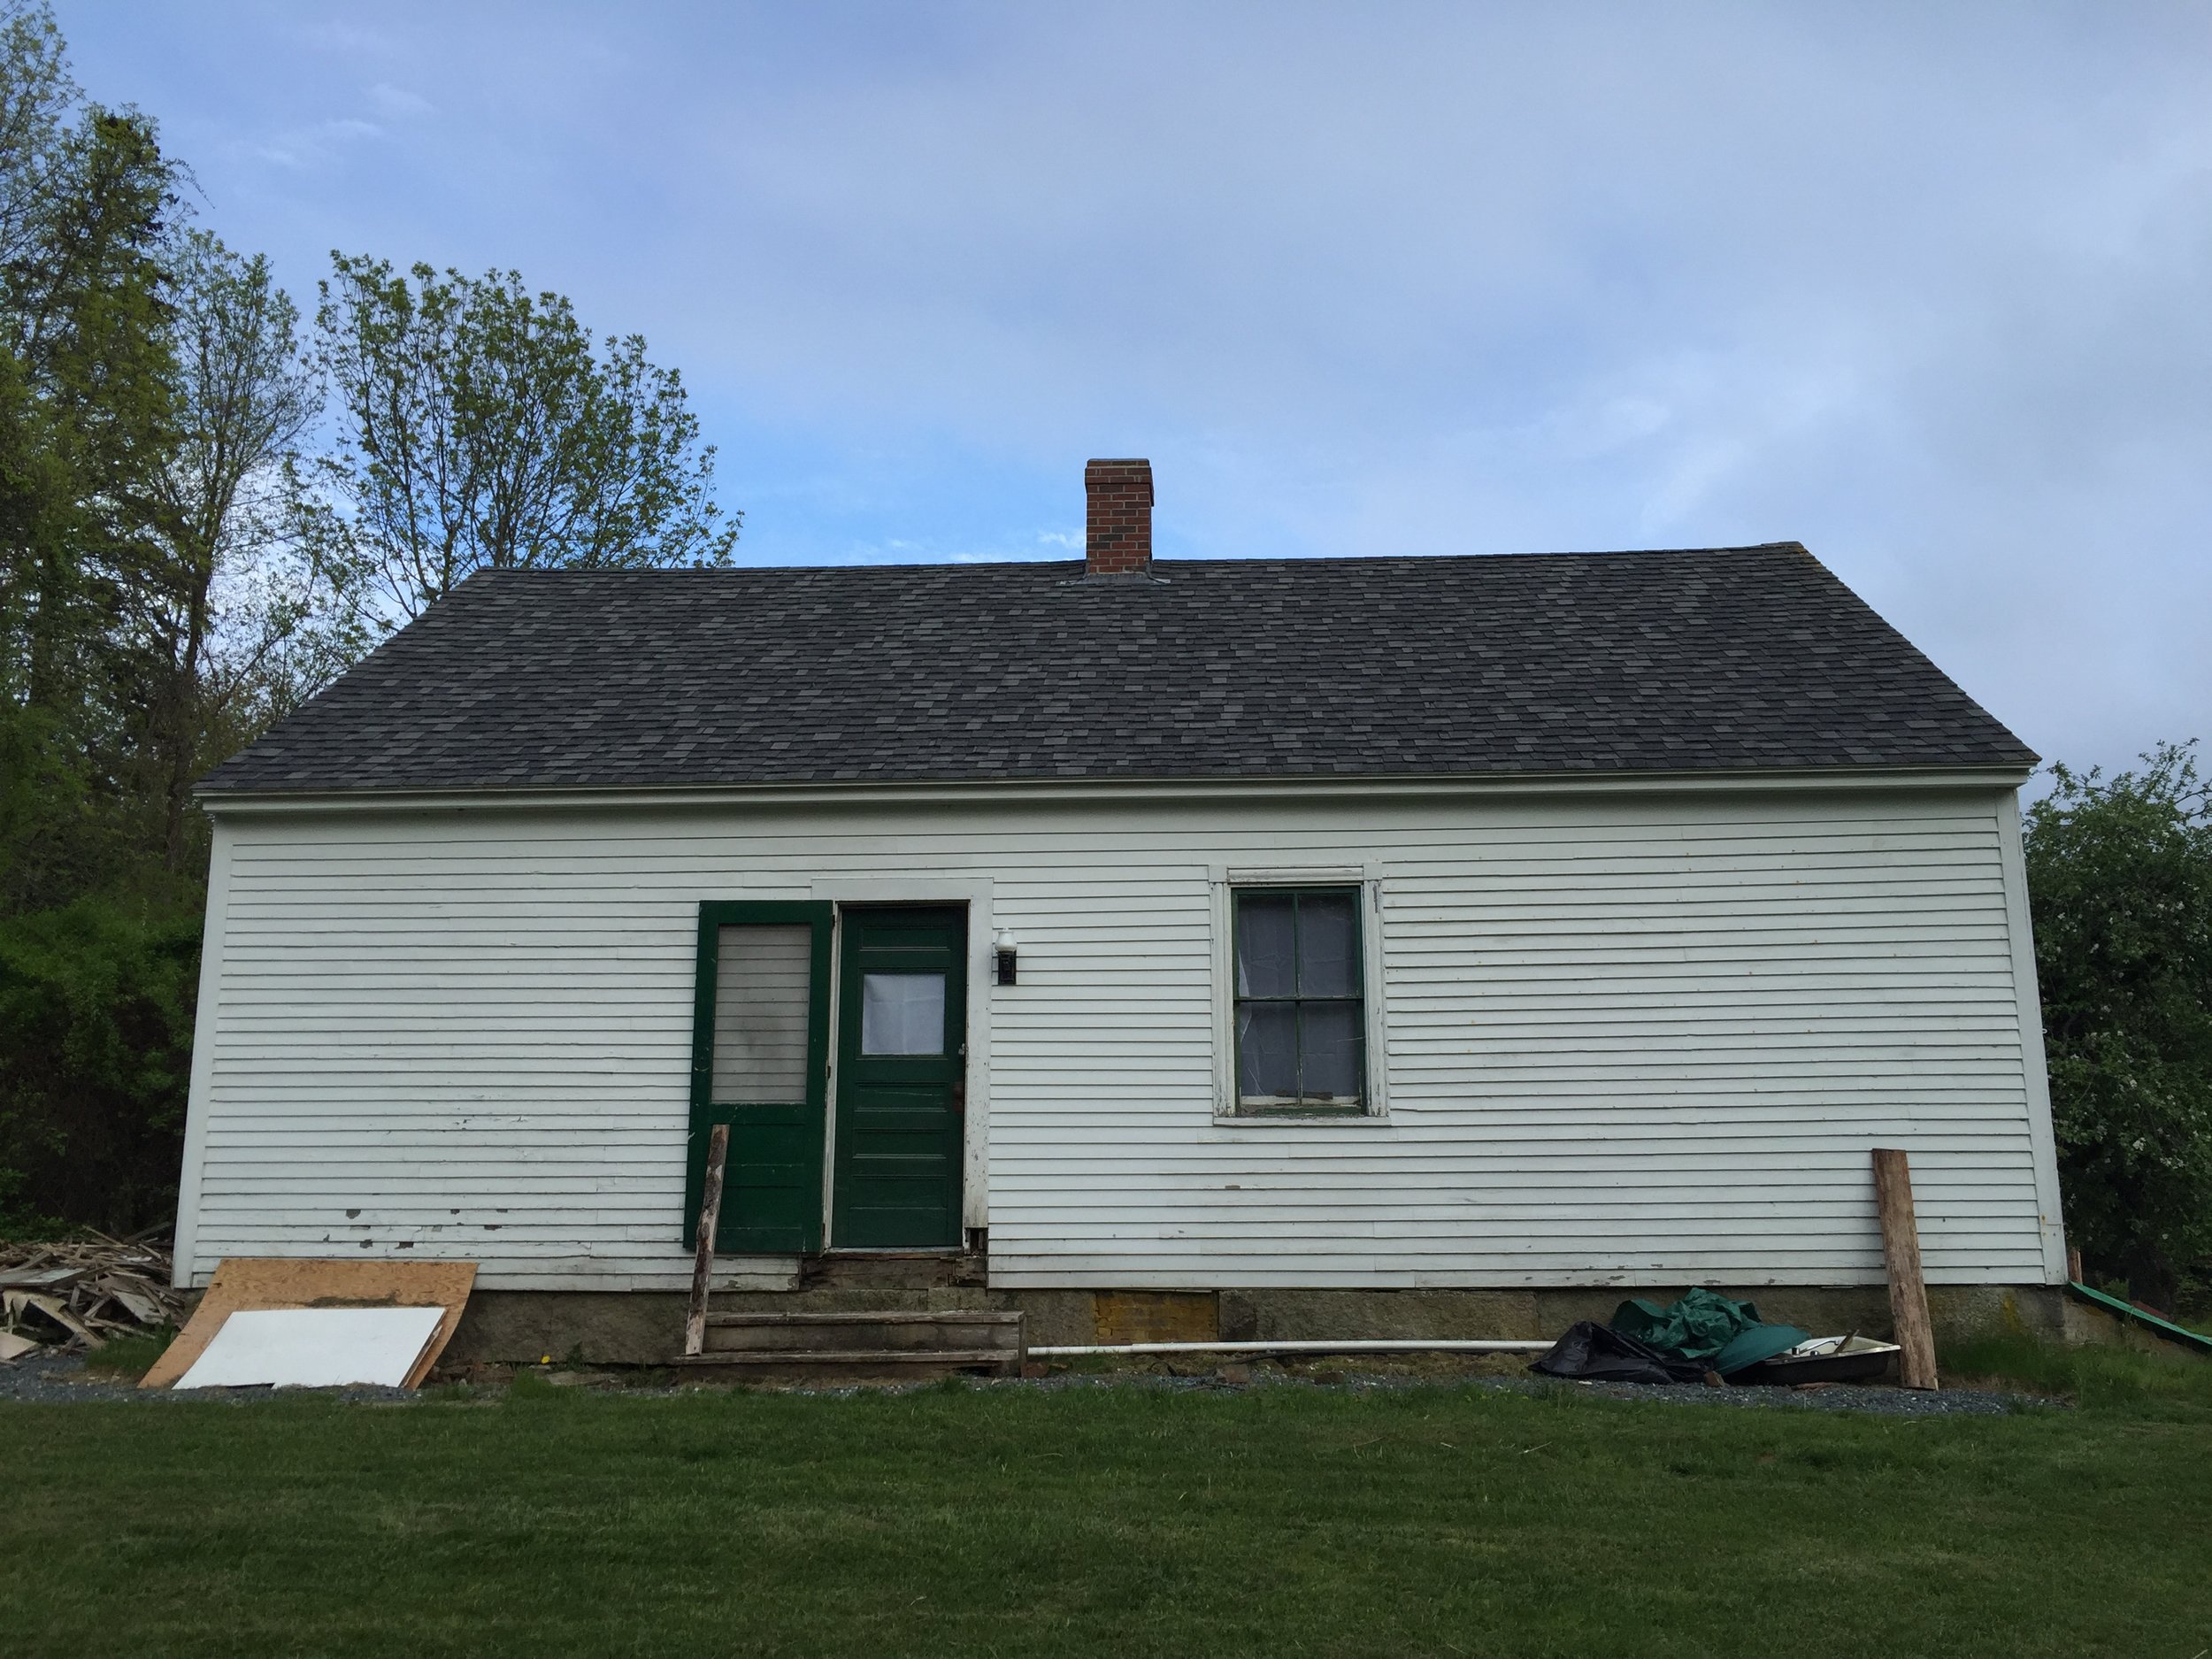
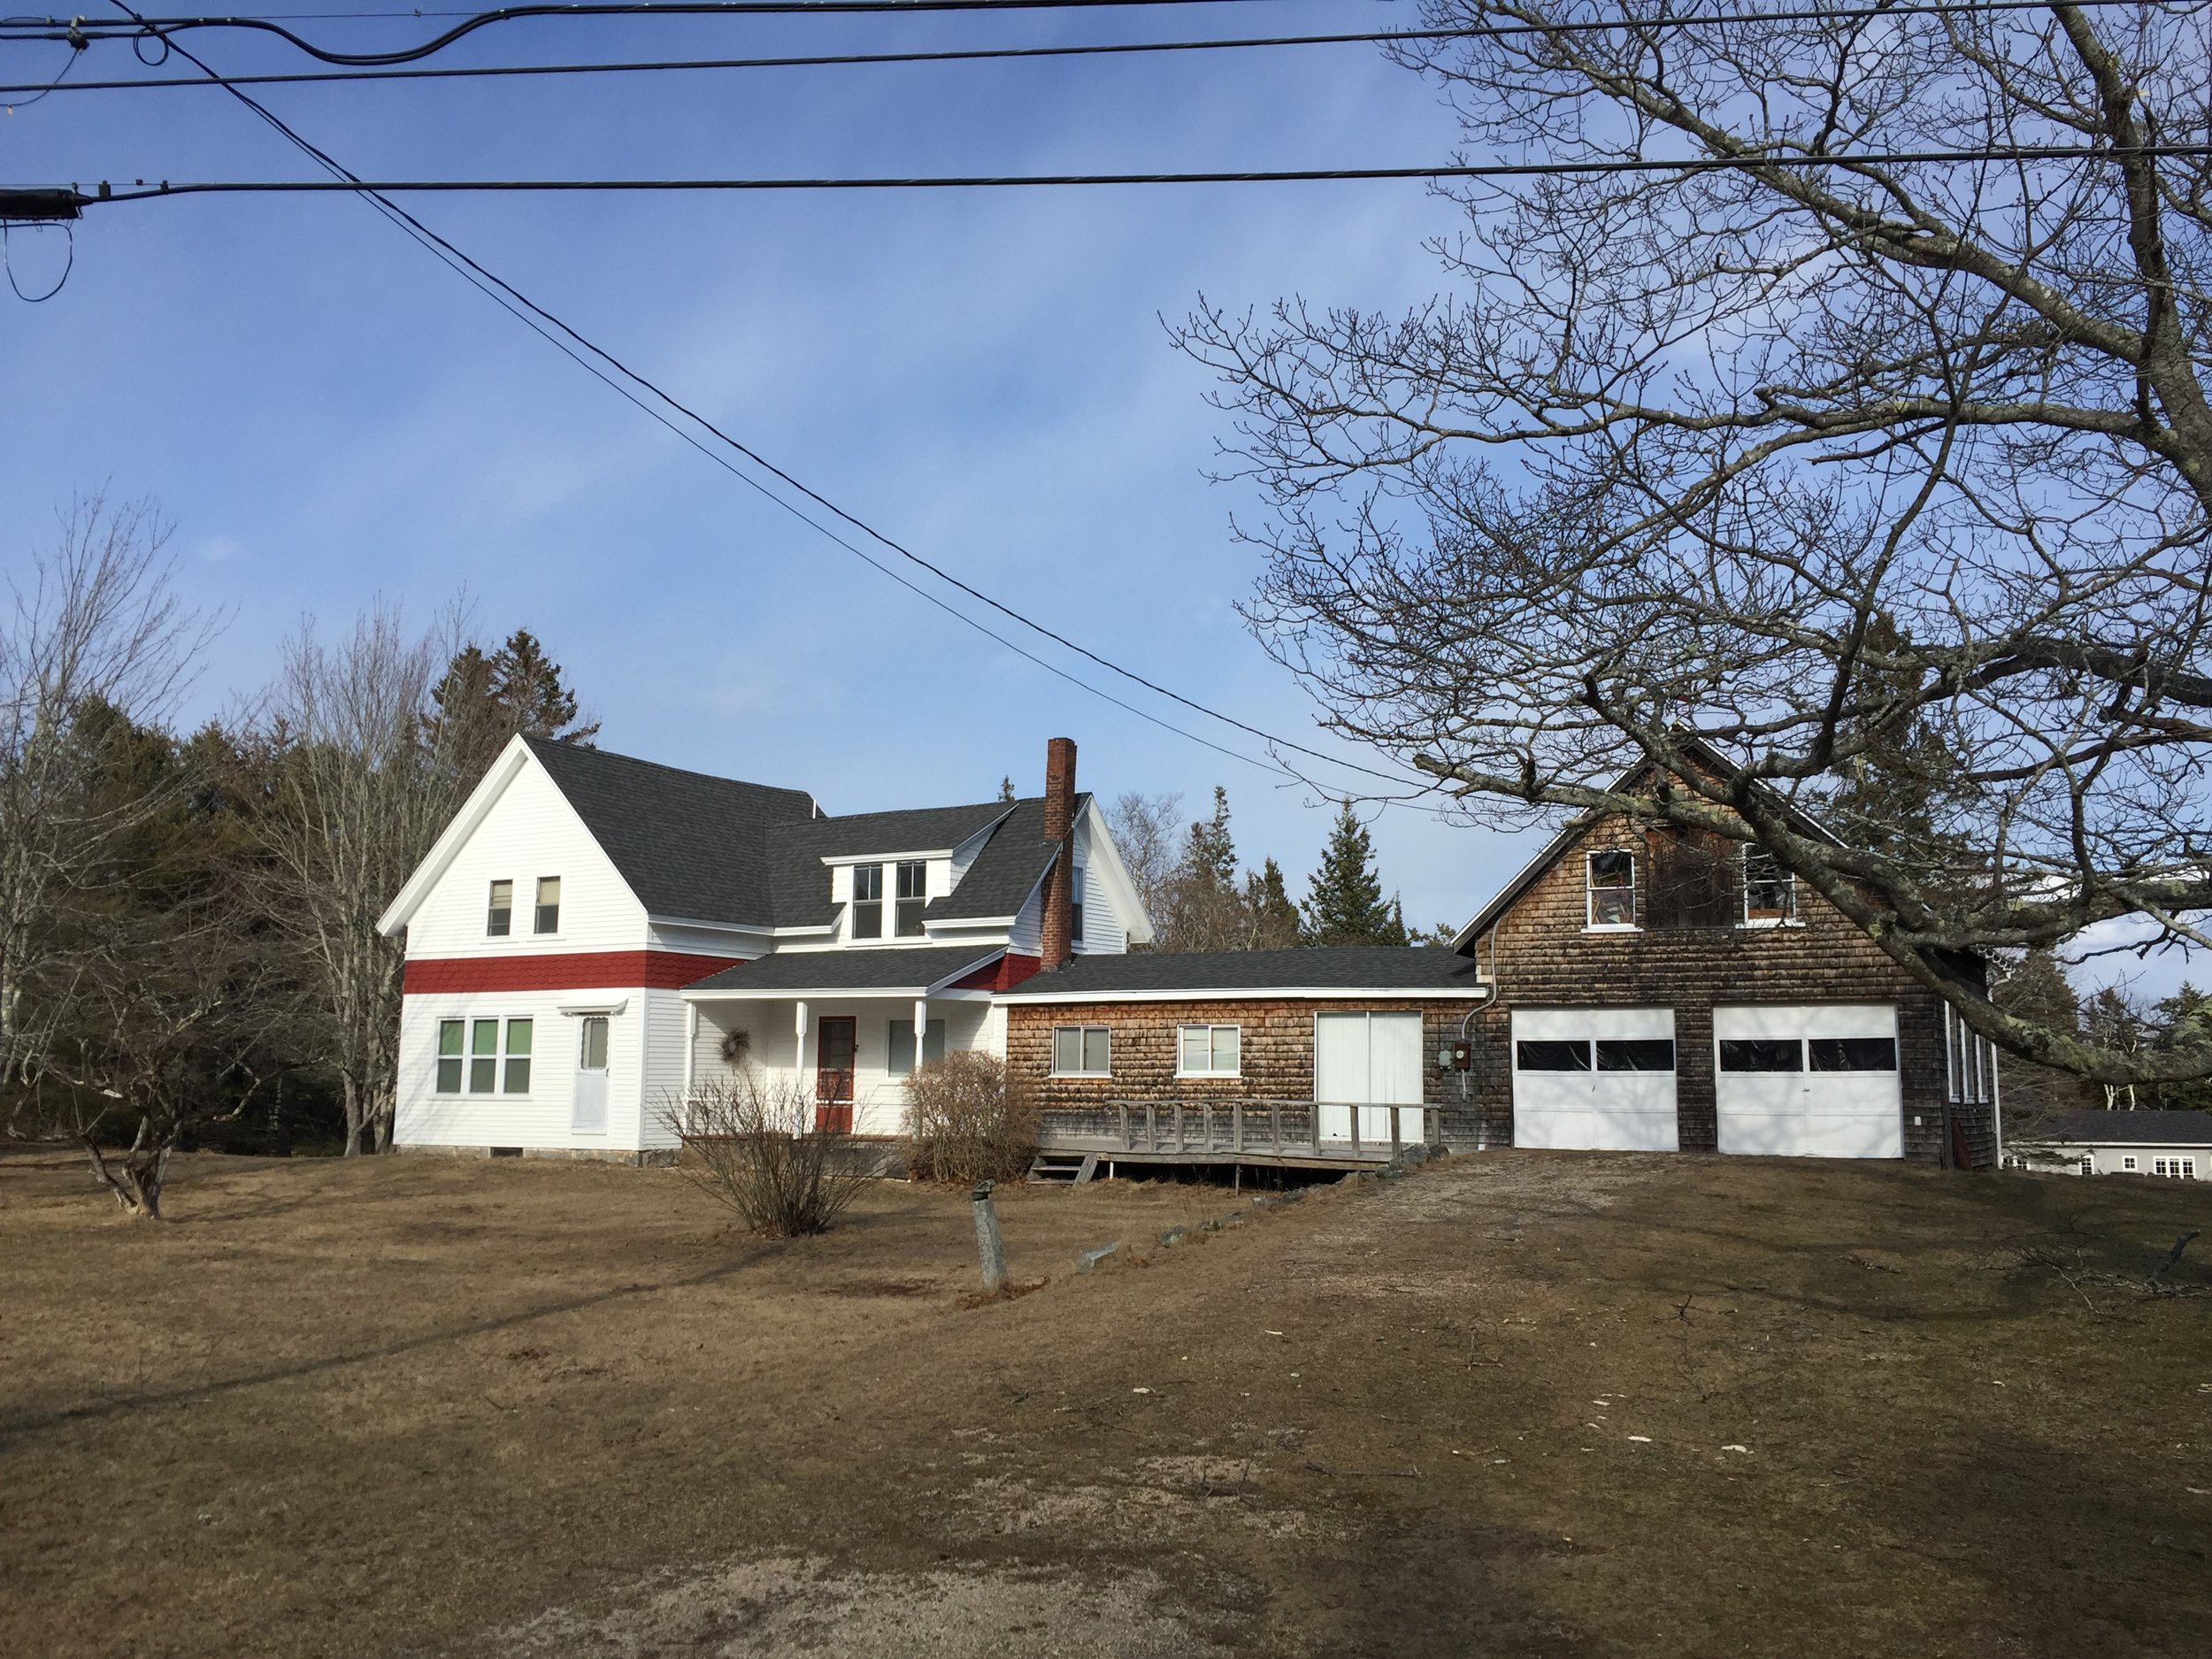
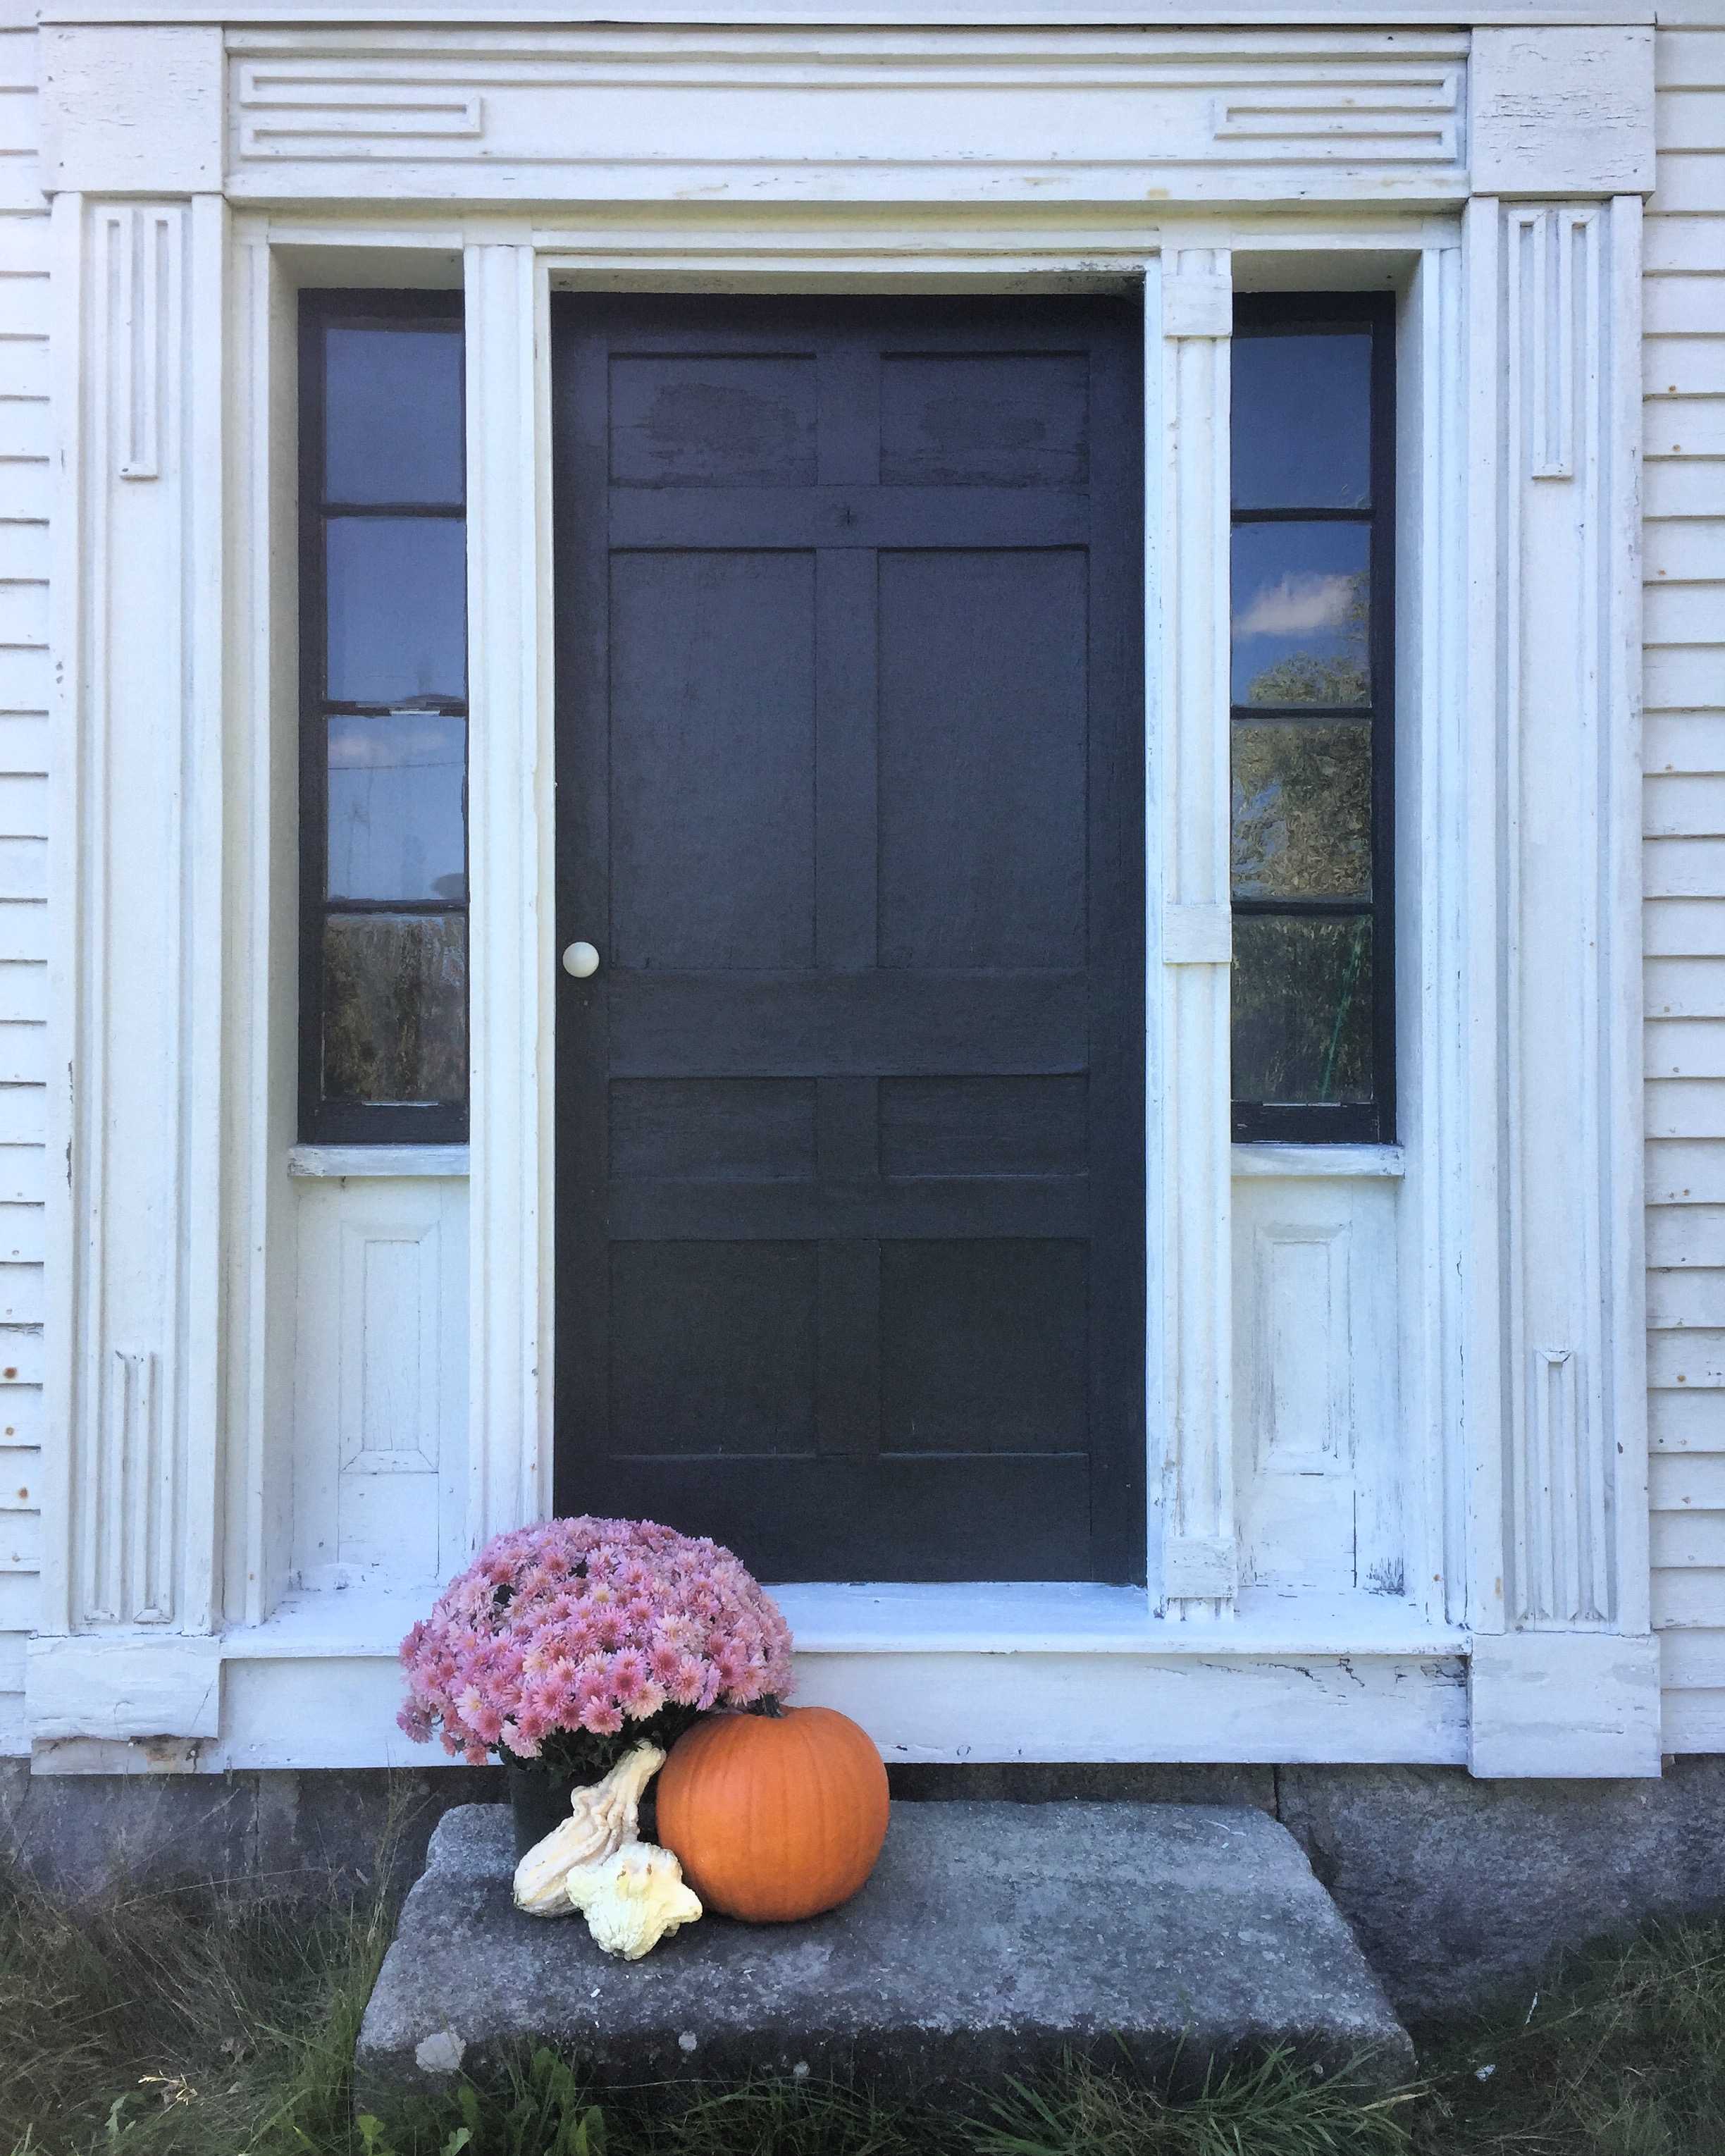
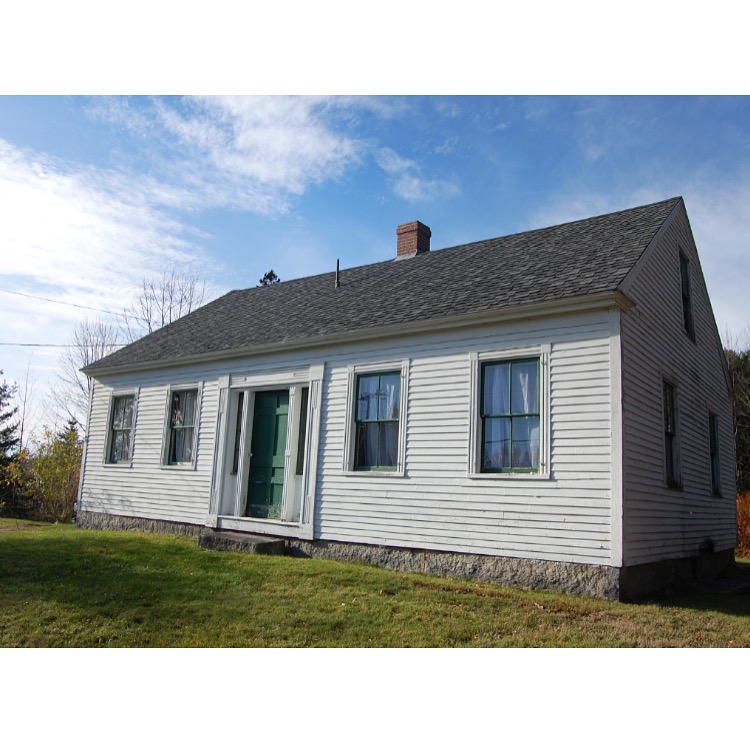
We also finally touched up the front door. The door color and window trim have been a bright forest green as long as I can remember which I believe was probably a boat paint. While I love this color and tradition, we decided to switch it up a little bit and go black. This is another controversial paint color so we keep joking that we'll rename it "Goth House" to really rile up the family and neighborhood.

We don't have much time to go before it gets to chilly too work on the house but I can't wait to put in some countertop and install our sink. It's going to really start to feel like home!

What Am I Doing?

"...I am out with lanterns, looking for myself," wrote Emily Dickinson in a letter. I saw this quote over the summer and it felt like a warm hug, a confirmation that it's ok. For the past several years -- in life, in job interviews, in general -- if someone has asked me where I see myself in the next five years, or what my next steps are, I'd cry. I've been in arts nonprofit administration since graduating from Massachusetts College of Art and Design in 2009, and realized in late 2014 just how miserable I was. So, I've been taking a really windy path since then -- switching jobs, then quitting, going back to an old job part time, picking up other part time jobs and either leaving them or failing at them. It's been exhausting. My only beacon has been Brooklin Heirloom.


I decided last summer to focus on our house. We inherited this family home officially after my husband and I got married in May 2015, and I've always looked at it as not only a huge gift and responsibility -- but an opportunity. I thought, "I'm smart, I'm creative, I love this house, I have good taste, let's make something of this." So, I started an Instagram, this blog, and an Etsy shop with vintage home goods and thought, "here I go!"

The thing I love AND hate about the social media community I have found through Brooklin Heirloom is how many beautiful, creative, genius things everyone has going on. It both inspires and paralyzes me. My internal monologue is constantly running, "...how did they get there? I could do that... but why haven't I yet? What am I lacking? Ok, don't think that way -- I know I can get there. Ok, well do it. Stop being lazy.  Just take better photos. I feel like I'm working hard. What am I missing?"

On top of the community inspiring me think to about what's next, my husband has been pushing me too. He's a graphic designer and I'm his worst client. While working on the branding for my Etsy shop, he has forced me to verbalize what I want, what this is. And it's terrifying! I have been saying, "I don't know! Can't you just make me a simple business card!?" for months. And it's time to get my shit together.

It's been over a year since I started Brooklin Heirloom, and two years since I decided there is something bigger for me -- and if you ask me where I'll be in the next several years, you'll still make me cry, but I feel like the answer is on the tip of my tongue. I just have to keep pushing through the fog to get there.

What I do know: by June we'll hopefully be in Brooklin, Maine in our house. We'll stay for at least the summer, and then evaluate what's next when it starts to get cold. It'll be a welcome time-out from the costs and chaos of living in a city. But that doesn't solve the terrifying ambivalence I have towards defining a future career path. So, I've narrowed in on two things I love -- vintage houses & vintage home goods.

I recently got my real estate license with the hopes that I can gain some experience while still in Massachusetts, and then be able to start investing in little properties that need little face lifts. (And then maybe move up to medium ones...) I want to grow my vintage shop, with either a little pop-up in a retail space or mobile shop I can tote around with me. Perhaps start making some little vintage inspired things (pins, pennants, postcards) alongside my husband to mix in as well?

But I need to stay focused, eye on the prize, with confidence. I'm trying to turn a new leaf, letting go of self doubt, moving forward with conviction. And I'm hopeful. What keeps you going? What spark lead you to where you are? Did you name your inner demon "Brenda" like Queen Katya did? Tell me all your secrets! I'll focus on how it inspires me, and not how it makes me feel inferior, I promise.

Catching Up

Today the weather is a beautiful crisp 60 degrees in Boston, the leaves are starting to change, and it's been a very intense four months since the last time I have written. At that point, the kitchen had been demoed and we were thinking about painting the bathroom. Well, a lot has happened since then... The bathroom was successfully painted a beautiful deep greeny blue - Benjamin Moore's Newburg Green. Small projects like this always give me a little boost, especially when there is lots of project delaying bad news around the corner...


It started out great! Our friends joined us up north for a weekend of re-framing in June. We relocated the kitchen window to be centered above our sink with the new kitchen layout, and re-framed the single door opening to one that would fit our freshly ordered sliding patio door.

Upon some of the demo that goes along with that work we discovered more rot in the sill than we were expecting. We knew one side needed repair, but soon discovered that at least 40% of the house's sill would need to be replaced. While this isn't devastating in terms of complexity, it was a little hit to our timeline.

But, the bigger wrench was realizing how the second floor was pretty under-enforced for today's standards. Rather than joists every 16 inches, they spanned 5 feet in some places. Because we plan on adding a small bathroom, master bedroom, and lounge/office space here it was determined that this all needed to be re-done. While necessary, it was a huge hurtle for us. We are only able to spend weekends at our house in Maine and this kind of work is tedious, arduous, and expensive. We have spent at least six weekends this summer focusing on this issue and working tirelessly to get it wrapped up in a way we can save some of the original ceilings, and expose the beams in the kitchen and dining room area.

Doing work on this part of the house also lead to a big design revelation in the kitchen. I had always been very attached to the mantle on the largest wall in the kitchen, and wanted to keep this architectural feature, as I am trying to save as much original character as I am able. However, in order to reinforce the new floor joists some of this wall needed to be removed. While we started to take down the plaster I realized how much empty space there was behind this wall. We had planned on putting a small, thin pantry in this space, but seeing it all opened up made me realize the huge possibilities we had if the whole wall was out. So, after some deep breaths and letting go of something I'd held on to as a design decision for two years, we carefully removed the mantle.

And what was behind it? Eighteen more square feet of space. This huge hole in the middle of the house accommodated the large original chimney that fed three fireplaces -- one in the kitchen, one in the bedroom, and one in the living room. When the fireplaces in the bedroom and kitchen were covered up, and the kitchen was converted to a wood stove only, the original chimney was removed and a smaller one was put in place. But the original footprint remained empty. Now, we'll keep the newer chimney exposed, with it's funky shape, and be able to countersink the refrigerator on one side and add a custom pantry to the other.

Making these kind of choices is so hard for me. I desperately want the house to feel as original as possible, but I also know the needs we have for a modern home are so completely far away from the needs of my ancestors who built the house in 1850. We're making some sacrifices -- small apartment size appliances and no dishwasher -- to keep it as close we can to the original floor plan. And we're keeping crooked doors, roughed up trim, original built in cabinets, original floors, so I have to keep reminding myself we're doing the best we can, and we are saving this house. That's what is most important.

Now that these huge structural things have been done, I think we're FINALLY getting to the fun part. Insulation and dry wall are going up in the kitchen after being gutted since April and ceiling & flooring choices have been made -- we're using 50 year old ship lap from my dad's house for the ceiling and reusing the original floors from the second story in the kitchen and dining room. These creative solutions make me feel really happy and accomplished, and like there is a light that we're really truly getting closer too.


It's only September and we have so much we can get to before it gets too chilly to be working in the unheated home. And there are some special surprises coming soon too that I cannot wait to share with you all. I promise it won't be so long before you hear from me again. :) Happy Autumn, everyone!

Progress

It's finally Maine house season! Last month, my Dad drove up from where he lives in Florida to get his house up and running again. Heat & water on, time to party. Our family, on both sides, had the inability to throw anything away, including their houses and we are so lucky for it. This house is where my Dad grew up, on Little Deer Isle. Our house is about ten minutes away across the bridge on the main land. My parents met in high school, which is why both sides of my family have homes so close together. Having access to this house allows us to keep our little home a complete gutted mess because we have somewhere else to shower and lay our heads. And hang out with family, friends, etc. Isn't she cute?

Last month I had the ability to stay up for a week which allowed for me to get a LOT done -- mainly saving the plaster in the downstairs bedroom. While the plaster ceilings were too damaged from moisture to save, the walls were in semi-good shape. There was lots of cracks and places where it had separated from the lathe but I was determined to patch it up rather than take it down. It's original to the house, and I want to save as much as I can.

Last summer I peeled the wallpaper in this room, which took about four hours. Some spots came right off, and some I really had to dig. This time it took about three hours and an entire tub of joint compound to smooth out the major cracks and fill all the nail holes. I wanted to sincerely apologize to every landlord I ignored when they asked me not to put holes in their horse hair plaster. Karma!

This is what it looked like while I was in progress:

The space above the old fireplace was the worst -- probably because this is where they always had photos hanging and over the years the wear and tear took a toll. I let my first layer of joint compound dry for 24 hours, and then added approximately 1,000,000 plaster buttons, added another layer of joint compound, and then let that dry for 24 hours. I sanded it all down and then painted two layers of Kilz on every surface in the room -- including the trim. The trim had already been painted, but was stained from years of smoke from the fireplaces and kitchen wood stove. I started to clean it, but realized we'd probably prime it anyway so I saved my arm strength and just whipped right over it.

This is the result:

Oh, and those daffodils are wild from the back yard.

Words and photos cannot express what a difference this makes to the room. It looks so fresh and clean and SAVED! When we started this project this room was FULL of furniture and tools with an enormous hole in the ceiling and peeling wallpaper. It now looks like a space you wouldn't mind sleeping in -- besides the fact that it still needs a ceiling... but we'll get to that!

The other major project we did was demo in the dining room and kitchen. The plaster in the dining room could not be saved -- it was moldy and wet and crumbling off the walls. We took this down easily and it was neat to see the real bones of the house. Look how wide those planks are!

Then we started working on removing the old cabinets. This was a chore -- I'm not sure when they were put in, but there was wallpaper behind them when we took them down so I am going to guess they were put in sometime in the 60's. And they were really in there. It took my dad and husband three hours to get it all out because they were connected in the most intricate way. We could have gone to town slicing and smashing them out, but we wanted to (and succeeded in) saving them to use for storage in the basement.

Once we had the cabinets out, we realized the plaster was pretty nasty. So we thought, what the heck, let's just take that down too. And now it looks like this! With the bonus of a free refrigerator we found on the side of the road that just so happens to be the perfect petite size we were going to purchase.

You would think getting to the house this point would be encouraging, but seeing the whole back half essentially gutted has been giving me extreme anxiety. There is so much to do before we can start to build it back up... but it will happen.

Here's what's next: - Replace the single door to sliding patio doors - Move the window over a bit so it will be centered over the new sink - Evaluate the electric, add in outlets where necessary - Put in supports for open shelving - Insulate walls that are currently open - Put up drywall - Address the ceilings, make them match across the two spaces - Think about flooring - Get the space ready for cabinet install

.... I'm tired just thinking about it. We'll be up this weekend tackling small and fun projects, like painting the bathroom something like this moody shade, Benjamin Moore Washington Blue.

Stay tuned for more!