Cozy Bedroom Makeover

I recently met with a friend in Philly who was having a hard time making their space feel personal. They have a beautiful, bright, completely renovated home but it needed soft and intimate details to make it really feel their own.

I was given pretty free reign to dream up a space for them with their main request to "make it cozy" and keep it on the more "affordable" side. Below are the two options I came up with including instructions for their space!

OPTION 1 DESIGN INSPO

All inspiration images via Pinterest.

OPTION 1 DESIGN BOARD

Move your bed to the wall facing the windows. Paint this wall ¾ from the floor up “Nightfall.” Paint the all other walls, and the remaining ¼ “A la mode.” At the point where the paint changes on the statement wall, install a simple shelf all the way across – use this for book storage, knick knacks, photos, etc. It can be a constantly changing display. The sconces are plug in and can be easily installed on either side of the bed just under the bookshelf. A light pattern duvet contrasts against the dark wall, and a neutral curtain pulls it together.

STATEMENT PAINT: Benjamin Moore’s Nightfall
NEUTRAL PAINT: Benjamin Moore’s A la mode
CURTAINS: Pom Pom in Light Gray
NIGHTSTANDS: Livia Nightstand
SCONCE: Aiden Swing Arm Sconce
BEDDING: Georgia Duvet
PLANTER: “Please Don’t Die”

OPTION 2 DESIGN INSPO

All inspiration images via Pinterest.

OPTION 2 DESIGN BOARD

A warmer, more feminine option. This “Stone Harbor” is a perfect greige (beige-grey) that is very versatile. I partnered it with the quartz, but it would also look great with the navy comforter you already have. I mixed the wicker and metal to show you can mix soft and warm, and it fits with this neutral backdrop. The curtains bring in a great pattern and would match with the grey shades you already have on the window. Large engineer prints would be perfect over your bed, and you can hang with these wooden poster kits.

PAINT: Benjamin Moore “Stone Harbor”
CURTAINS: Geo Print Grommet
NIGHTSTAND: Fairmount Stacking Stool
LAMP: Bamboo Wicker Lamp
SHADE: Wren Lampshade
BEDDING: Weekender Duvet Cover in Quartz
ART: Poster Hanging Kit

I also made a custom Pinterest board with lots of other paint & accessory options. They ended up picking option 1 and are working on making the magic happen on their own while their adorable 1.5 year old son naps. Design doesn't need to be frivolous, overwhelming, or exhausting. Sometimes you just need a little head start, and once you have a clear plan, the project can come along as you have time.

Do you have a space that needs a little "oomph"? I'd love to help! Shoot me an email, kelsey@brooklinheirloom.com to get started working together. I can't wait to hear from you!

How We Refinished Our 166 Year Old Painted Floors

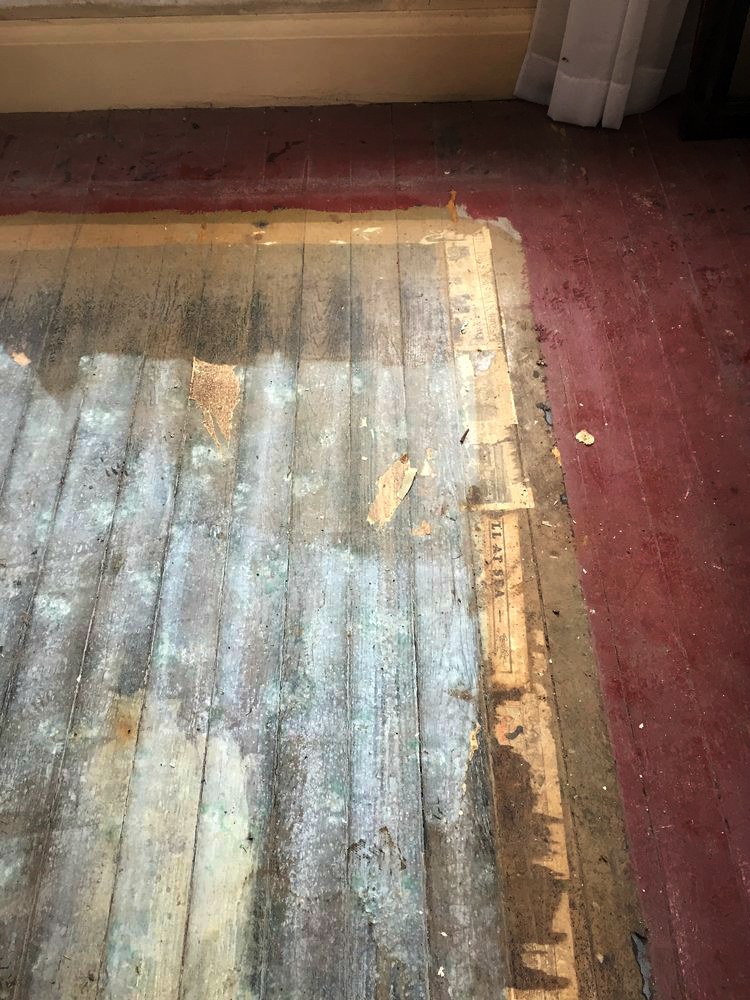
When we started working on our house, one of the things I was most excited about was trying to refinish the original wood floors in our living room and office. They had been covered with multiple layers of linoleum, newspaper, and paint for at least 75 years, but perhaps since the house was built in 1850. Because of this, we weren't totally sure what condition they would be in, but we decided to try stripping the paint and staining them, and if they were too far gone, we'd just throw another layer of paint on top. You can see below where we started.

After everything was pealed up and cleaned, we rented a drum sander and an edger from Home Depot. I watched a zillion "how to" videos on these machines, but couldn't find any good info on doing this with antique painted floors, so I wasn't really sure what to expect. I did the first pass with the drum sander and was shocked to see it had barely made a dent in the paint. All the professional videos I watched showed instant results, but quickly realized those examples had perfectly even, smooth floors to begin with. Ours were cupped, cracked, uneven -- they show all their 166 years. 

I ended up breaking all the rules I learned in those videos and just got really aggressive -- I went every which way on the floor, back and forth/diagonal/crisscross, going over and over certain areas to get stubborn paint patches up. And after about three hours (!!) I finally got all the paint off and made a significant improvement on evening out the boards. It was incredibly time consuming and physically difficult, but oh my god -- what a difference! You can see how nice and buttery those original floors were underneath all that junk.

Next, I went over the floors going up 20 grit per pass, ending with 120. This part was much easier, but I was also much more careful with the sander. Where I had previously abandoned everything I learned to get the paint off, I then went back to those techniques. The higher you go in grit, the more your wood is going to show any imperfections like digs, dents, and scuffs. Below is a photo of the flooring after it was finished with the highest grit. You can see how the grain pops and they look so smooth and rich and lighter in color.

Now that we were down to the raw wood, it was time to stain them. We chose Minwax Early American. Serendipitously, I saw Old Home Love use this stain color on a project they were doing at the same time. The floor was in similar shape/age as ours, and I loved how it turned out for them. 


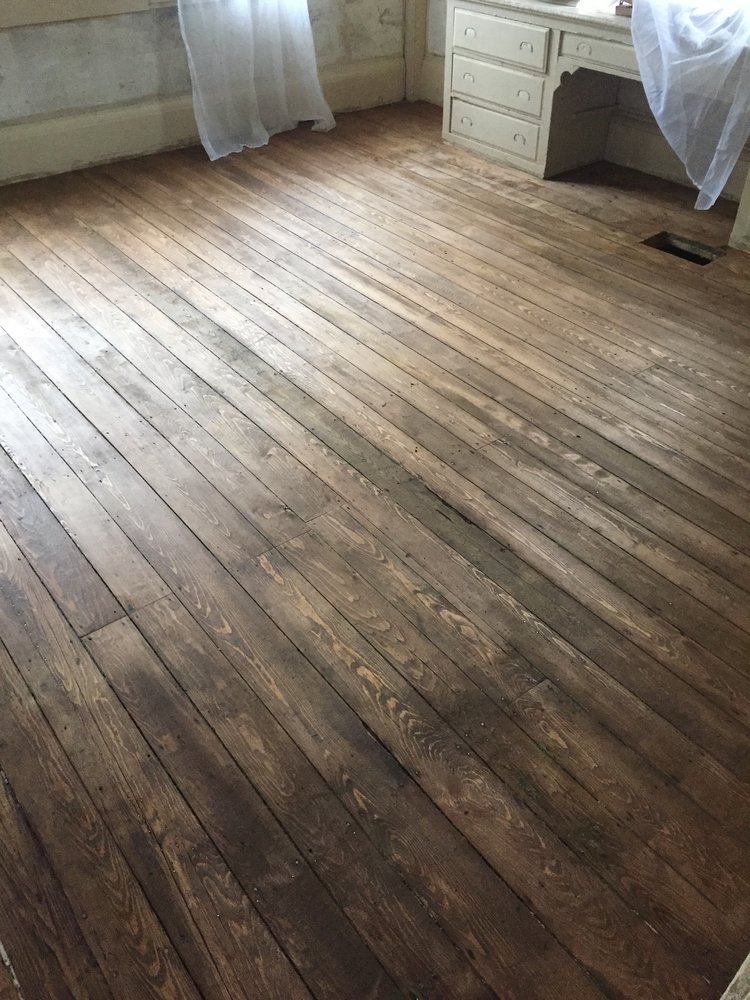
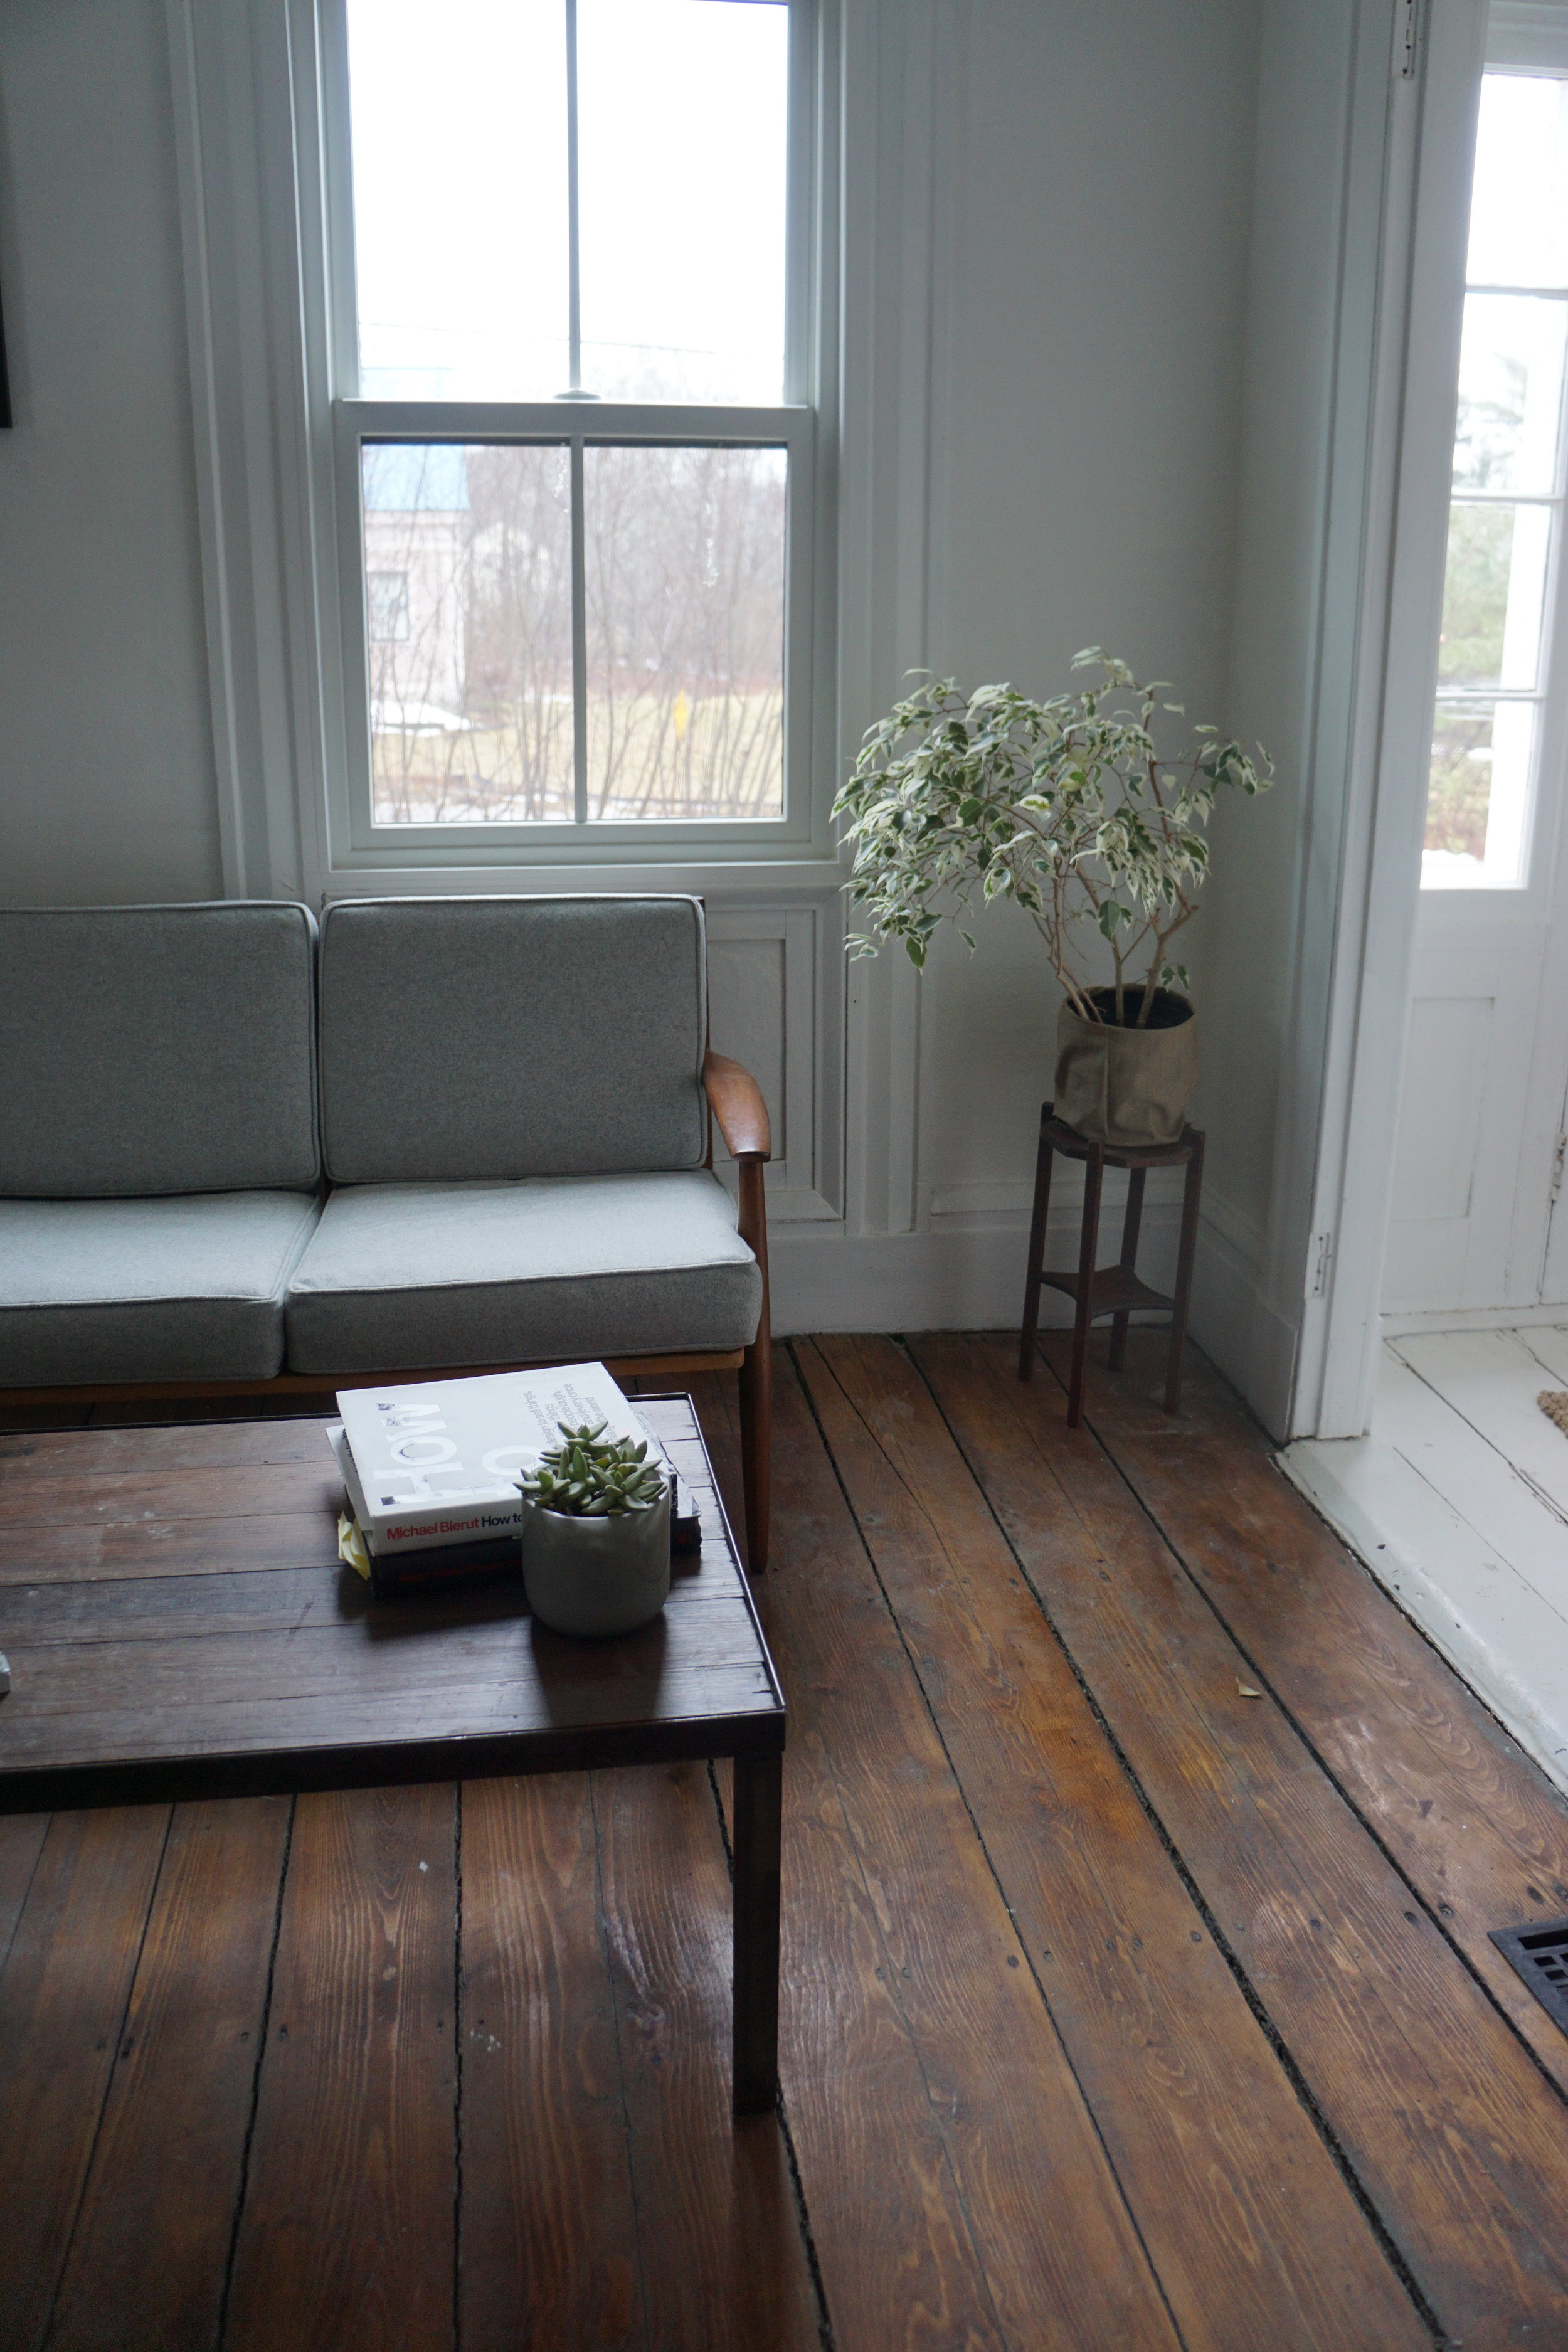
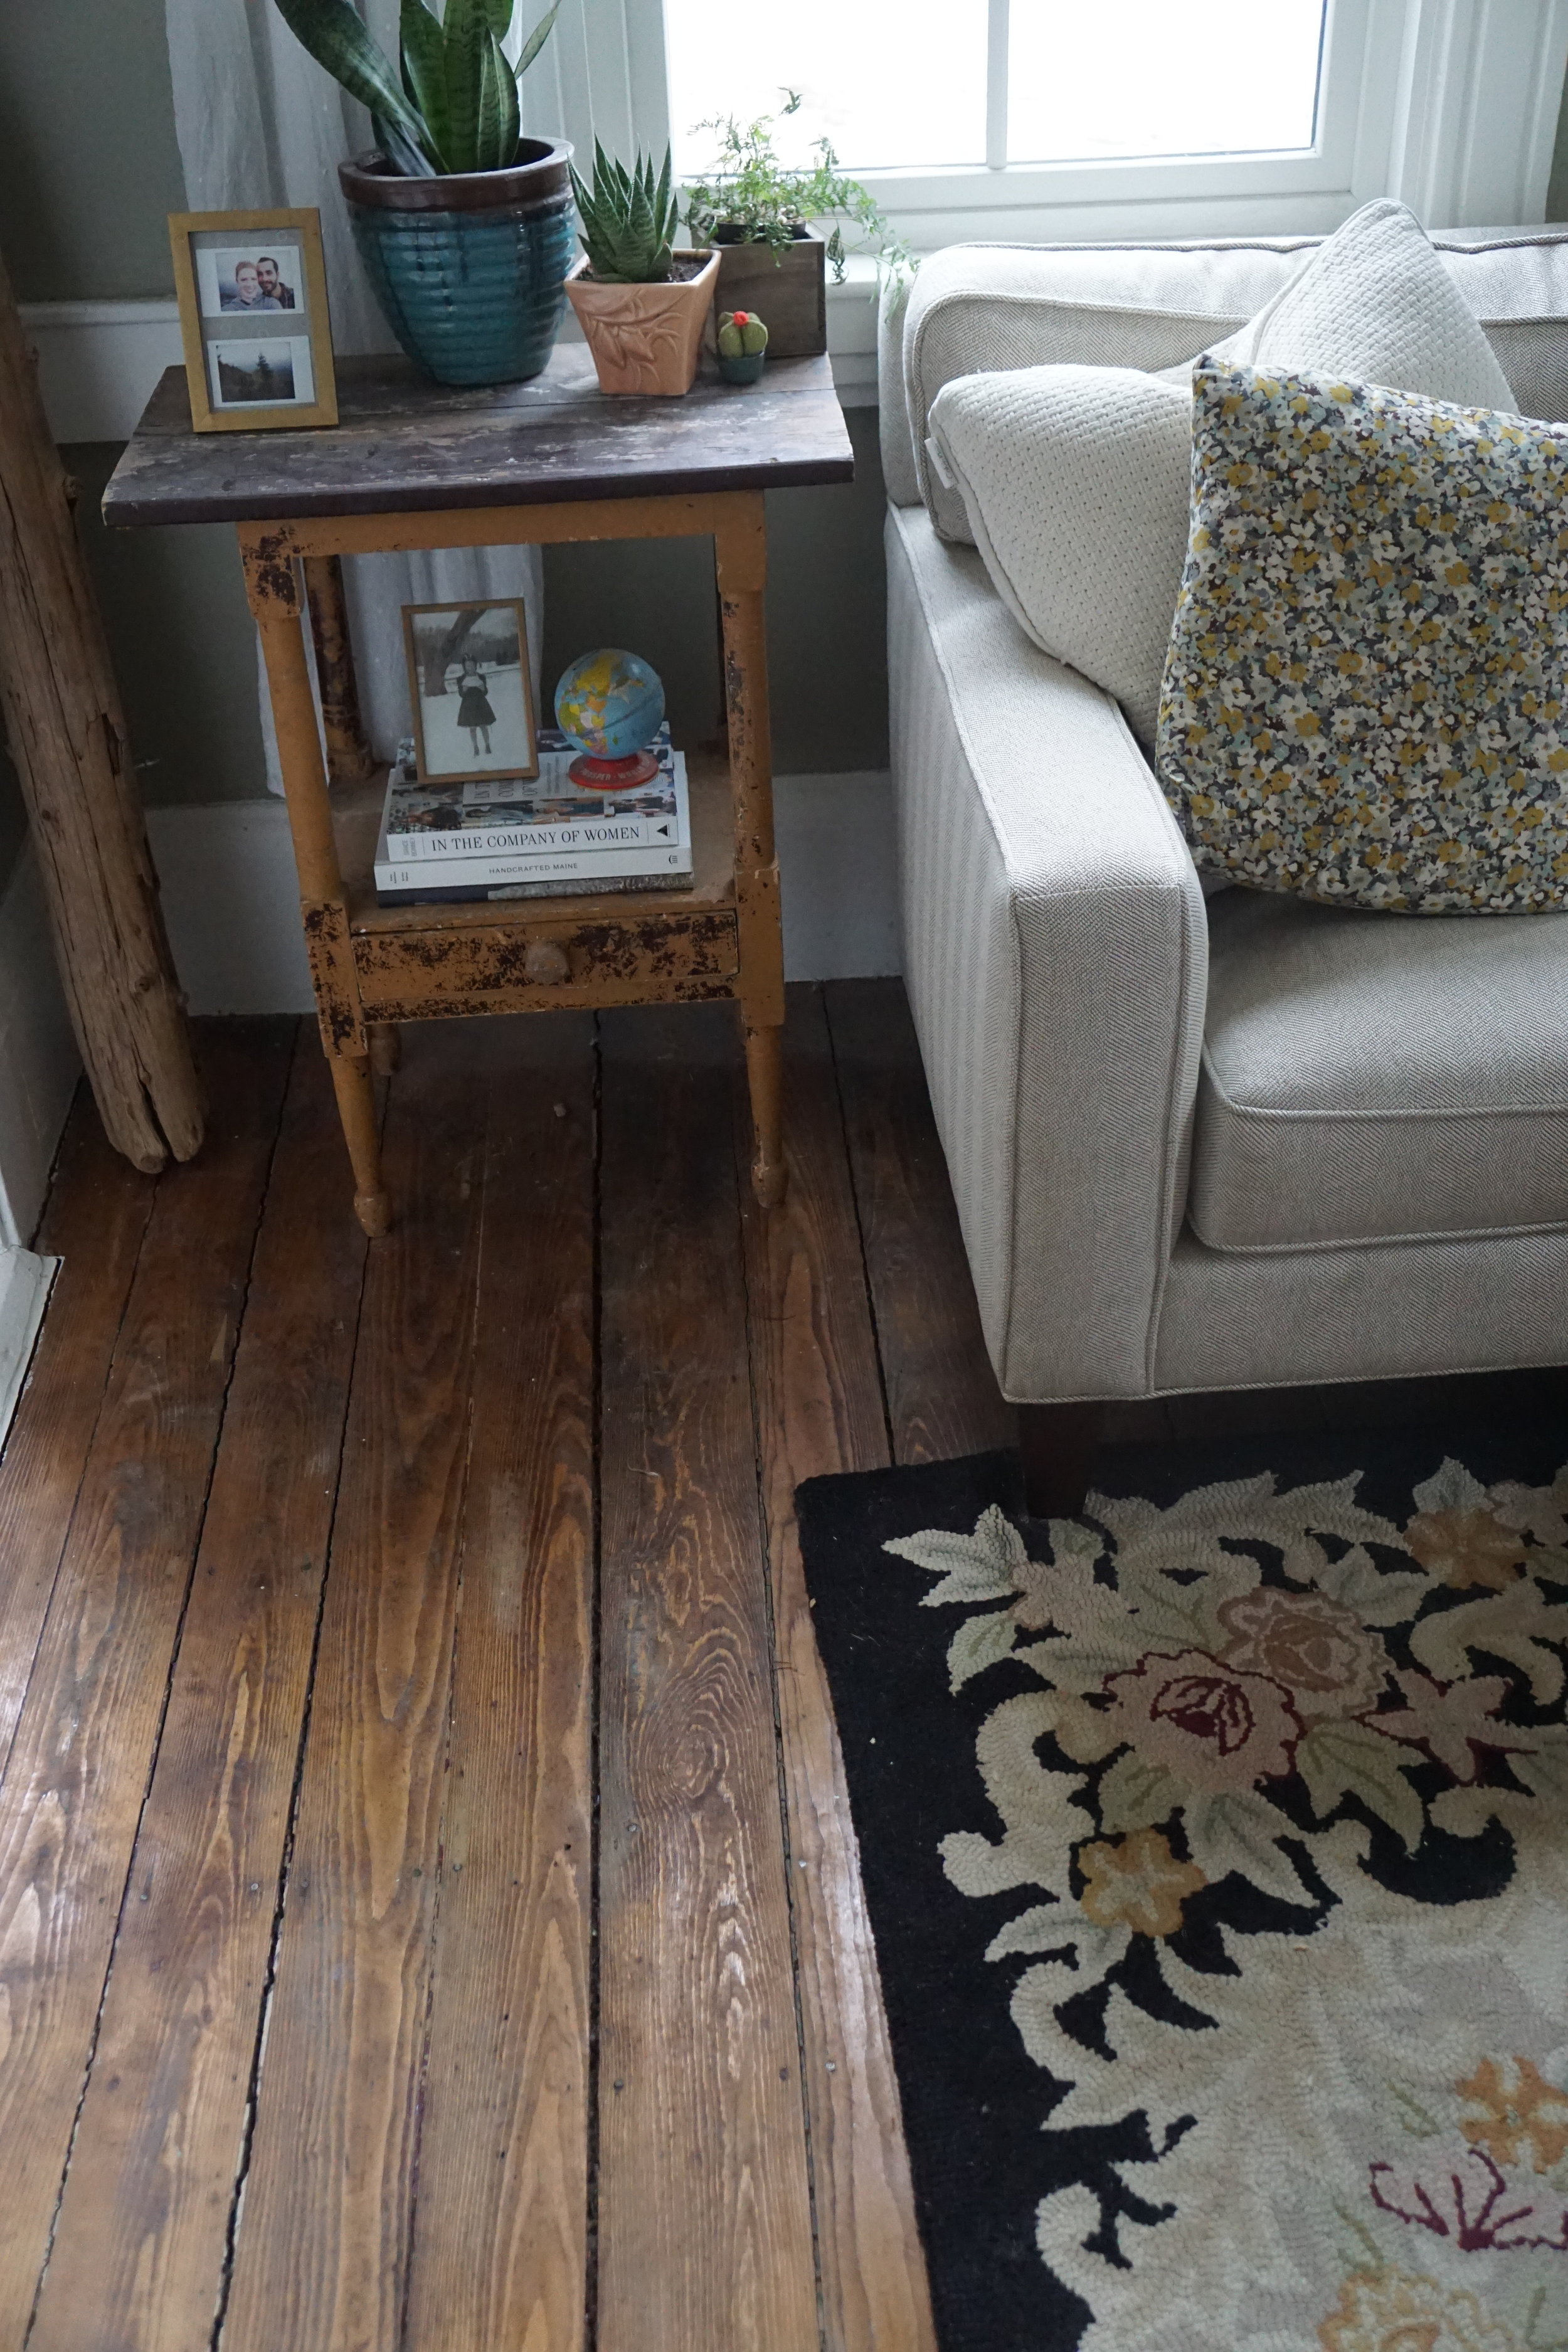
We did one coat of stain, and finished with two coats of Waterlox - second photo above shows the floors when we completed both of these steps. We chose this finish because it seems to be really forgiving, easy to maintain, and does not finish glossy but also weathers to become more worn-in looking over time. Using a tung oil finish also feels the most authentic for our home's original time period. You can see some more images of the floor below -- we have been living in the house for seven months and they've worn to a beautiful rich tone that we really love.


Some tips & advice

  • If your floors are as junked up as ours, be prepared for it to take a long time. We ended up keeping both sanding tools for a full week, which was definitely not something we originally planned on.
  • You're going to be really sore the next day. The edger is very powerful and hard to control without a lot of arm strength. I was so sore after using it I could barely open and close my car door or shift my manual transmission!
  • It's really messy even with the dust bags on the machines. Wear a serious ventilator mask and eye protection. And know that you'll be cleaning up dust for a very long time. Shop vacs are your friend!
  • Buy lots and lots of sandpaper. We underestimated how much we'd need for the tough grits (especially with the edger) and we had to run back to get more which was really frustrating (especially since the closest Home Depot that carried the materials was over an hour away). You can always return the ones you don't use!
  • Embrace the imperfections. There are some spots where we could not get all the paint off, so we just left it. I think it brings out so much character and charm, and once all your furniture is back in the room they are barely noticeable.

If you have any questions about this process -- please let me know! We are really happy with the result.

Marm's Molasses Cookies

My great grandmother was notorious for her baking and her no nonsense attitude. My mother once recalled the time she threw a pie like a frisbee out the back door because it didn't come out up to snuff. She was a small woman named Myrtle, but everyone called her Marm. She could slaughter a chicken in the morning and have it on the table for supper. She made baked beans on Saturday night and it was a family requirement to attend. They stuffed so many people into the small dining room some had to crawl underneath the table to get out. She loved photography, posing her kids and grandkids in front of the flowering lilac bush or just so as the light streamed in the living room window. Her son, my great uncle, once described her as "the boss." 

Marm and my grandfather, Arno.

Though I never met her, I think of her often. I can see her moving deftly around the kitchen, baking and cooking on a cast iron wood stove with no running water. When I found stacks and stacks of her cookbooks and handwritten recipes I thought it would be fun to honor and connect with her by trying them myself, in the same kitchen more than 50 years later (and with some modern conveniences). I hope she gets a kick out of it, and I hope you will try them along with me!

Last spring, on one of those days where I was so frustrated and overwhelmed with renovations I was dreaming of just burning the goddamn house down, a neighbor stopped by. She asked me the usual neighbor question - "Who are you?" And we pleased to hear I was, in fact, a Day and the house had stayed in the family. She then told me how she loved running over to grab Marm's molasses cookies from the kitchen. So when I saw this handwritten recipe, I knew it had to be first.

Ingredients

2 1/4 cups flour
1 1/2 teaspoon baking soda
1 1/2 teaspoon cinnamon
1 teaspoon ground ginger
1/2 teaspoon ground cloves
1/2 teaspoon salt
1 cup sugar
1 egg
3/4 cup shortening
4 tablespoons molasses

Instructions

Pre heat your oven to 350 degrees. In a bowl, combine flour, baking soda, cinnamon, ginger, cloves, and salt. Sift together three times. In a separate bowl, mix shortening, sugar, egg, and molasses with a whisk. Sift the dry ingredients on top of your wet mixture. Mix all ingredients together to create a dry, crumbly dough. Roll dough into small 1-2 inch balls, and gently pat out with the heel of your hand. Bake for 7 minutes. Makes about two dozen.

Tips

The first time I tried these I used my Kitchenaid to mix the wet ingredients, and the second time I used a whisk. I think using a whisk makes for a better cookie. I mixed the wet and dry ingredients together using a wooden spoon. You really need to fold them all in together and push the dry ingredients into the sugar/shortening mixture to get the best result. Because Marm used a wood stove, there are no time or temperature instructions with her recipes, but I tried out a couple combinations and I think 7 minutes at 350 makes for the best, chewy cookie. Gently pat out with your hand. I tried the fork method (you can see below) and those ones came out very hard.

Cookie testing

These are perfect with coffee or tea, or as an ice cream topping, and they're not too sweet! They would make a great holiday gift because the dough yields so many, and they have a great shelf life without getting too hard.

Give these a shot and let me know what you think! I'll have another recipe coming your way before Christmas. Enjoy!

Attic Bathroom Design

Most of our house is on right on the edge of being complete -- except for our upstairs bathroom. The second floor of our house originally was two bedrooms with a simple closet, but we added a very tiny ensuite to the upstairs master bedroom (it's only 6 x 7 ft!). It was a challenge to figure out where to place everything around the chimney and eaves, but with a lot of determination (I was insistent on having a shower upstairs) and creativity we figured it out!

While the design is complete and the shell is up, we still have a long way to go before the bathroom is usable. In the meantime, I thought I'd share my vision for this small but mighty space.

You enter through a pocket door from the bedroom, the toilet will be snuggled into the right, the sink directly across with built in storage under the eaves, and the shower tucked in behind a half wall. To get a better idea take a look at the 3D renderings I created in Room Planner.

My simple inspirations are white subway tile on the walls, black hex tiles on the floor, and vintage inspired wallpaper & lighting.

You can see more room inspriration on my Pinterest, too! We're patiently waiting for more plumbing to go in and to hire someone to build our custom shower. We can't wait to show you our progress once we get going!